Creating a Detail Style
To create a detail style:
This process combines standard templates under the construction kit principle and can be processed further after completion.
-
On the DetailCenter, Parts tab > Detail Styles area, right
click and select
Create Style.
The Detail Style Wizard displays. Follow the
steps of Detail Style Wizard, described below. The wizard contains 11 pages.
Click
Next
 after each step to move to the next one.
The Detail Style Assistant will then take you through the step-by-step process of creating a new detail style for the drawing. See "Detailing Style Assistant" .
-
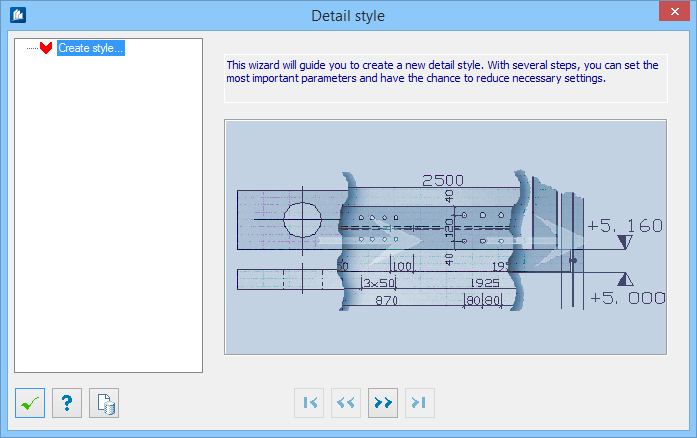
Step 1:
Create Style – begin the process.
Click
Next
.
-
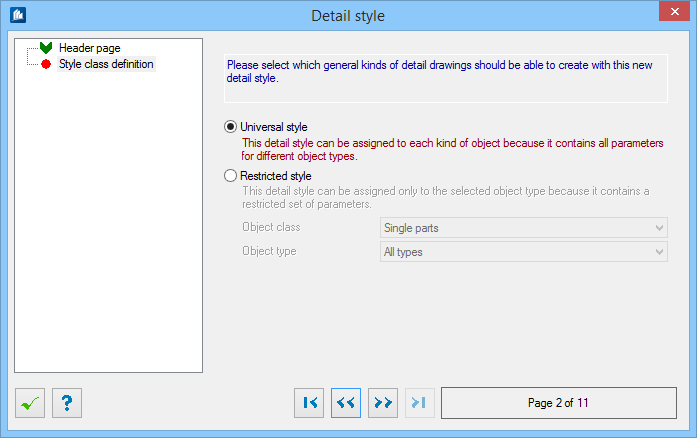
Step 2:
Style Class Definition – Select the type of detail
drawings that can use the new style.
Click
Next
.
-
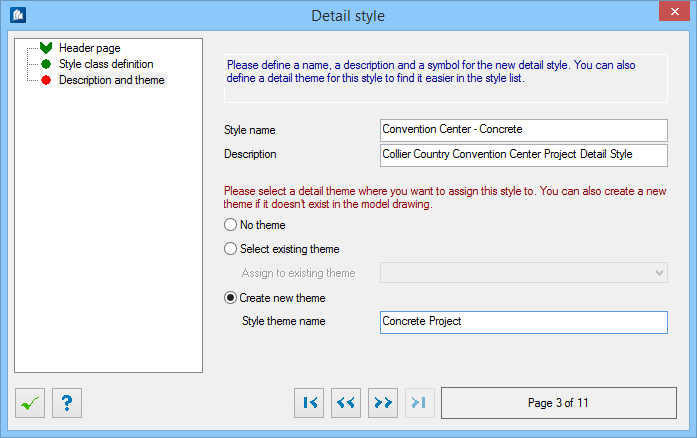
Step 3:
Descriptoipn and Theme – Define the style name and
description. You also have the option of assigning a theme to your style.
Click
Next
.
-
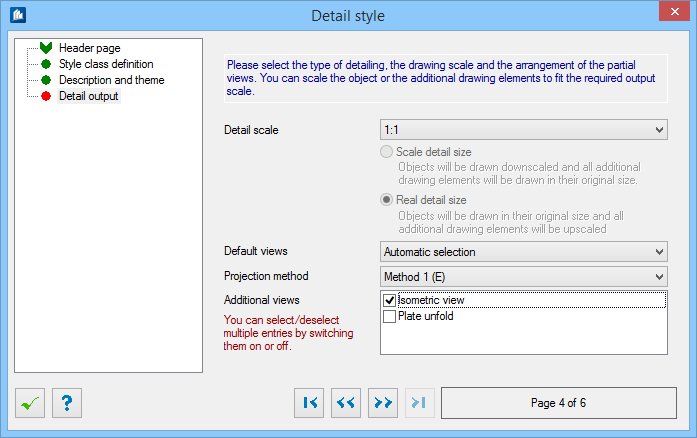
Step 4:
Detail Output – Select a scale.
Click
Next
.
-
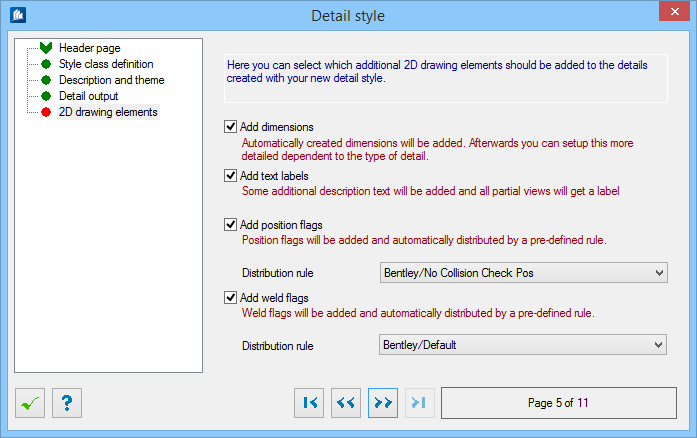
Step 5:
2D Drawing Elements – Select additional elements to
add when the details are created using your new style. For example, dimensions,
text labels, or position flags.
Note: If the Add Dimensions option is not checked, the wizard jumps to the Summary page (see Step 12)Click Next
.
-
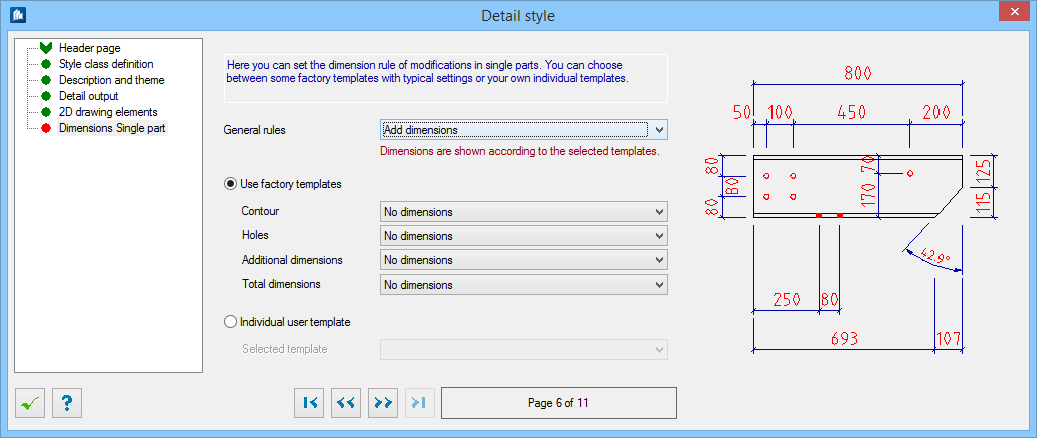
Step 6:
Dimension Single Part –Set dimensioning rules for
single parts when using the style.
Click
Next
.
-
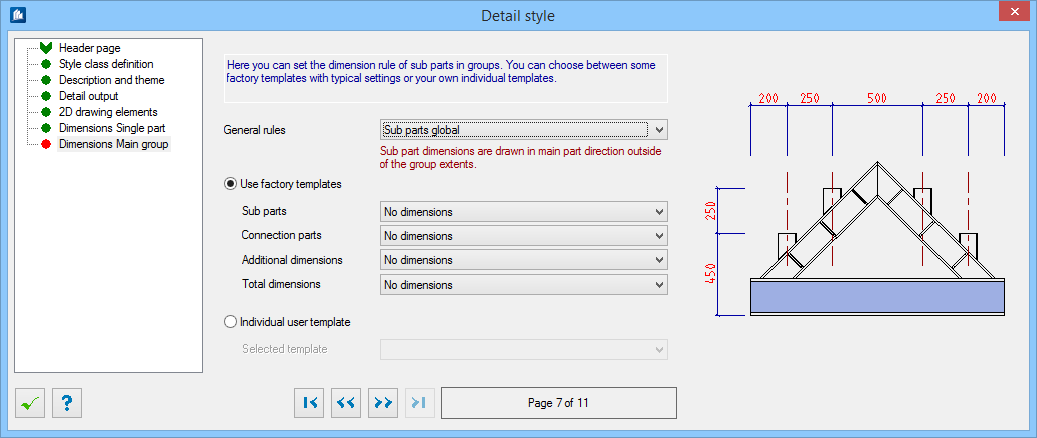
Step 7:
Dimansion Main group – Set dimensioning rules for
sub parts in groups when using the style.
Click
Next
.
-
Step 8:
Dimension Layout drawing – Set dimensioning rules
when using the style for layout drawings.
Click
Next
.
-
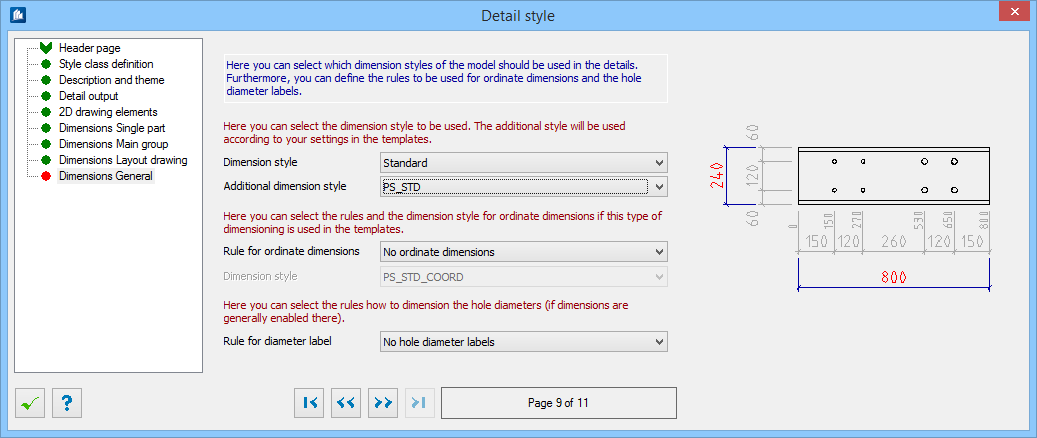
Step 9:
Dimension General – Set dimensioning rules for
general detailing when using the style.
Click
Next
.
-
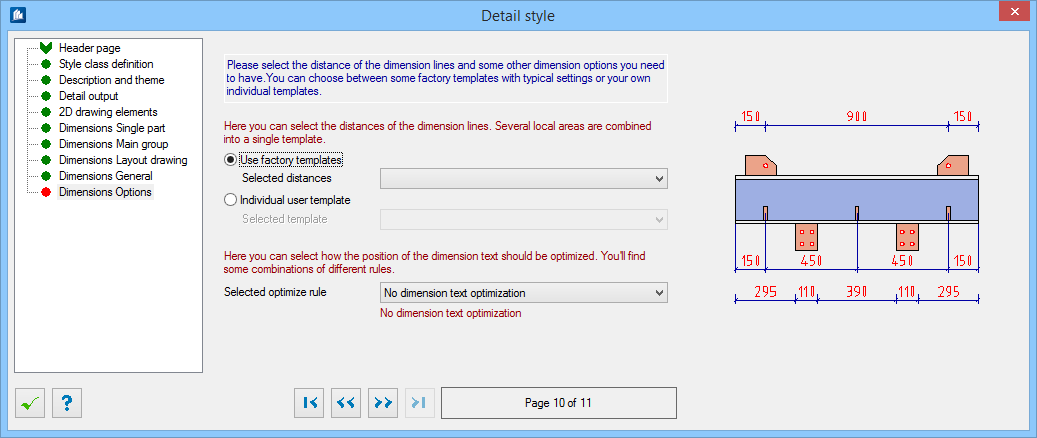
Step 10:
Dimension Options – Specify how the dimension lines
display.
Click
Next
.
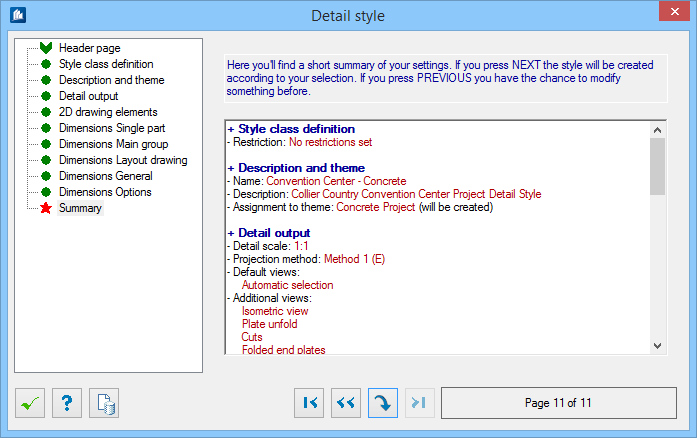
- Step 11: Summary – the summary page to show all of the settings for your new style.
-
Click
 Execute
to finish the wizard.
Execute
to finish the wizard.