To Select the Files to Process
-
Select
.
The Batch Process dialog opens.
- From the Initial Model list box in the Batch Process dialog, choose the models to process in each file: All Models, or Default Model Only.
-
In the dialog's icon bar, click
Add Files or Directories to Process.
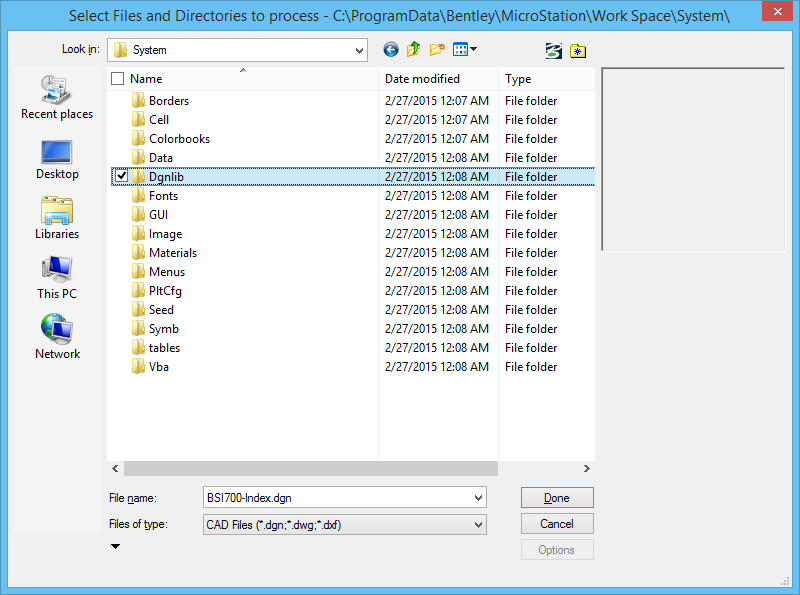
The Select Files and Directories to Process dialog opens. This dialog allows multiple selection of both files and directories.
- Select individual files or directories to process.
-
Click
Add.
The specifications for the selected directories or files are listed in the Selected Files list box.
- (Optional) To remove a selected directory or file, select it in the list box and click Remove.
- Repeat steps 4 and 5 until you have selected all directories and files to process.
-
Click
Done.
The Select Files and Directories to Process dialog closes, and the Process Tasks list box in the Batch Process dialog updates to reflect your selections. Now you can edit individual task entries in the Conversion Tasks list box.
- (Optional) To remove a task, select the task and click the Remove Files icon.
- (Optional) Do one of the following:
- (Optional) In the File column, add the wildcard string *\ to the end of a directory to indicate that subdirectories will be included. In the File column, designate that specific file types in the subdirectories will be included. For example, to process all files with the extension .dgn from directory c:\projects\ and its subdirectories, edit the entry to read c:\projects\*\*.dgn.
- (Optional) Set the Initial Model setting for an individual task by changing the setting, selecting the task in the list, and clicking Apply to Selection.