Model Tree
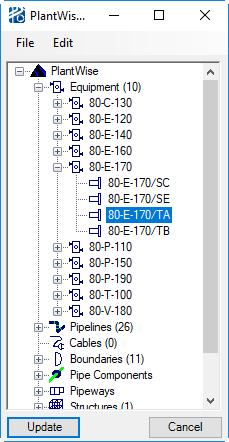
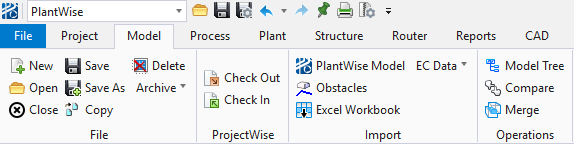
A tree of the model’s structure can be displayed by choosing as shown.
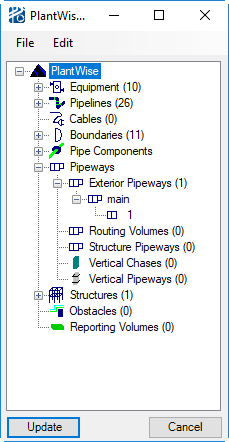
This opens a tree dialog that shows all of the model’s components organized by the component’s class.
The Model Tree behaves like any standard tree in that you can expand the hierarchy by clicking on the ‘+’ that is displayed to the left of entries.
Similarly, you can collapse the hierarchy by clicking on the ‘-’.
The number in parenthesis to the right of the class name indicates the number of instances of that class in the model.
In the example shown there is one (1) Exterior Pipeway, named main in model and the main pipeway has only one section.
Double clicking on nodes in the tree that do not have an instance count to the right of the class name opens the appropriate editor for that class.
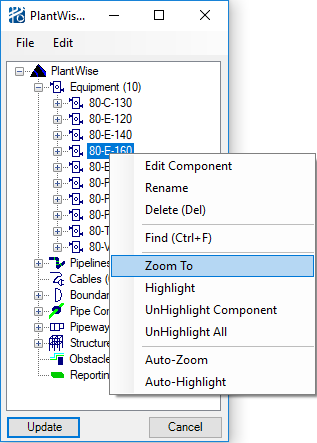
If a node is selected and the right mouse button is pressed, displays a pop-up menu. The pop-up menu contains the same entries as the Edit menu bar selection.
The pop-up menu as shown below allows you to, Edit, Rename, Delete, Find, Zoom To, Highlight, UnHighlight Component, or UnHighlight All components. You can also turn on the Auto-Zoom and/or the Auto-Highlight options in the pop-up menu.
In all cases, you are warned if the chosen action is not appropriate for the selected component.
| Setting | Description |
|---|---|
| Edit | As discussed above, opens the appropriate editor for the class of the selected node. |
| Rename | Lets you rename the selected component. |
| Delete | Lets you delete the selected component. |
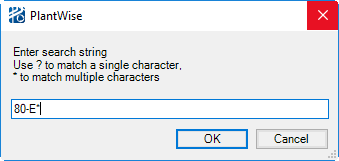
| Find | Opens a dialog that allows you to enter a name or a
name with wild cards to be used as a search string.
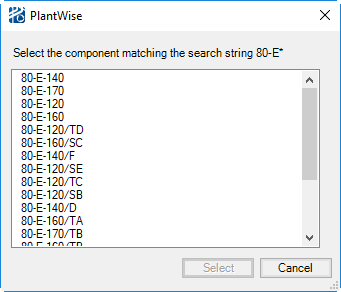
When the OK button is clicked, PlantWise searches for all components that match the search string. For example, if the model contains numerous items that have a naming convention such that the prefix 80-E is used for related items, you could enter 80-E-* in the dialog’s input field. When you click the
OK button displays a dialog that lists all
the components that match the search string.
|
| Zoom To | Causes CAD to prompt you to select a view. When a view is selected, the currently selected component fills that view. You can then select other views in CAD and they also be zoomed so the component fills the view. |
| Highlight | Highlights the currently selected component. |
| UnHighlight Component | Unhighlights the currently selected component. |
| UnHighlight All | Unhighlights all components, regardless of which component/node is currently selected. |
| Auto-Zoom | When turned on, causes CAD to zoom the last view to receive a data point such that the selected component fills the view. After the initial zoom, you can select additional views to zoom to the component. |
| Auto-Highlight | When turned on, causes items to be highlighted as they are selected. |