Issues Resolution
Interface Elements:
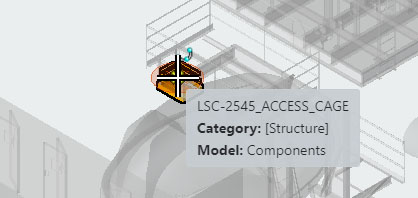
- Issue Marker – A marker can be placed on an element with an issue to identify its location and serve as a quick access point to its record.
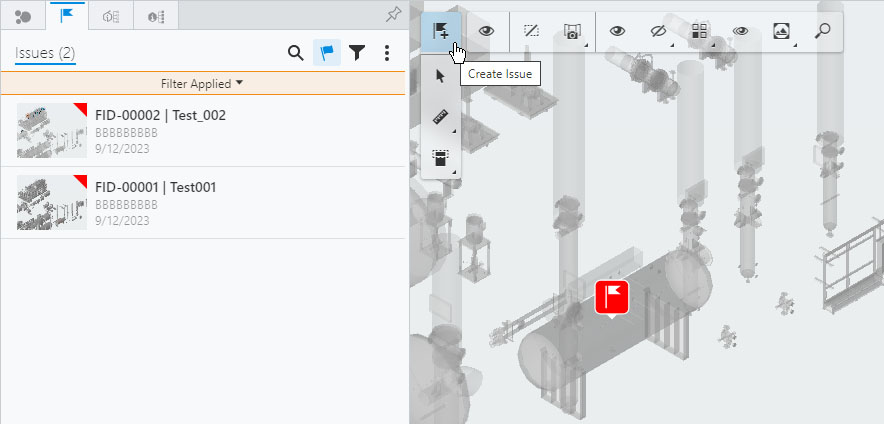
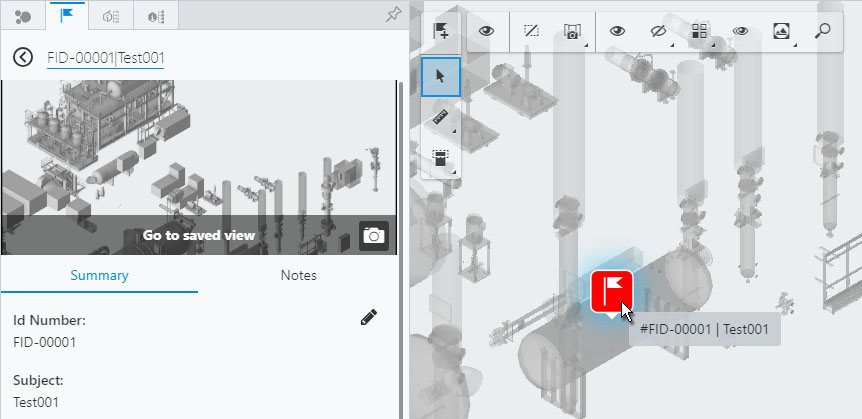
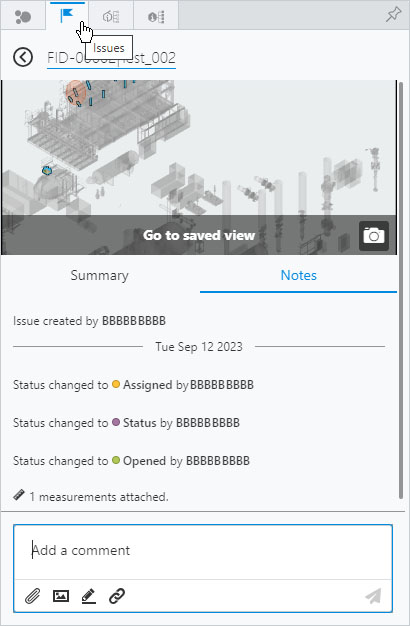
- Issues Panel – The Issues
Panel presents the list of issues. When an issue is selected (either by
choosing from the list or clicking on its marker in the workspace), the panel
presents the issue's data on two tabs: the Summary and the Notes.
- Search – Click
 to open the search field then
enter text that identifies an issue or group of issues.
to open the search field then
enter text that identifies an issue or group of issues.
- Hide View Markers –
Click this
 to remove markers from the
workspace.
to remove markers from the
workspace.
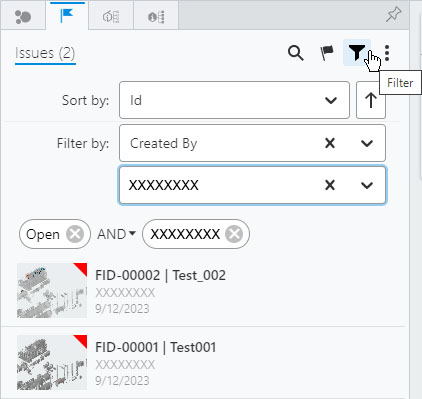
- Filter – Click the
Filter icon to access the controls that filter the issues list.
-
Ascending/Descending – Click
 to arrange the list of issues in
ascending order. The arrow flips to Descending on the second click.
to arrange the list of issues in
ascending order. The arrow flips to Descending on the second click.
- Options – Click
this
 to access the Refresh feature.
- Sort by – Expand the drop-down to set the sort order by selecting one of the available options, which include ID, Status, Create Date, Status, etc.
- Filter by – Filters the list based on the available options that include Created By, Status, Date, etc. Options in the second filter field are governed by your choice in the first field.
-
Ascending/Descending – Click
- List of Issues – Click on an issue to view its record.
- Search – Click
Procedure:
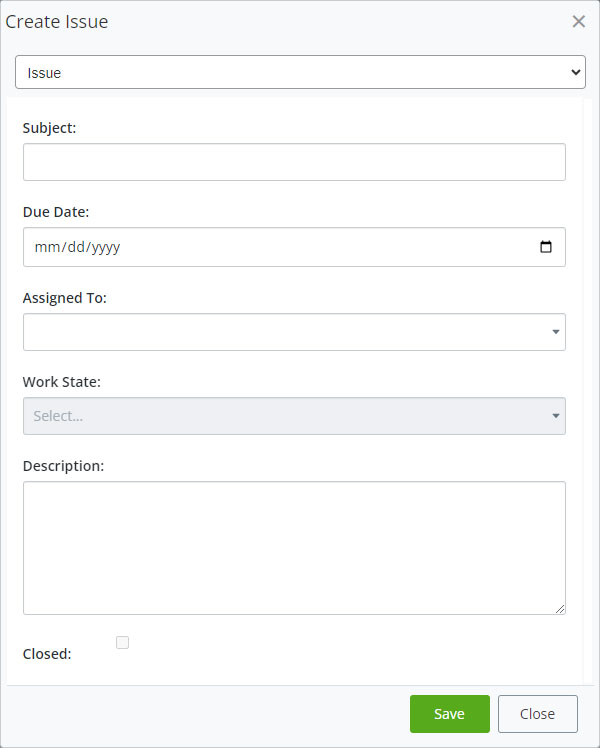
- To record an issue, click the Create Issue icon, to equip the cursor, then click on an element in the workspace.
- On the Create Issue dialog, expand the Issue drop-down and choose from the available options. Figure 6 – ResolveIssues_005.jpg
- Provide a Subject and a Due Date then choose from the Assigned To drop-down. Enter the details of the issue in the Description box.
- Click the Save button, to complete the creation process, or click Close the exit the dialog without attaching the issue record to the element.