To Create Single Tag
- Open Tag Browser.
-
Click
Create Single Tag (
 ) to start the tag creation
process.
) to start the tag creation
process.
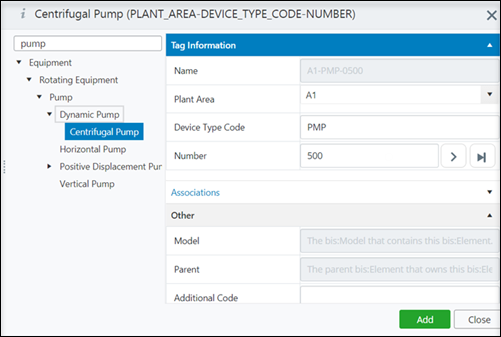
- You can type the desired class name in the "Search Functional Components" area to get list of available classes. The following picture is an example of a Pump.
- Enter the appropriate tag information. (The tag information varies, depending on the selected class.)
- When you are finished, click Add to add the tag.
-
Click
Close, to close the tag creation.
The newly created tag moves to Unsaved Changes.
-
Click
Save Changes (
 ).
A progress dialog appears while the tags are
being updated, for example,
).
A progress dialog appears while the tags are
being updated, for example,
When finished, the tag appears in the Equipment node in iModel Tree.
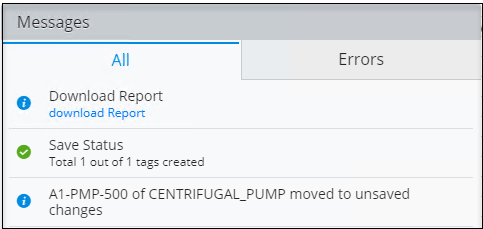
- You can view all tag creation activities from Messages.
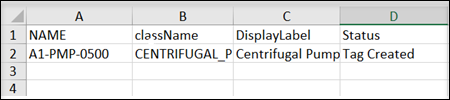
- To view a report of your activity, click Download Report. Reports are saved to your Windows Downloads folder, typically C:\Users\<User Name>\Downloads, where <User Name> is your Windows user name. The following is an example of a downloaded tag creation report:
 ) - Sets the next available
number from the Tag Registry
) - Sets the next available
number from the Tag Registry
 ) - Sets the tag number one value
greater than the current highest tag number.
) - Sets the tag number one value
greater than the current highest tag number.