Creating Tagging Rules
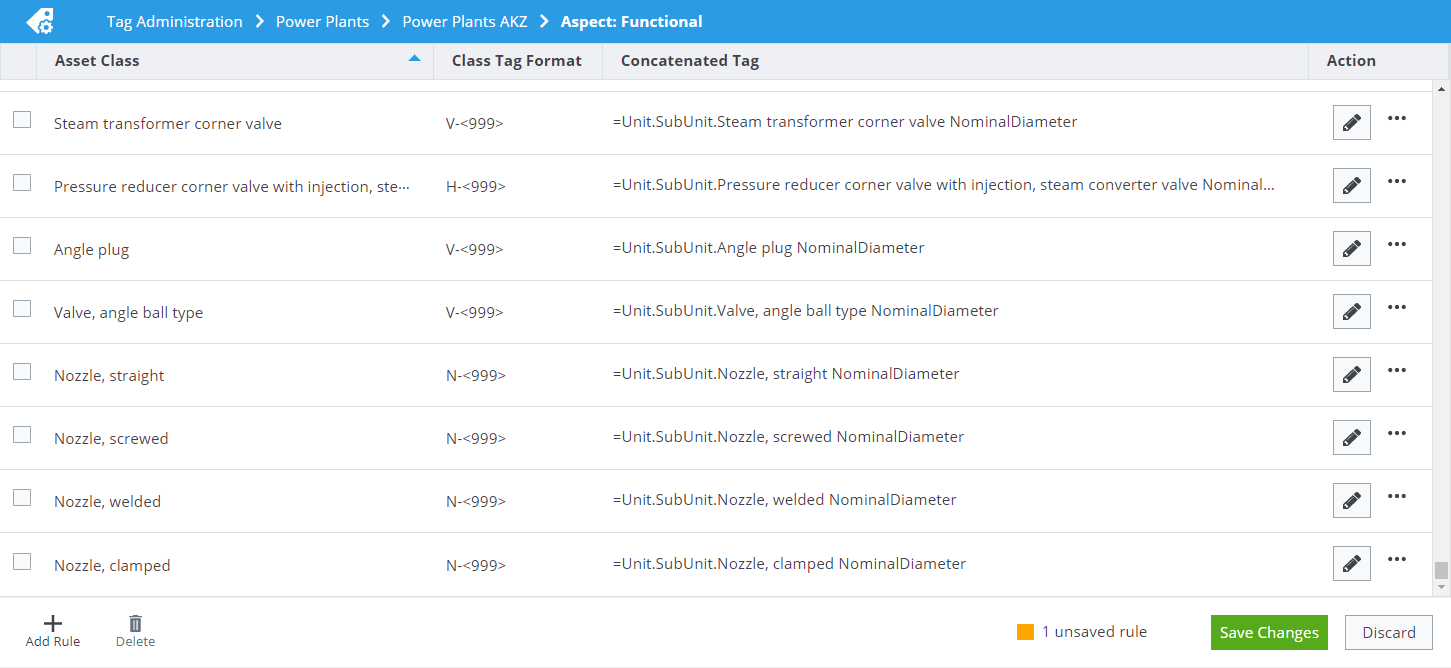
- To edit a present rule, click the pen icon of the rule.
-
To add a new rule, click
Add Rule.
This row is shown in edit mode.
- Select a class in the Asset Classes column by either:
-
In the
Class Tag Format column, enter how the tag of
this specific class must be built up.
You can either enter fix values that stay the same in every tag of this class or have values calculated.
The Class tag Format can consist of three parts:Following characters are supported in Class tag Formats:
A-Z, a-z alphabetic values Are always the first part of a class tag format.
- separator Can be used between alphabetic characters and numbers.
0-9 numeric values Which characters you enter does not matter, only the number of characters. The number of characters you put in brackets defines the number of characters your counter will have in the resulting tags.
You can create calculations for numeric values that are automatically counted up.< opens a calculation Only applicable to numeric values.
> closes a calculation Only applicable to numeric values.
Example:
-
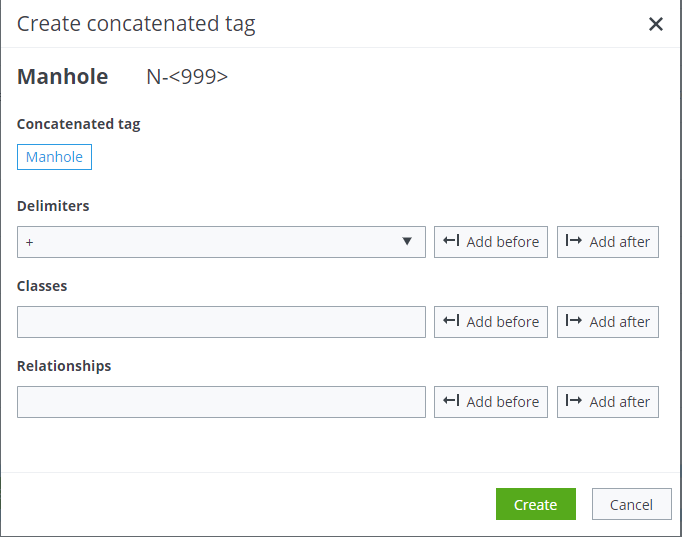
To create a concatenated tag, click
Select in the
Concatenated Tag column.
The window Create Concatenated Tag opens. By default the concatenated tag contains the current class tag. This means, whenever an object based on this class is created in PlantSight, the Class Tag Format you entered will be applied. The resulting class tag is assigned to the object.
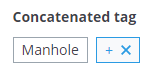
- To add a delimiter, select the delimiter from the list.
-
Click
Add Before or
Add After.
The delimiter is added before or after the class. The newly added delimiter is selected in the concatenated tag.
- To add a class, select a class from the Classes list. Objects connected with the current object by a parent or child relationship don't need to have any relationship specified.
-
Click
Add Before or
Add After.
The class is added before or after the previously selected element. The newly added class is selected in the concatenated tag.
- To add a class connected by another relationship than parent or child, select a relationship.
- Place the relationship after the class it refers to. You can have delimiters inbetween.
-
Select the class, the relationship refers to.
Example: Pump.PumpHasNozzle.Nozzle

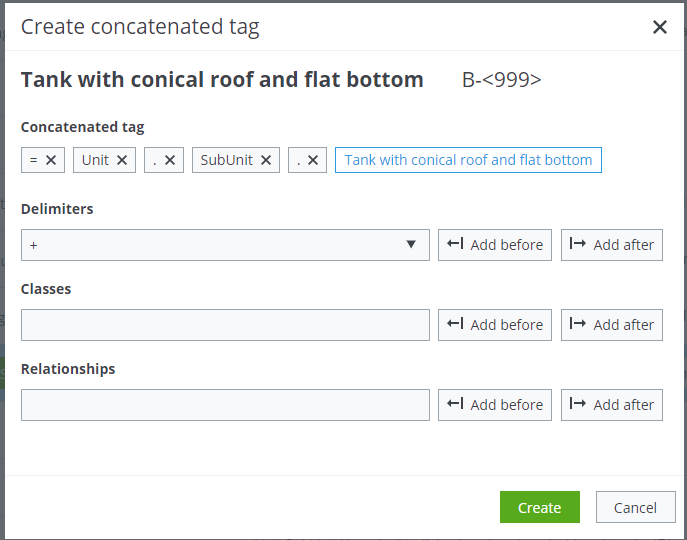
Concatenated Tags are resolved when an object based on the selected class is saved in the application. For example when users aggregate an object of the class Tank with conical roof and flat bottom, the software checks whether the other classes given in the Concatenated Tag can be found in the object's hierarchy.
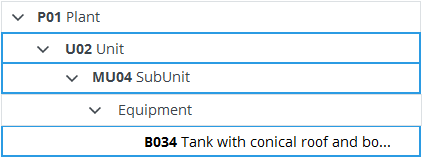
The resulting tag will be the following:
=U02.MU04.B034