Symbology Override
The Symbology Override tool allows you to assign a color to a group of elements. For example, you could select all existing roads (using CTRL+E) and assign them a slight color tint or group elements associated with the same scenario.

The Symbology Override tab gives you the ability to create a named symbology override from elements selected in the model using Elements Selection Tool.
Creating a New Symbology Override

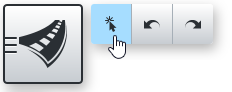
Clicking this icon will create a new symbology override.
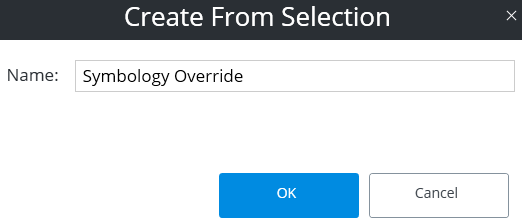
The dialog box above will appear, allowing you to specify a name for the new symbology override.
Modifying the Symbology Override
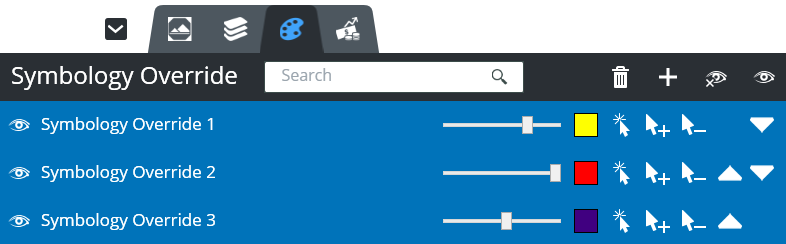
Once the symbology override has been created, you can modify it in several ways.
|
Setting |
Description |
|
Alpha and Color Picker |
The slider adjusts the transparency (alpha) of the color assigned to the symbology override. The color can also be modified by left-clicking on the Color Picker. |
|
Select in View |
The Select in View icon allows you to select and highlight all elements included in the named symbology override. |
|
Add/Subtract Current Selection |
The Add/Subtract Current Selection tools allow you to add or subtract selected elements to/from the symbology. |
|
Hide/Show All |
The hide/show all icons in the Symbology Override header bar will hide or display all named symbology overrides. You can also hide or show individual symbology rides with the icons next to the symbology override's name. |
|
Increase/Decrease Priority |
An element may be assigned to one or more named symbologies. The Symbology Override priority can be adjusted using the triangle icons. |
|
Delete |
The trash icon in the Symbology Override header bar brings up a pop-up dialog to confirm the deletion of an unwanted named symbology override. |
|
Search |
The Search toolbar allows you to search for a specific named symbology override. |