The Components Center
Configuring Permissions for the Components Center
To use the Components Center with OpenRoads ConceptStation , you must first configure your permissions accordingly using the Enterprise Portal.

In your personal permissions, you can configure Components Center to allow for several actions.
|
Setting |
Description |
|
Read |
The Read Permission allows the selected user to see and download components from either the clients or the portal. |
|
Upload |
The Upload Permission allows the selected user to upload a file as a component from either the client or the portal. This permission also controls the ability to upload reference files to a component. |
|
Write |
This permission allows the selected user to edit a component's properties. It also allows a user to delete a component. This permission also controls a user's ability to see the Components Center tile. |
|
Approve |
This permission allows the selected user to set the State property for a component. |
|
Publish Catalog |
This permission allows the selected user to publish a public facing catalog that can be consumed by users outside of their organization. |
Creating and Assigning Roles
Roles can be defined to have a set combination of Permissions and they can be assigned to any user.
Creating a Role
- Navigate to the BAS
Engineering tab and select the
 button on the right.
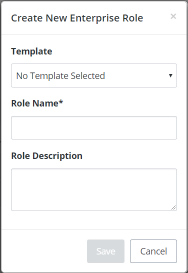
- You can either select a Template to start from an existing role or create a blank role. Click the Save button to create the role.
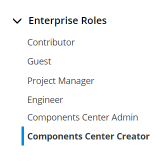
- Once the role is created, it will be available in the Enterprise Roles drop-down menu.
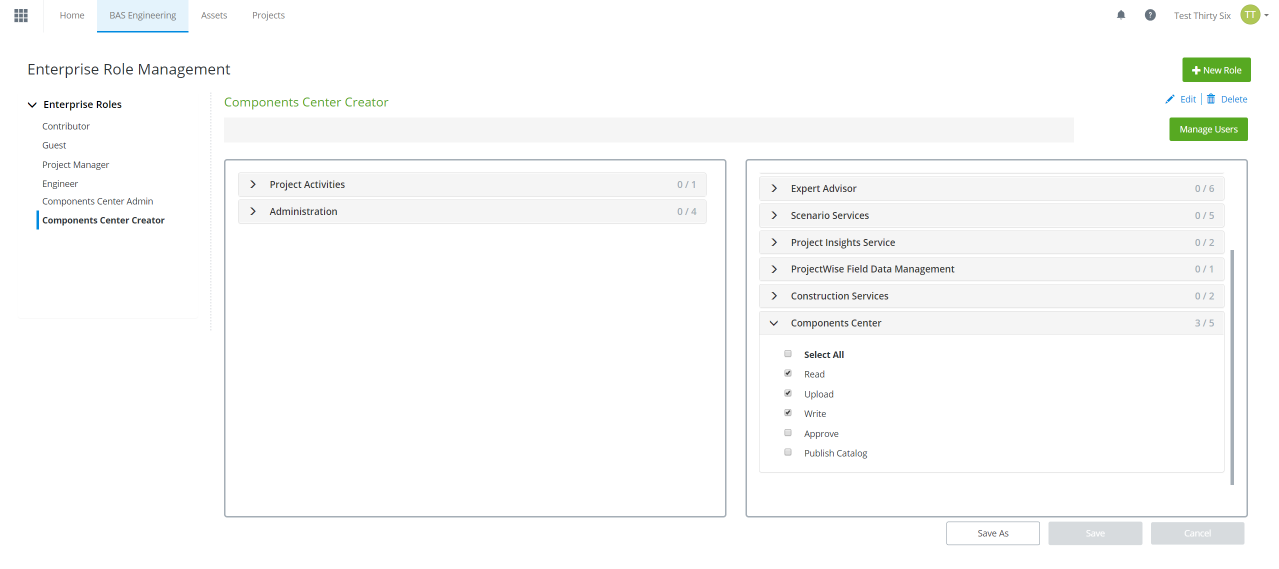
- Select the role and expand the Components Center permissions in the center-right pane to assign the required permissions.
- Click Save to complete the process.
Assigning a Role
- Navigate to the BAS
Engineering tab and select the
 button on the right.
- Change the Role Selection to All Users.
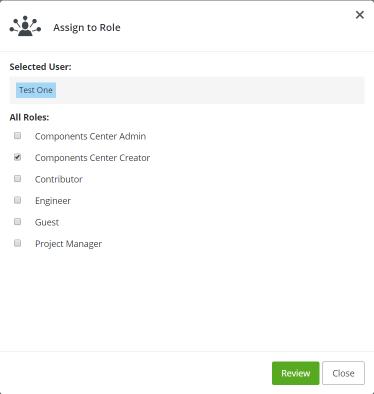
- Select a user, then click Modify Role(s) to open the Assign Roles dialog.
- Select a Role to assign to the user, then click Review.
- Confirm the role assignment by clicking Submit. The Role will now be assigned to the user.