Editing a Spec Section
Spec sections are displayed in an expandable tree view under the Spec Details section of the OpenPlant Specification Generator interface. The Spec Section is divided between the Section/Classes area and the Constraints area of the interface. The Section/Classes area identifies the types of components to be included in the spec section while the Constraints section is used to further filter the components by size, rating etc. A sample spec section is show below:
Spec Section Context Menu
- Collapse All: Collapse all of the spec sections in the interface.
- Expand All: Expands all of the spec sections.
- Copy
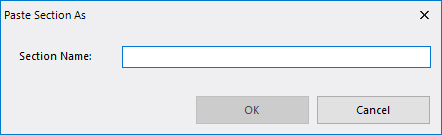
As: Allows you to copy a section and paste it into the spec with a
different name. The following dialog displays when this option is selected:
Enter a new name for the section and click OK.
Add Classes

You can modify the classes associated with a spec section by pressing the Add Classes button. This displays the Class Browser dialog allowing your to add/remove component classes from the spec section.
Expert Mode

In each spec section, you can disable the Expert Mode check box at any time to display the number of records from the active catalogs that match the filter defined in each constraint row's Count field. When Expert Mode is enabled, the color of the count label will change to distinguish it from the other labels.
Constraints
In the Constraints section, a set of default fields are provided to help you define the criteria that will be used to determine which records from the selected catalogs will be included in the spec. As noted above, if the Export Mode option is enabled, the Count field in the Constraints section will display the number of component records in the selected catalogs that meet the criteria.
The default fields that display in the Constraints area for each spec section can be modified. Press Add Remove Constraints to display the Add Remove Constraints dialog, which enables you to specify the fields displayed to define constraints for that section.
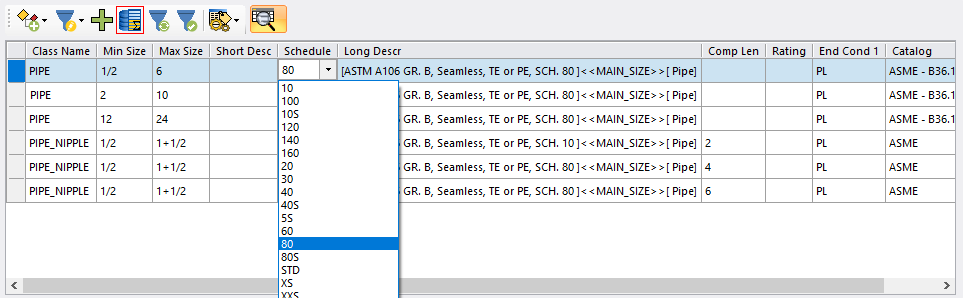
You can set values for these fields to filter the records that will be included in your spec; either by size ranges, rating, pipe schedule, catalog name, etc. Notice below that when you select one of the columns in the constraint a list of possible values is presented. This list is populated from the values for this field in the entire set of active catalogs.
Multiple values can be assigned to a constraint by selecting ' ...' from the constraint field's drop-down list. This will display the Select Values dialog.
Additional Constraint Editing Tools
If you right click in a field in the Constraint area of a spec section, the context menu provides additional editing options:
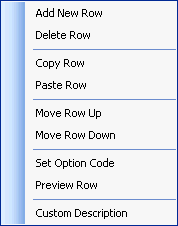
The sections below describe the options available in the constraint section context menu.
Adding or Removing Constraint Rows
To add a new constraint row to a spec section press the button, or right-click and select
the
Add New Row option from the context menu.
OpenPlant Specification Generator will add a new
empty row to the current section. To remove a row, right-click on the row and
select the
Delete Row option from the context menu.
button, or right-click and select
the
Add New Row option from the context menu.
OpenPlant Specification Generator will add a new
empty row to the current section. To remove a row, right-click on the row and
select the
Delete Row option from the context menu.
Move Row Up/Down
Allows you to rearrange the order of the section rows by moving the selected row either up or down.
Previewing Entries for a Constraint Row
You can preview the records that will be added to the spec based on a constraint row at any time. Simply right-click in the section row and select Preview. The following Row Preview displays:
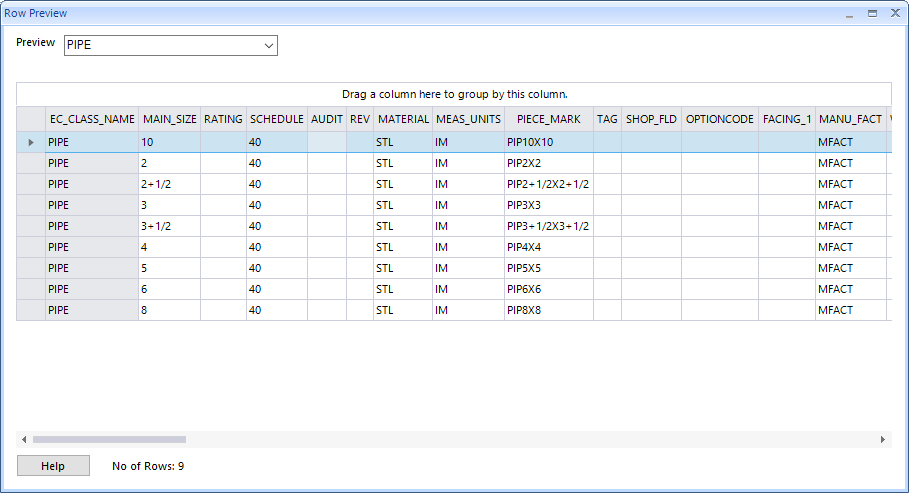
For better viewing, the columns can be rearranged and/or the sort order can be changed.
| Sort Ascending | Sorts the record display in an Ascending (lowest to highest) order using the column's values. |
| Sort Descending | Sorts the record display in an Descending (highest to lowest) order using the column's values. |
| Clear Sorting | Clears the active sorting setting and returns to the default display. |
| Conditional Formatting | Displays the Conditional Formatting Rules Manager where you can define Formatting Rules to use to control the display of records. |
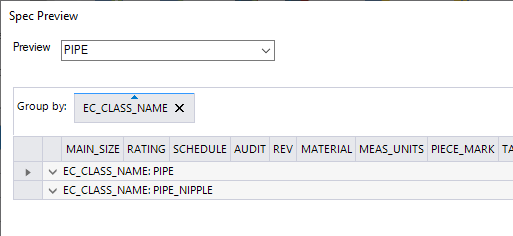
| Group by this column | This option will group the results using the
results from the selected column like shown below:
Note: You can
get the same results by dragging the column header into the area above the
header row.
Expand the groups to view the available records. For example, the EC_CLASS_NAME:PIPE will displays all of the available Pipe options in the spec. To return to default display click the X next to the column name. |
| Column Chooser | Displays the Column Chooser dialog where you can add/remove columns from the grid using the drag and drop method. |
| Hide Column | Hides the selected column. The column can be added back to the display using the Column Chooser dialog. |
| Pinned State | Displays options determining the position of the column: |
| Best Fit | This option adjusts the column width to the width of the longest value in the column. |
When you are finished viewing the records, close the dialog to return to the main interface.
