To Use the Fence Stretch Command
- Click the Place Fence icon.
-
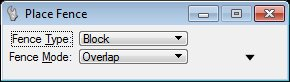
In the Place Fence dialog, select one of the following options as a Fence Type:
These are the only options that should be used when utilizing the Fence Stretch command.
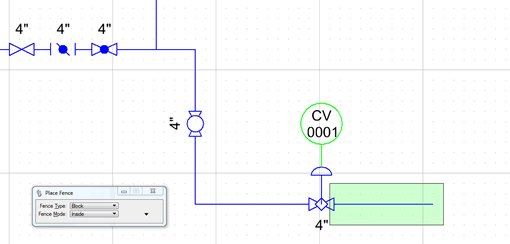
- Place the fence around the desired elements.
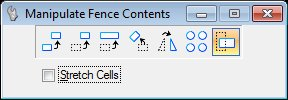
- Select the Manipulate Fence Contents option from either the Tools > Selection menu, or the Selection toolbar.
-
Make sure the Stretch Cells option is not checked and select the Stretch
 icon.
icon.
- Pick a point on the fence or anywhere with as the first point.
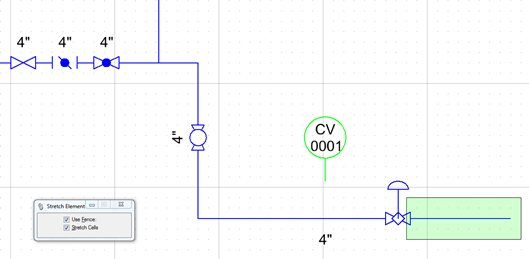
- Pick the second stretch point. The result is the pipe run is stretched and the other components, inside and/or overlapping the fence are moved.
The scenario above represents a simple stretch of a pipe run with inline components on it. There are several scenarios where the rerouting of pipe runs to maintain connectivity become more involved and may require some cleanup process to get the pipe runs routed the way you want.
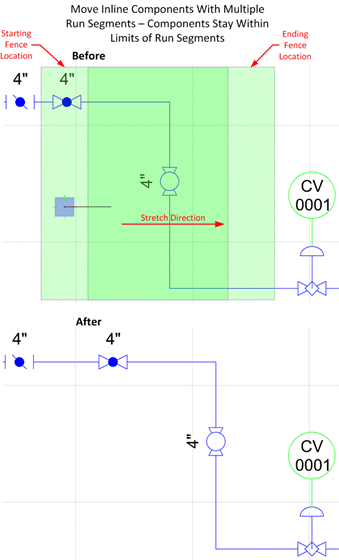
Another common scenario which involves a Fence Stretch is moving inline components with multiple run segments as illustrated below.
In this example, the top horizontal run segment stretches, becoming longer. The valve in that segment moves to the right. The vertical run segment with its ball valve simply shifts to the right and the bottom horizontal run segment becomes shorter.
If you use the scenario above, except you stretch the fence past an inline component (in this case the control valve) which is not part of the fence as shown below:
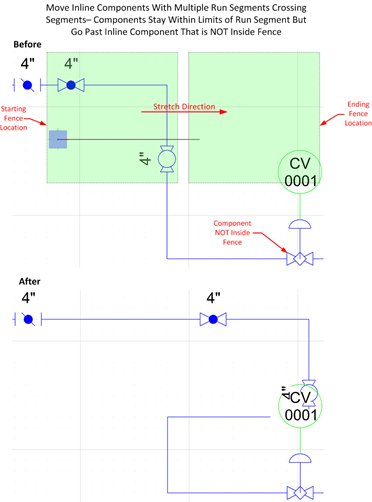
The vertical run, which is part of the fence and includes the ball valve, is shifted to the right. An additional horizontal run segment is added to maintain connectivity with the shifted section of the vertical run.