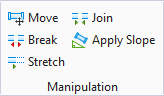
Apply Slope
Workflows
The slope tool is designed to slope a single pipe length,
or an entire pipe run. The behavior of how the slope is applied in the model
depends on both the settings defined in the Apply Slope dialog and the pick
points on the components you are applying the slope to.
Below are a couple of basic scenarios on how the slope can
be applied in a model.
Example 1
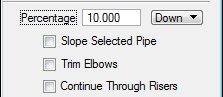
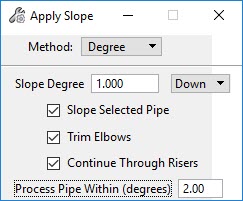
In the first example, the following settings are applied
in the dialog:
Note: Note that for all
of the examples below, the slope Method (and it's value), as well as the
Process Pipe Within fields will remain unchanged.
When you pick a point on an open end of a pipe as shown
below:
You will get the following error message in the Message
Center:
This is because the Slope Selected Pipe option has been
disabled and there are no connecting elbows to the selected end of the pipe.
Note: This message will
also display if you have the Continue through Risers option enabled and select
open end point shown above.
However, if you have the Slope Selected Pipe enabled and
click the open end of the pipe, only that section of pipe will be sloped as
shown:
Example 2
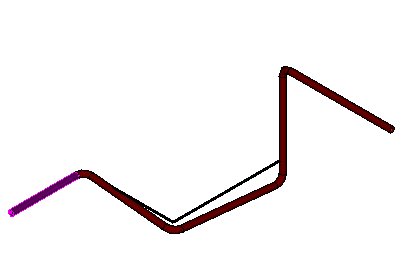
If both options are disabled as shown below:
and you select the pick point below,
then the resulting slope will display as shown below:
The slope applies to all of the components from the pick
point to the riser.
Note: Since the Slope
Selected Pipe option was disabled, the selected section of pipe is not sloped.
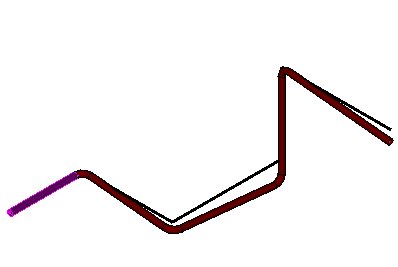
If the Continue Through Riser option was Enabled, then the
resulting slope would display as shown below:
Note: Once again, the
selected pipe is not sloped as the Sloped Selected Pipe option was disabled.
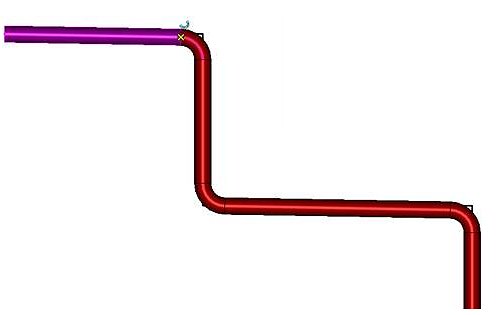
If both option are enabled and the same spot is picked,
then the resulting slope would include the original selected pipe along with
the other components as shown below:
Trimmed Elbow Example
When a slope angle is applied to a pipeline, and the
Trimmed Elbows option is enabled, then the elbows in the pipeline will be
trimmed per the slope angle.
In the following example, a pipeline was drawing in a
Front view:
Then apply the following slope settings:
And select the first pipe:
OPM will slope the piping network. If you mouse over the
first elbow, you will see it has been trimmed per the slope angle applied.
 The slope tool allows you to
specify the amount a pipe should slope over a specified distance and lets you
to apply that to existing pipe runs in the drawing.
The slope tool allows you to
specify the amount a pipe should slope over a specified distance and lets you
to apply that to existing pipe runs in the drawing.