Place Equipment
The Place Equipment command defines the location of the equipment placed in the rack.
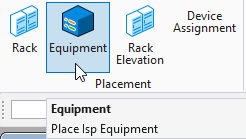
Open the Rack Management Dialog Box
- From the Placement section of the ISP Tab click the Equipment command:
- Select a rack on the map.
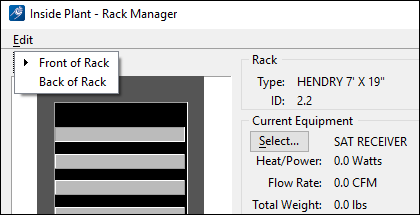
- The Inside Plant - Rack Manager dialog box opens, displaying any previously defined equipment and options for adding, updating, moving, and removing equipment.
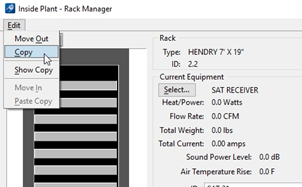
- By clicking on the Edit pull-down menu, choices for moving and copying are offered.
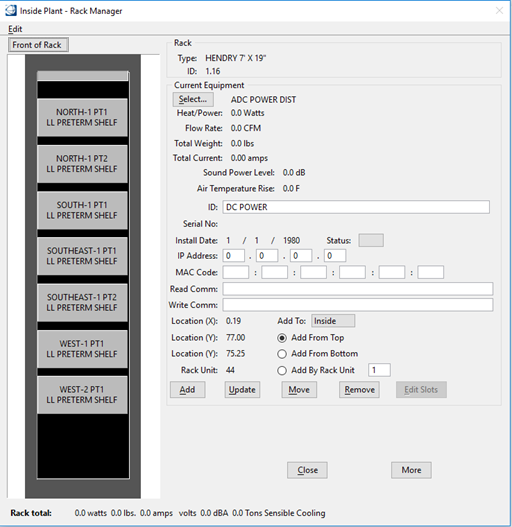
Add Equipment to a Rack
- From drop-down menu at the top of the rack display, select whether the equipment is being added to the Front or Back of the rack.
- Click Select from the Current Equipment section.
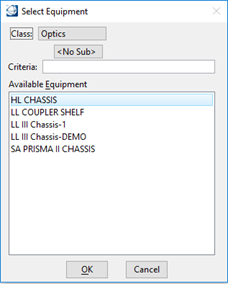
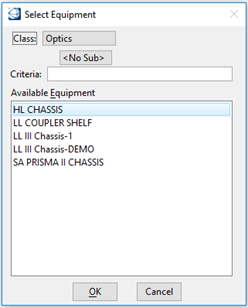
- The Select Equipment dialog box opens.
- From the Class pull-down menu, select the Class and Sub-Class of the equipment to add.
- Highlight an equipment from the Available Equipment list.
- Click OK to accept the equipment or Cancel to abort.
- Key in the equipment ID. The unique ID label is placed at the top of the current equipment when placed in the rack.
- Key in the Serial Number, Installation Date, IP Address, MAC Code, Read Comm and Write Comm.
- Select the equipment status.
- Select whether the equipment is being added from the Top of the rack, the Bottom of the rack or by a Rack Unit number.
- Click Add to add equipment in the rack. The equipment is placed in the frame as defined from either the top or the bottom. The spacing between the equipment was previously defined in the Rack Editor (Setup > Racks) dialog box in the Rack Units field.
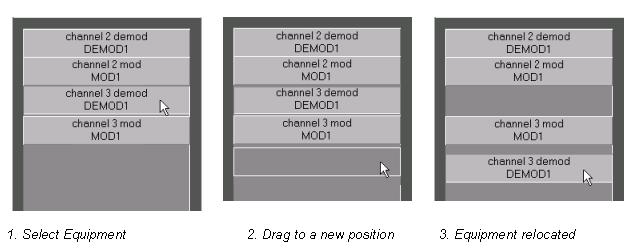
- Continue adding equipment as required and click Close when completed. The equipment can easily be rearranged within a rack by selecting the equipment and dragging it to the new position.
Update or Change Equipment
- Select an equipment in the rack.
- Modify the current equipment information as necessary and click Update.
Move Equipment
- Select an equipment in the rack.
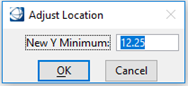
- Click Move.
- The Adjust Location dialog box opens.
- Key in a new location.
- Click OK to proceed or Cancel to abort.
Remove Equipment
- Select an equipment located in the rack.
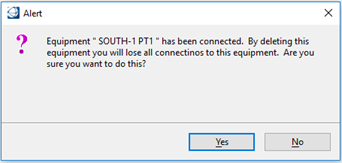
- Click Remove. An alert box opens warning that the selected equipment is to be deleted.
- Click Yes to confirm the deletion or No to cancel.
Edit a Slot
- Select an equipment located in the rack.
- Click Edit Slots.
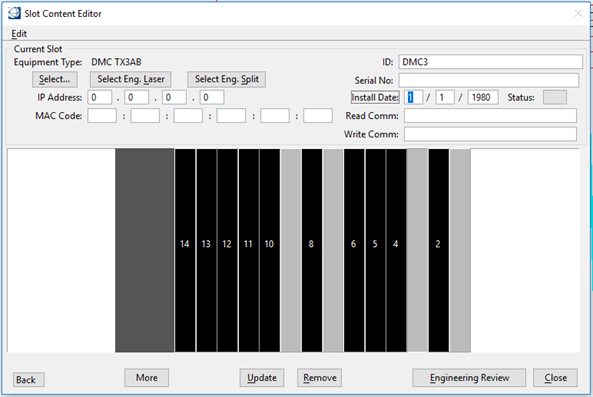
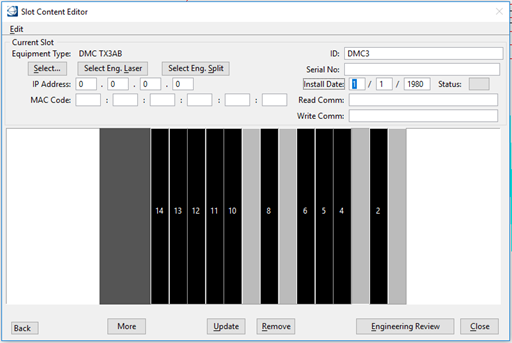
- The Slot Content Editor dialog box opens.
- Select an empty slot.
- Click Select.
- The Select Equipment dialog box opens.
- From the Class pull-down menu, select the Class and Sub-Class of the equipment to add.
- Highlight an equipment from the Available Equipment list.
- Click OK to accept the equipment or Cancel to abort.
- Key in the equipment ID. The unique ID label is placed in the center of the current equipment when placed in the slot.
- Key in the Serial Number, Installation Date, IP Address, MAC Code, Read Comm and Write Comm.
- Select the equipment status.
- Click Update to add equipment in the slot.
- Continue adding equipment as required and click Close when completed.
Insert a Calculated Laser Into a Slot
- Select an empty slot from the Slot Content Editor dialog box.
- Click Select Eng. Laser.
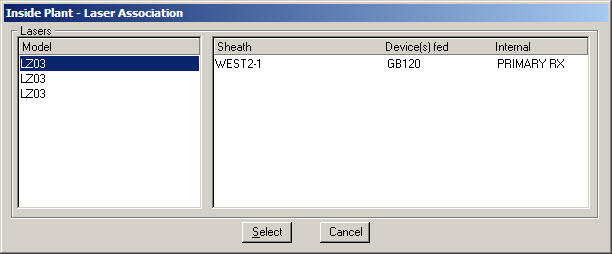
- The Inside Plant - Laser Association dialog box opens.
- The list on the left side of the dialog box shows all the lasers that were calculated with the Engineering calculation tool for this building/headend and that were not already associated to a slot.
- Select one of the lasers from the Laser list to displays its properties.
- Click Select to associate the selected laser to the slot.
- Key in the equipment ID. The unique ID label is placed in the center of the current equipment when placed in the slot.
- Key in the Serial Number, Installation Date, IP Address, MAC Code, Read Comm and Write Comm.
- Select the equipment status.
- Click Update to add the laser in the slot.
- Continue adding equipment as required and click Close when completed.
Insert a Calculated Splitter Into a Slot
- Select an empty slot from the Slot Content Editor dialog box.
- Click Select Eng. Splitter.
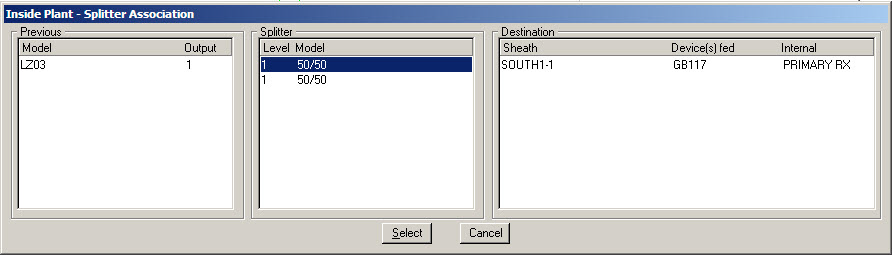
- The Inside Plant - Splitter Association dialog box opens.
- Select one of the splitters from the Splitter list to displays its properties and the laser it is connected to.
- Click Select to associate the selected splitter to the slot.
- Key in the equipment ID. The unique ID label is placed in the center of the current equipment when placed in the slot.
- Key in the Serial Number, Installation Date, IP Address, MAC Code, Read Comm and Write Comm.
- Select the equipment status.
- Click Update to add the splitter in the slot.
- Continue adding equipment as required and click Close when completed.
Review Engineering Laser or Splitter
- Select a slot from the Slot Content Editor dialog box.
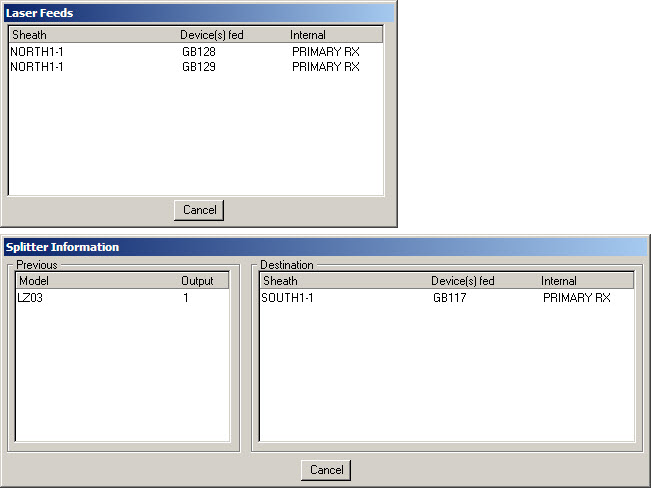
- Click Engineering Review.
- The Laser Feeds dialog box or the Splitter Information dialog box opens, displaying connection information.
- Click Cancel to exit.
Move a Card
- Select a slot from the Slot Content Editor dialog box.
- Select Edit > Move Out. The card is removed from the slot.
- Select an empty slot.
- Select Edit > Move In. The removed card is installed in the slot.
Copy a Card
- Select a slot from the Slot Content Editor dialog box.
- Select Edit > Copy.
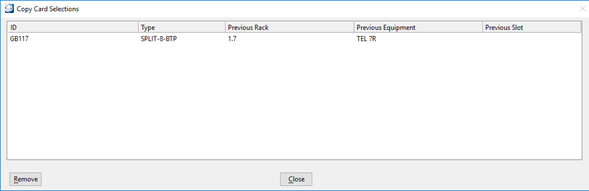
- Select Edit > Show Copy.
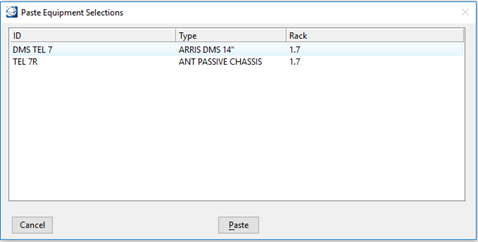
- The Copy Card Selections dialog box opens, displaying the card selected for copying.
- Select a card from the list and click on Remove to remove unwanted card from the list.
- Select an empty slot from the Slot Content Editor dialog box.
- Select Edit > Paste Copy. The card is copied in the selected slot.
Update or Change a Slot
- Select a slot in the equipment.
- Modify the current equipment information as necessary and click Update.
Remove a Slot
- Select a slot located in the equipment.
- Click Remove. An alert box opens warning that the selected equipment is to be deleted.
- Click Yes to confirm the deletion or No to cancel.
Change the Custom Attributes on an Equipment