Copper Route Drop
Place a Drop
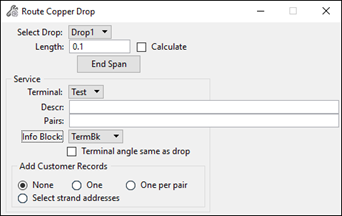
- To use the Copper Route Drop function, click the Route Drop icon from the Placement section of the Copper tab to display the following dialog:
- Select the Drop type to install.
- Type in the Length of the drop or check the Calculate box if you want the software to automatically calculate the drop length.
- While laying down the drop, clicking End Span creates individual span lengths instead of a single span (for distance annotation purposes).
- Select the Terminal to install.
- Key in the Description and complementary Pairs allocated to that customer. It is possible to allow one or more copper pairs to each customer.
- Choose the type of info block annotation to use.
- Activate the ‘Terminal angle same as drop’ check box to place the terminal with the same angle as the drop.
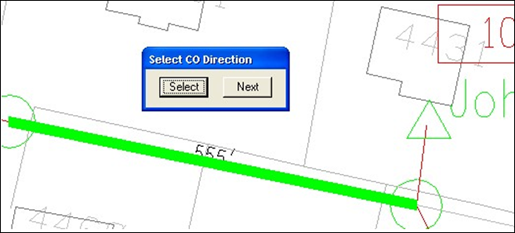
- Select the span where the drop is being placed. After selecting the span, indicate the CO direction:
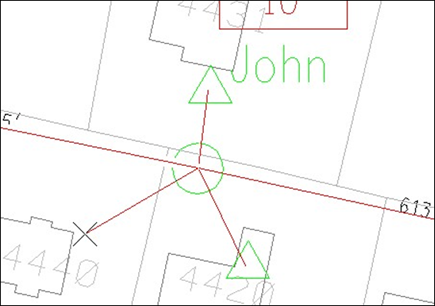
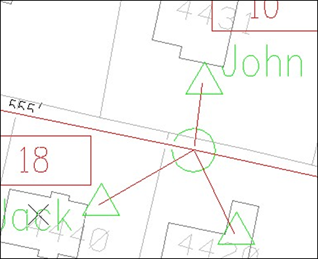
- Place the drop on the map.
You can place a single or a string line to show the drop going from the
terminal to the house. Click on the right mouse button to exit drop placement
mode.
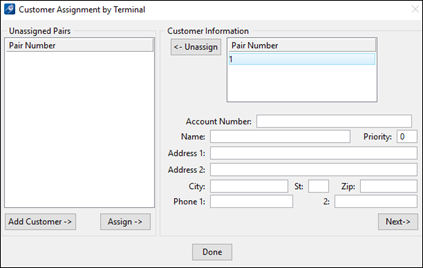
A dialog box opens to enter customer information:
All copper pairs unassigned are listed in the left side of the dialog box. For each customer entered in the right part of the dialog box, one or more copper pairs can be assigned or unassigned by clicking on the Assign -> or <- Unassign button. New customers are added by clicking on the Add Customer button and navigating through the customer data by clicking the Next button.
- Click Done to save the information entered and to place the info block on the map.