Place Equipment
The Place Equipment command defines the location of the equipment placed in the rack.
Open the Rack Management Dialog Box
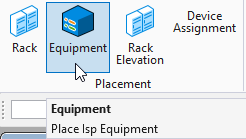
- From the Placement section of the ISP Tab click the Equipment command:
- Select a rack on the map.
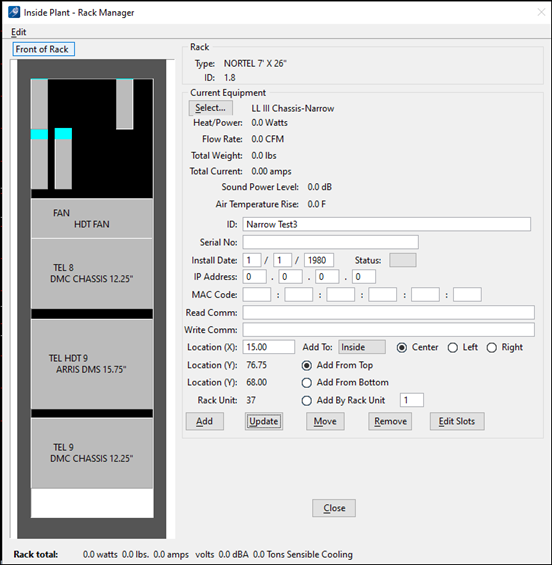
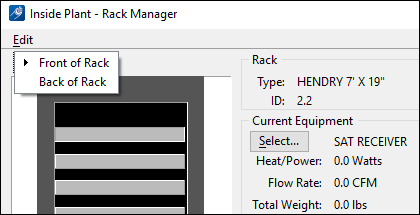
- The Inside Plant - Rack Manager dialog box opens, displaying any previously defined equipment and options for adding, updating, moving, and removing equipment.
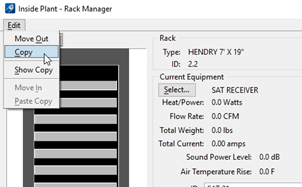
- By clicking on the Edit pull-down menu, choices for moving and copying are offered.
Add Equipment to a Rack
- From drop-down menu at the top of the rack display, select whether the equipment is being added to the Front or Back of the rack.
- Click Select from the Current Equipment section.
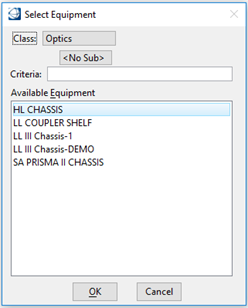
- The Select Equipment dialog box opens.
- From the Class pull-down menu, select the Class and Sub-Class of the equipment to add.
- Highlight an equipment device from the Available Equipment list.
- Click OK to accept the equipment or Cancel to abort.
- Key in the equipment ID. The unique ID label is placed at the top of the current equipment when placed in the rack.
- Key in the Serial Number, Installation Date, IP Address, MAC Code, Read Comm and Write Comm.
- Select the equipment status.
- Select whether the equipment is being added from the Top of the rack, the Bottom of the rack or by a Rack Unit number and by Left, Right, or Center:
- Click Add to add equipment in the rack. The equipment is placed in the frame. The spacing between the equipment was previously defined in the Rack Editor (Setup > Racks) dialog box in the Rack Units field.
- Continue adding equipment as required and click Close when completed. The equipment can easily be rearranged up or down within a rack by selecting the equipment and dragging it to the new position.


Update or Change Equipment
- Select an equipment device in the rack.
- Modify the current equipment information as necessary and click Update.
Move Equipment
- Select an equipment device in the rack.
- Click Move.
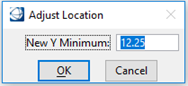
- The Adjust Location dialog box opens.
- Key in a new location.
- Click OK to proceed or Cancel to abort.
Remove Equipment
- Select an equipment located in the rack.
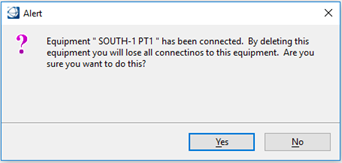
- Click Remove. An alert box opens warning that the selected equipment is to be deleted.
- Click Yes to confirm the deletion or No to cancel.
Edit a Slot
- Select an equipment located in the rack.
- Click Edit Slots.
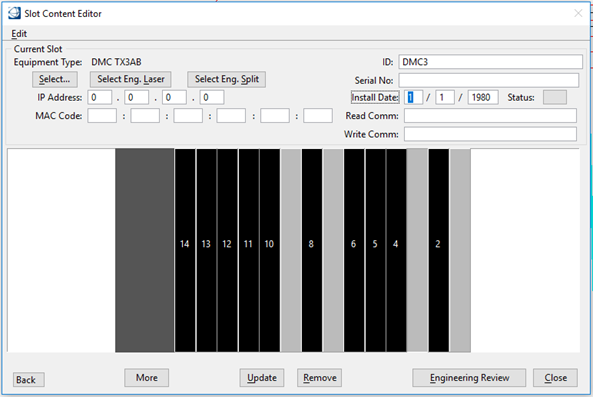
- The Slot Content Editor dialog box opens.
- Select an empty slot.
- Click Select.
- The Select Equipment dialog box opens.
- From the Class pull-down menu, select the Class and Sub-Class of the equipment to add.
- Highlight an equipment from the Available Equipment list.
- Click OK to accept the equipment or Cancel to abort.
- Key in the equipment ID. The unique ID label is placed in the center of the current equipment when placed in the slot.
- Key in the Serial Number, Installation Date, IP Address, MAC Code, Read Comm and Write Comm.
- Select the equipment status.
- Click Update to add equipment in the slot.
- Continue adding equipment as required and click Close when completed.
Insert a Calculated Laser Into a Slot
- Select an empty slot from the Slot Content Editor dialog box.
- Click Select Eng. Laser.
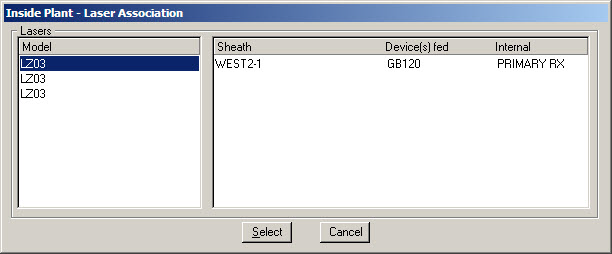
- The Inside Plant - Laser Association dialog box opens.
- The list on the left side of the dialog box shows all the lasers that were calculated with the Engineering calculation tool for this building/headend and that were not already associated to a slot.
- Select one of the lasers from the Laser list to displays its properties.
- Click Select to associate the selected laser to the slot.
- Key in the equipment ID. The unique ID label is placed in the center of the current equipment when placed in the slot.
- Key in the Serial Number, Installation Date, IP Address, MAC Code, Read Comm and Write Comm.
- Select the equipment status.
- Click Update to add the laser in the slot.
- Continue adding equipment as required and click Close when completed.
Insert a Calculated Splitter Into a Slot
- Select an empty slot from the Slot Content Editor dialog box.
- Click Select Eng. Splitter.
- The Inside Plant - Splitter Association dialog box opens.
- Select one of the splitters from the Splitter list to displays its properties and the laser it is connected to.
- Click Select to associate the selected splitter to the slot.
- Key in the equipment ID. The unique ID label is placed in the center of the current equipment when placed in the slot.
- Key in the Serial Number, Installation Date, IP Address, MAC Code, Read Comm and Write Comm.
- Select the equipment status.
- Click Update to add the splitter in the slot.
- Continue adding equipment as required and click Close when completed.

Review Engineering Laser or Splitter
- Select a slot from the Slot Content Editor dialog box.
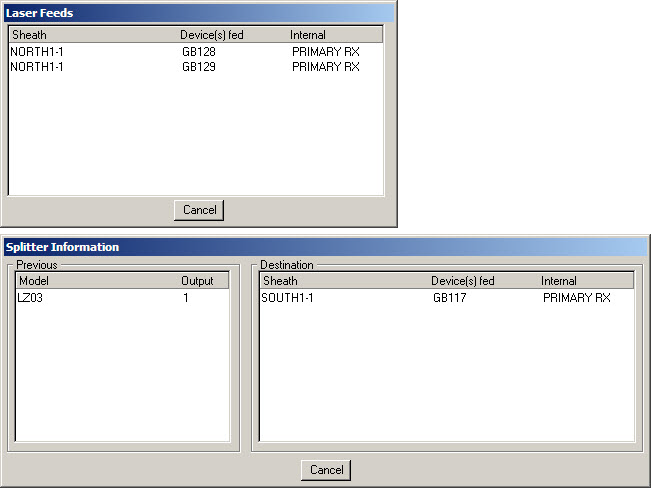
- Click Engineering Review.
- The Laser Feeds dialog box or the Splitter Information dialog box opens, displaying connection information.
- Click Cancel to exit.
Move a Card
- Select a slot from the Slot Content Editor dialog box.
- Select Edit > Move Out. The card is removed from the slot.
- Select an empty slot.
- Select Edit > Move In. The removed card is installed in the slot.

Copy a Card
- Select a slot from the Slot Content Editor dialog box.
- Select Edit > Copy.
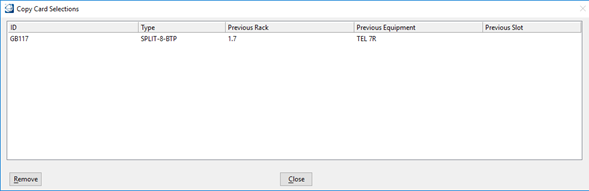
- Select Edit > Show Copy.
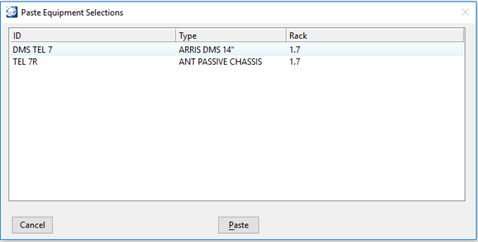
- The Copy Card Selections dialog box opens, displaying the card selected for copying.
- Select a card from the list and click on Remove to remove unwanted card from the list.
- Select an empty slot from the Slot Content Editor dialog box.
- Select Edit > Paste Copy. The card is copied in the selected slot.
Update or Change a Slot
- Select a slot in the equipment.
- Modify the current equipment information as necessary and click Update.
Remove a Slot
- Select a slot located in the equipment.
- Click Remove. An alert box opens warning that the selected equipment is to be deleted.
- Click Yes to confirm the deletion or No to cancel.
Change the Custom Attributes on an Equipment