Cross Connections
Open the Cross Connect Dialog Box
- From the Modify/Delete section of the Copper Tab select the Connections X-Conn command.
- Select a building, cabinet, or headend to which equipment is installed. The Quick Cross Connect dialog box opens.
Add a Piece of Equipment
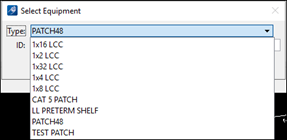
- To add equipment In the Copper device, click the Add button. The Select Equipment window opens.
- Click on Type to open the pull-down menu of available equipment. Select the equipment and enter the ID.
- Click the OK button to add the equipment to the building, cabinet, or headend. Information related to the piece of equipment displays in the Quick Cross Connect dialog box.
- Continue adding equipment as needed by selecting the Add button.
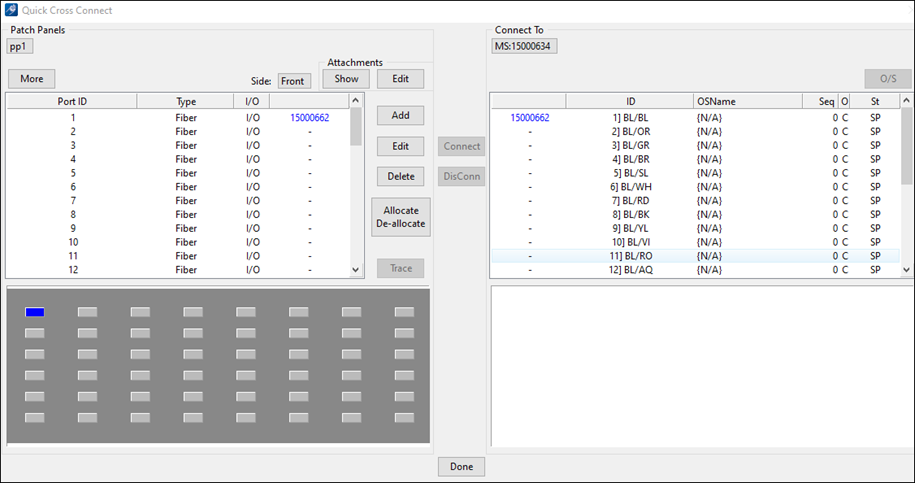
- To access the equipment ports, select the appropriate ID equipment by clicking on the Patch Panel dropdown in the upper left of the dialog.
Edit a Piece of Equipment
- Select the equipment ID at the top left portion of the Quick Cross Connect dialog box.
- Click on the Edit button. The Edit Equipment window opens.
- Enter the equipment ID.
- Click OK to save the modification to the database.
Delete a Piece of Equipment
- Select the equipment ID at the top left portion of the Quick Cross Connect dialog box.
- Click the Delete button. The piece of equipment is deleted from the database.
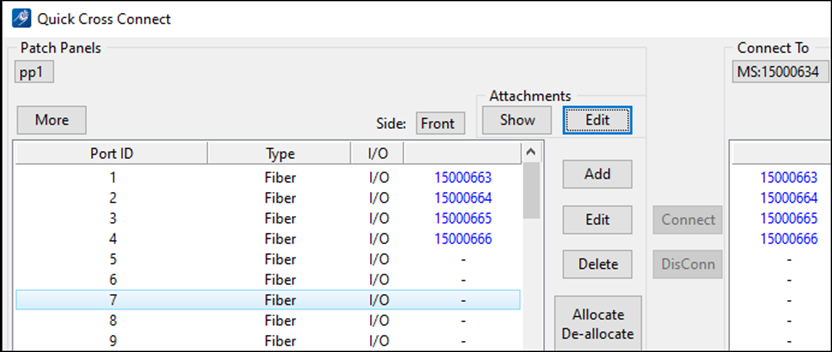
Create a Connection
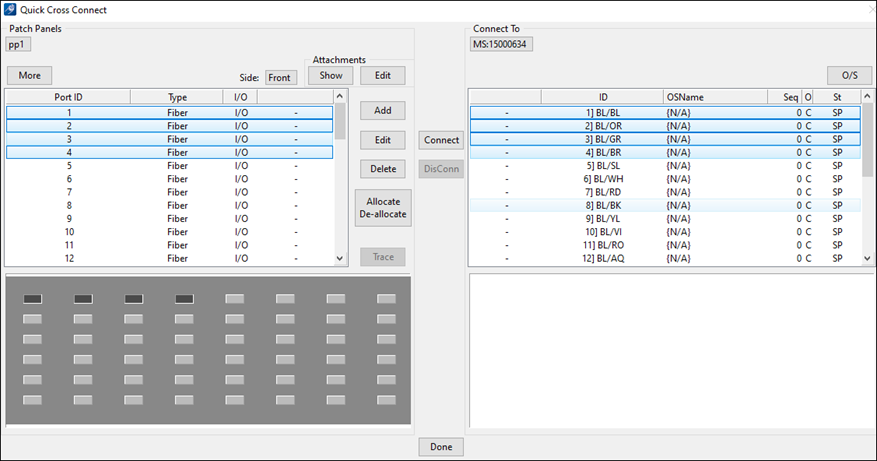
- Select the two IDs, one from the Patch Panels side and one from the Connect To side of the list boxes to load the available cables to be connected.
- Highlight the items being connected—if the connection count is equal, the Connect button becomes available:
- Click on the Connect button
to create the connection. The connected devices change color and the Connect
button is unavailable.
Blue: Illustrates devices connected and displayed in dialog box.
Red: Illustrates devices connected to a device not shown in the dialog box.
Yellow: Illustrates selected devices.

Delete a Connection
- Highlight the port or pair to disconnect.
- Click on the DisConn button to delete the connection. The disconnected devices become available for connection and the DisConn button is unavailable.
- Select the Done button to exit the command.
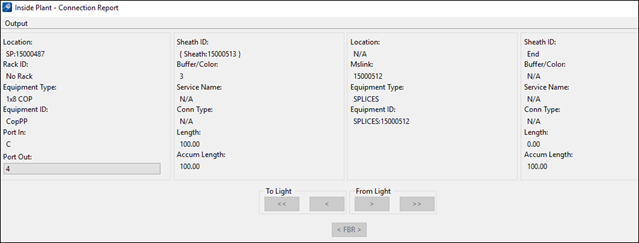
Trace a Connection
- Highlight the port or pair to Trace.
- Click on the Trace button to trace the device in the network.
- Navigate through the connected network by clicking on the arrowed buttons on the bottom of the dialog box.
Display Related Documents