Creating a Geospatial Project
Creating a geospatial project involves creating a geospatial schema, defining features, exporting the workspace and testing in OpenCities Map.
1. Select File > New
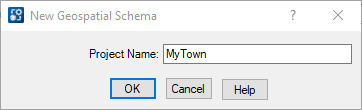
2. Name this project and click OK.
3. Select the root Geospatial Project node in the tree.
4. Define the project on the Project Information tab.
| Parameter | Description |
|---|---|
| Project Name | This is the name of the sub-directory created in the workspace root directory. It is used to store the data when the project is exported. |
| Description | An optional description of the project. |
| Configuration Root Directory | The path of the root configuration directory. By default this is set to the variable _USTN_CONFIGURATION |
5. Click Apply
6. Select File > Save As to save the schema file.