To add and delete roof panels
This example uses a sloped roof that has a gable end and a hip end.
-
Select the roof using the
Element Selection tool.
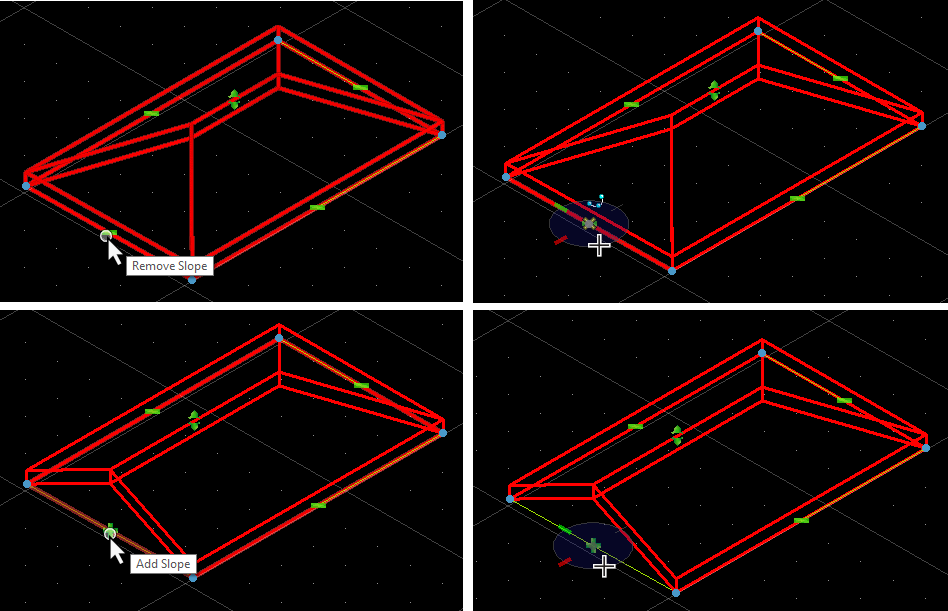
Notice that a Plus (+) or Minus (–) sign editing glyph appears on each roof edge.
-
Select the Plus (+) glyph on the gable end. The AccuDraw compass
appears on the glyph.
Enter a Data Point to accept. You can also Reset to reject the selection.
By accepting the selection, a panel is added to the gable end to create a hip end.
When Plus (+) glyphs are selected, the default slope (the slope that was used to create the roof) is used when the roof panel is added. Also notice that the Plus (+) glyph changes to a Minus (–) glyph.
-
Now select the Minus (–) glyph on the hip end. Again, the AccuDraw
compass appears on the glyph.
Enter a Data Point to accept. By accepting
the selection, a panel is deleted from the hip end to create a gable end.
When Minus (–) glyphs are selected, roof panels are deleted or subtracted. The Minus (–) glyph also changes to a Plus (+) glyph.
-
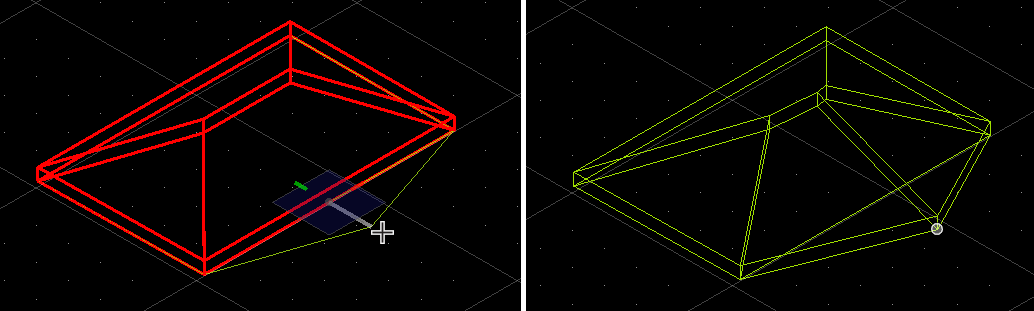
When you want to modify and manipulate your roof, select
 (
Insert Vertex
) from the
ribbon. Select an edge of the roof where a new vertex needs to be added.
(
Insert Vertex
) from the
ribbon. Select an edge of the roof where a new vertex needs to be added.
Move the pointer to the location where the vertex needs to be placed and enter a data point. The slope of all modified roof panels automatically update.