To Install OpenBuildings Designer
-
In an Explorer window, double-click the
OpenBuildings Designer setup
executable.
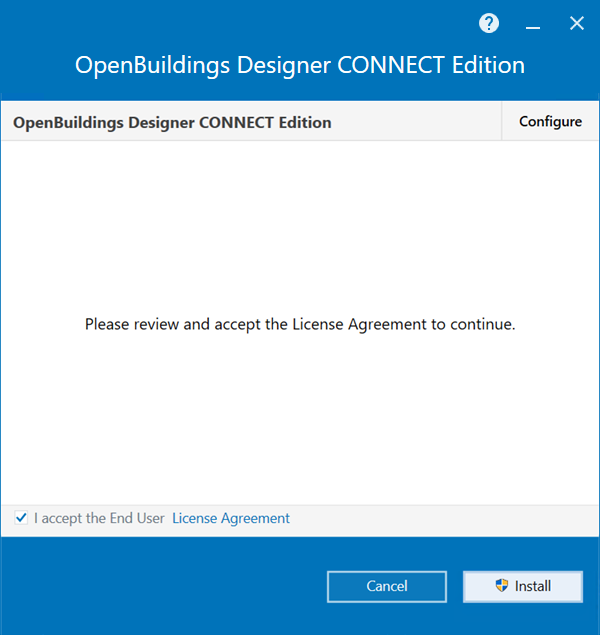
The OpenBuildings Designer Installation Wizard opens. Turn on the check box for accepting the End User License Agreement.
-
To change the path where
OpenBuildings Designer is installed
click the
Browse button
 next to the
Application Path field.
next to the
Application Path field.
In the Browse For Folder dialog that opens, browse to the drive and folder where you want to install OpenBuildings Designer, then click OK.
- (Optional)
To do Companion Installations (Companion Feature or Companion
Product) along with
OpenBuildings Designer, do the
following:
- Turn on the check box for the desired Companion Installation.
- (Optional)
Click
Configure for the selected Companion
Installation.
The Installer Wizard displays the configuration settings for the selected Companion Installation.
- (Optional) Make the desired configuration settings and return to the Installer Wizard main page.
- (Optional)
To make changes to the default
OpenBuildings Designer Configuration:
-
Click the
Configure button next to
OpenBuildings Designer
CONNECT Edition.
The Configuration page opens.
-
To change the path of Delivered Configuration, click the
Browse button
next to the
Delivered Configuration field.
In the Browse For Folder dialog that opens, browse to the drive and folder where you want to deliver the default Configuration, then click OK. The location of Delivered Configuration should be from the local machine.
-
To set up Custom Configuration, select the
Custom Configuration (plus Delivered
Configuration) radio button. Then click the
Browse button
next to the
Custom Configuration field.
In the Browse For Folder dialog that opens, browse to the drive and folder where your Custom Configuration is located, then click OK. You can select a network location for Custom Configuration.
-
Click
Next.
The Features page opens.
- In the Feature list, turn on or off the features, as desired.
- Click Next.
-
Click the
Configure button next to
OpenBuildings Designer
CONNECT Edition.
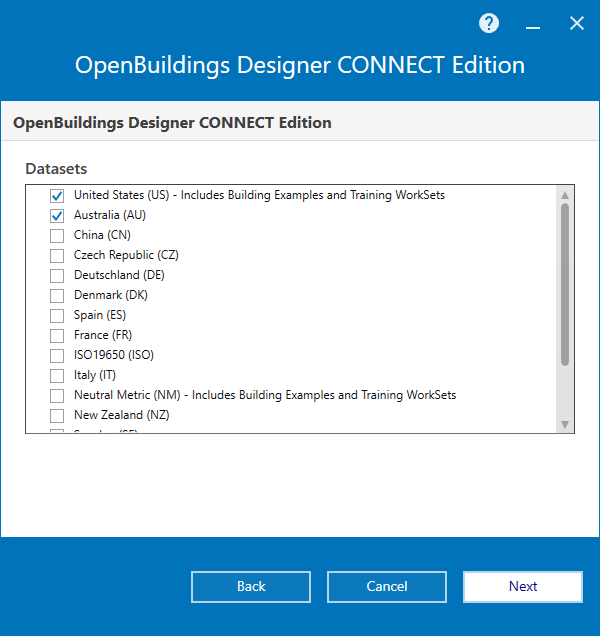
- Select the Datasets as desired and click Next.
- During the Upgrade option of the product, the following options Upgrade with Backup, No Action, Fresh Install with Backup and Fresh Install can be selected for each installed Dataset. Refer the following for Existing Dataset Action. Click Done.
-
To read the End-User Licensing Agreement (EULA), click the
Licensing
Terms
link.
The End-User Licensing Agreement opens in a web browser.
-
After reading the license agreement, turn on the
I accept the End User License Agreement check
box if you understand and agree to the License Agreement Terms and Conditions.
Note that agreeing to the license agreement is required in order to install the product. Turning on the check box displays the Configure and Install buttons at the bottom of the wizard.
- Click Install.
-
Click
Finish.
A program group is created for this product. If you chose to use the Product Activation Wizard in the previous step, it opens.