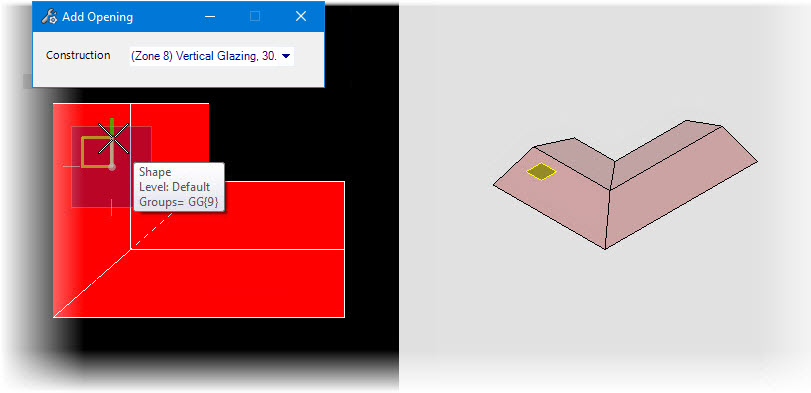
To add an opening to a roof section
-
Click the Add Opening icon.
The Add Opening, tool settings window appears.
Note: The steps in this procedure assume you are already inside the OpenBuildings Energy Simulator roof designer mode, and have created a new roof definition using the "Add New Roof" option of the Roofs tool. - Select a rooflight from the Construction drop-down list.
-
The tool allows cut open the roof segment in desired shapes by
supplying the data points in a closed shape.
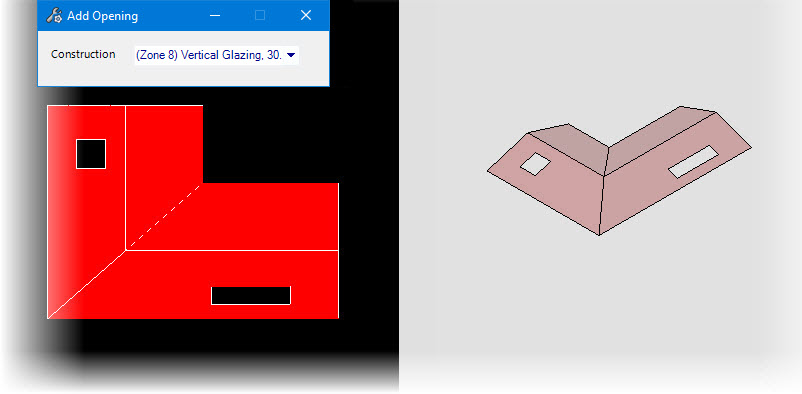
When the opening boundaries are fully drawn, reset (right mouse click) to complete creating the openings.
- (Optional) Click the Show/Hide Floors icon to display the project building floor plans.
- Follow the prompts: "Add roof opening > Enter point or reset to cancel command" Use the AccuDraw compass to precisely place data points using the floor plan as a reference.
-
When you finish creating the roof section opening (by entering the
last data point), reset to complete.
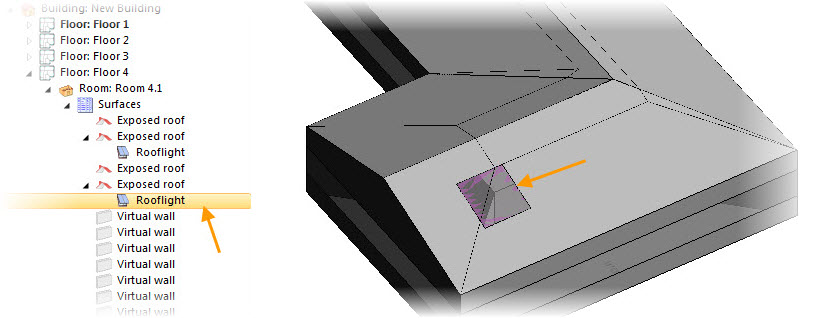
An opening is created in the roof segment.
- Repeat the steps to create more openings in roof sections.