To assign position numbers to a concrete model
-
Select
 (Positioning) tool .
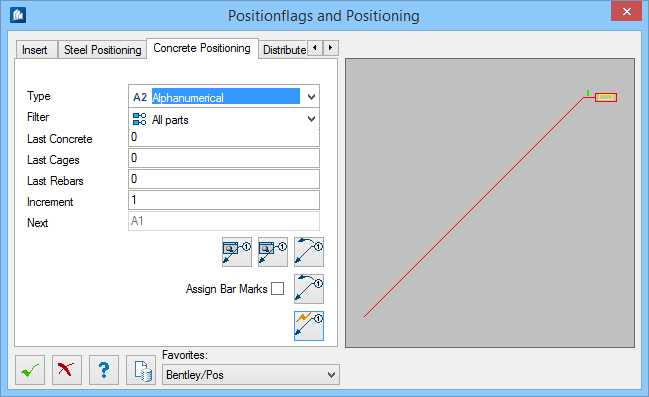
The
Positionflags and Positioning dialog opens.
(Positioning) tool .
The
Positionflags and Positioning dialog opens.
- Select the Concrete Positioning tab to set up position number options.
-
Click
 (Automatic
Positioning). Opens the
Automatic Positioning Settings dialog.
Set the filter options in the left pane, for one or more
categories:
Set the sorting arguments for position flag styles to all
concrete, cages, and rebar.
Click
(Automatic
Positioning). Opens the
Automatic Positioning Settings dialog.
Set the filter options in the left pane, for one or more
categories:
Set the sorting arguments for position flag styles to all
concrete, cages, and rebar.
Click
 to accept the settings and return
to the
Positioning dialog.
to accept the settings and return
to the
Positioning dialog.
-
Click
 (Process Automatic
Positioning), and on your model, click two points to select the
boundaries of the area that you want to assign position numbers to.
(Process Automatic
Positioning), and on your model, click two points to select the
boundaries of the area that you want to assign position numbers to.
- Right click to accept the selection. A dialog displays a list of parts and the position numbers assigned to them.
-
Click
OK
.
If you are applying position numbers to concrete,
cages, and rebar, a results dialogs will display for each set of parts. Click
OK to acknowledge each set of results.
The main
Positioning Dialog re-appears.
-
When done posioning, click
OK
.