OpenBridge Modeler

Place Deck tool

Used to place a deck template over supportlines.

Found on the Home ribbon tab in the Superstructure group.

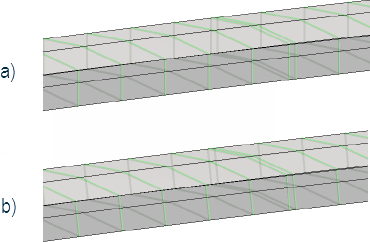
To place a deck between supportlines, you must select the first and second supportlines. You are then asked to add constraints to the deck with a third data point in the view window.

If you select to Add Constraints, then the Solid Constraints Definition dialog opens. Specify any necessary point or variable constraints along the deck and then click Apply.

Tool Settings

SettingDescription
Deck group
SettingDescription
Template Name Click […] to open the Template Selection dialog, which is used to select a deck template from the deck template library. Click OK to use the selected template.
Start Station Offset Offset distance along stationing from the starting supportline station to the start of deck.
End Station Offset Offset distance along stationing from the end of deck to the end supportline station.
Horizontal Offset Horizontal offset distance from alignment to WP of deck template.
Vertical Offset Vertical offset distance from alignment to WP of deck template.
Add Constraints Set this option to assign variable constraint values immediately after the object is placed.
Chord Tolerance

A lower tolerance allows for further refinement in the alignment and profile curves, and helps in building a more accurate model. Uses master units.

A finer model results in a larger file size, and depending on the model could take more time to regenerate.

Max Dist Between Sections Type a distance to use for the accuracy of the modeled object.

A lower number increases the model accuracy for tight radius curves, etc. but can slow performance. Uses master units.

Solid Placement group
SettingDescription
Template Orientation Specifies the orientation of the faces of solids placed along the alignment.
  • Vertical — the template faces are vertical in the Z axis (world coordinate system) (i.e., "plumb").
  • Normal — the template faces are perpendicular to the alignment

Template orientation: a) Vertical (in Z axis) and b) Normal (to alignment)

SettingDescription
End Cut Orientation Set how the ends of the barrier are to be modeled. Chose from Normal to Path or Follow Skew.
Feature group
SettingDescription
Feature Definition Select an existing feature definition from the drop-down list to use for object being placed.
Name Prefix Type a prefix value to use for all objects set using this Feature Definition, which are useful in quickly identifying features in a group.
Material group Select the material to assign to the barrier object being placed. Also select the Pay unit which is to be used for computing quantities. If set to Area, the program uses the area between the top left and right key points to extract the area.
Key-in: bmgeom deck placebetweenpierlines