Define Profile by Slope from Point
 Used to define a profile of an element by computing a slope from a 3D point.
You can access this tool from the following:

Use the Define Profile by Slope from Point tool to define a profile of an element by computing a slope from a 3D point.
-
Select the Define Profile by Slope from Point icon.
-
When you move the cursor into the View, it is equipped with a command prompt requesting that you "Locate First Element". data point, example, left-click on the element that you wish to give an elevation.
-
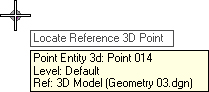
When prompted to "Locate 3D Reference Point", move the cursor to the 3D point that will serve as a reference for the profile then data point.
-
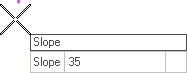
When prompted to provide the desired Slope, enter the value then strike the Enter key.
-
When prompted to choose a Point Selection, navigate the options by striking the up or down arrow key then strike the Enter key. Options are:
-
When prompted to choose a Projection Option, navigate the options by striking the up or down arrow key then strike the Enter key. Options for point selection are:
-
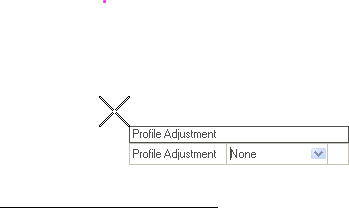
When prompted to choose a Profile Adjustment, navigate the options by striking the up or down arrow key then strike the Enter key. Options here are:
-
When prompted to provide the desired Vertical Offset, enter the value then strike the Enter key. The vertical offset is an added adjustment after all the above slope computations are completed.