To Create a New Synchronization
If you have
"Product Settings Service > Manage Settings"
enabled in the CONNECT portal for your profile then you can be considered a
Team Coordinator. You can create a project, setup
team members and define roles in the CONNECT portal, and create an iModel on
the iModelHub.
- Start MicroStation and Assign a ProjectWise Project to your WorkSet.
- Open the desired DGN file.
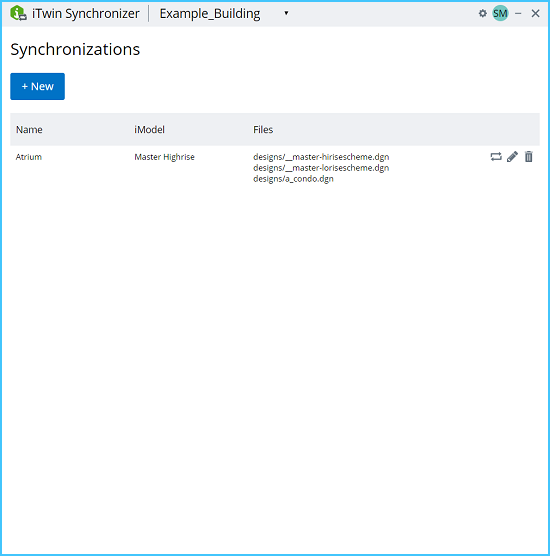
- Select iTwin Synchronizer ( The iTwin Synchronizer desktop application opens. You will see the ProjectWise Project in the Projects drop-down at the top. You will also see any Synchronizations already created for the project listed in the dialog.
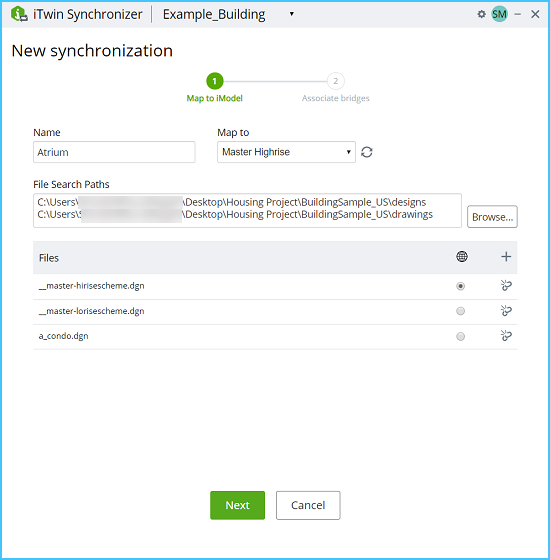
- Select the New button. The New synchronization page opens.
- Specify a name for the synchronization.
- Select an iModel to which the synchronization will be mapped.
- Browse to the location containing files to be synchronized. You can select multiple folders in a directory.
-
Add files to the Synchronization from the selected directory using
the
Add button.
 The list of files selected is displayed under
Files section.
-
Select a file that defines the Geographic Coordinate System using
the corresponding radio button.
 You can remove a file using the
Unmap icon.

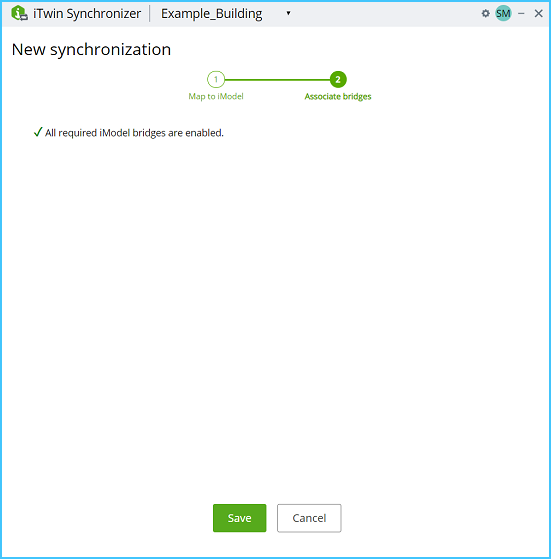
- Click Next. iTwin Synchronizer will check for required bridges and enable them.
- Click Save to save the new synchronization. The newly created Synchronization is listed along with information about the iModel and the files associated with it.


