To Capture Part or All of a Screen
- Configure the display as desired.
-
Do one of the following:
If you chose the menu item, the Screen Capture dialog opens. The key-in is recommended for capturing the entire display.
-
Using the following information, specify the part of the screen to capture.
To capture (see for details) Either key in or in the Screen Capture dialog, click To capture the entire screen CAPTURE SCREEN Capture Screen To capture a rectangular area inside a view CAPTURE RECTANGLE Capture Rectangle To capture a view's contents CAPTURE VIEW CONTENTS Capture View To capture a view's contents and border CAPTURE VIEW WINDOW Capture View Window To capture the entire screen with a pull-down menu CAPTURE SCREEN (Must first be assigned to a function key.) None To capture the window that has the input focus CAPTURE FOCUS (Must first be assigned to a function key.) None -
Follow the prompts in the status bar.
These prompts change dynamically depending on the action taken in the previous step.
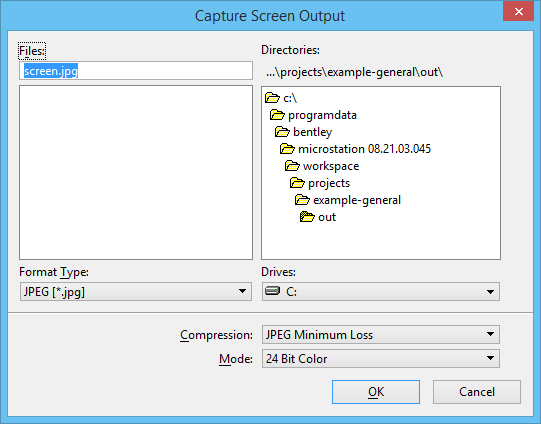
The Capture Screen Output dialog opens.
-
From the Format Type option menu, select the desired output format.
If you select an item other than the default, the default suffix for the image file in the Files field changes to be consistent with the chosen file type.
- From the Compression option menu, select the desired compression level for the screen capture.
- If the selected format supports more than one mode, select the desired mode from the Mode option menu .
- (Optional) In the Files field, type a name for the image file.
-
Click OK.
While the image is saving, an animated character appears in the status bar.