To Map Pen Weights
-
Select .
The Print dialog opens.
- Select and attach a pen table.
-
In the Print dialog, do one of the following:
The Modify Pen Table dialog opens.
-
Click the Map Pen Weights button.
The Pen Table - Map Design Weights to Output Width dialog opens.
-
Do one of the following:
If the dialog is opened from a new pen table or from an existing one that does not contain any weight maps, the list box is empty. Click the Create button.
or
This creates the default set of 32 design-weight-to-output-symbology weight maps.
-
Do one of the following:
To define print symbology for more than one design weight, select their rows in the list box, then click the Edit button.
or
To define print symbology for a single design weight, double-click its row.
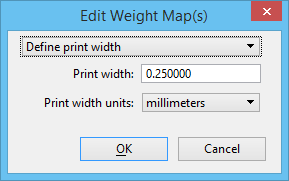
The Edit Weight Map(s) dialog opens.
- Turn on Define Print Width.
- Key in a print width.
- Select a print width unit.
- Click OK to save edits to the select design weights.
- Click OK to save edits to the pen maps for this pen table.