| Text Style
|
Allows you to select a Text Style from the drop-down
menu.
Note: The default
Text Style is set to
Active. If none of the text styles are
active, the style that is displayed is
Style (None). You can select a Text Style
from the drop-down menu. The selected text style becomes the active Text Style.
|
| Annotation Scale Lock
|
Allows you to change the annotation scale on the
Item Type text field. This lock is synchronized with the icon in the Locks
dialog Box and under the Utilities Tab. If you turn ON/OFF the Annotation Scale
Lock in either of the three (Attach item dialog box, Locks Dialog box, and
Utilities tab), it will reflect in all these three places.
|
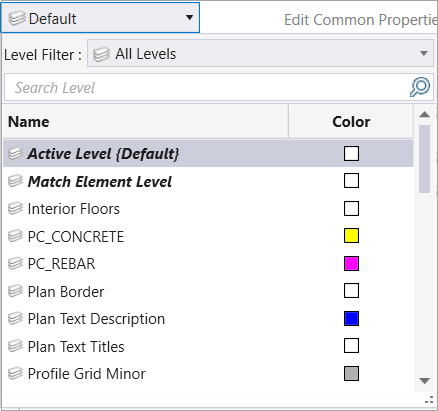
| Level Drop-down
|
Allows you to place Item Type Text on the selected
level. You will see all the levels available in the DGN in this drop-down,
along with options like Active level and Match Element Level. Active Level lets
you place the text on the active level in the DGN. With Match Element Level,
you can place the text on the same level as the element.
For example, consider a door as a source element. In
the image, Door (1) - Double Door, Door (2) - Flush Type, and Door (3) -
Fiberglass Door are placed at different levels. The level of the element is
preselected in the Level Manager. You can use the options from the level
drop-down to place the Item Type Text on the desired level.

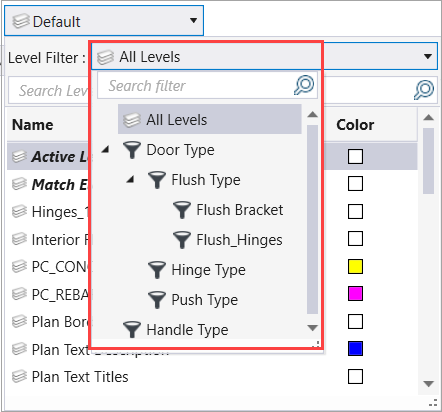
- Level
Filter
Displays the DGN level filters available in the Level
Manager. You can select the Level Filter with respect to the DGN Level in the
Level drop-down.
If you select the Level Filter as None in the Level
Manager, the Level Filter in the Attach Item dialog shows as All Levels.
If you select any other Level Filter in the Level Manager,
the same is shown in the Level Filter on the Attach Item dialog and vice-versa.
The parent-child level filter selected in the Level Filter
drop-down is shown with a
DOT. For example, Door
Type.Flush Type.Flush Bracket as shown in the image below.
The Level Filter drop-down is also available in the Edit
Item and Clone Item tools under the Level drop-down.
|
| Search
|
Allows you to search the Item type by name.
|
| Browse
|
Opens the Item Types Dialog where you can view and
manage item types.
|
| Select All
|
Selects all the item types in the list.
|
| Clear
|
Clears the selected Item type and its properties.
|
| Edit Common Properties
|
Displays the common properties of two or more
selected item types. You can use the Edit Common Properties setting to view the
common properties of the item.
|
| Properties
|
The properties section displays the properties of
the selected item type, or property definition. The name of the selected
property is displayed at the top.
- Search - Allows you
to search for the properties by name.
- (Technology Preview)
Display Text ON/OFF toggle
Allows you to Show or Hide the Item Type
properties that are placed as text in the design. You can select this icon to
apply the setting to all properties or select this icon corresponding to each
property to selectively apply this setting to individual properties.
You can place the text for the selected element as
follows:
-
Display Text ON Will display the Item Type properties when placed
as text.
- Display Text OFF
Will not display the Item Type properties when
placed as text.
Note: Item
type properties will get attached to the element but not be placed as text.
You can also view the
Display Text ON/OFF in the
Item Types dialog against the Item Type property definition.
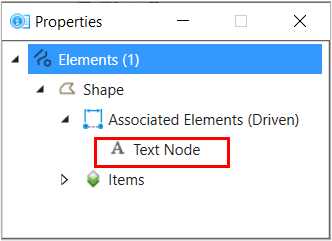
The property value can be
placed as Text in the design once you
have attached the
Item Type.The placed text will maintain an association with
the element. When this element is selected, the text property displays as a
single Text Node in the Properties
dialog. If you move or delete the element, the associated text will also move
or get deleted.
- Expander button -
(Available only for structure, array and point property types) Allows you to
collapse and expand the details for the property.
- Add
(Available only for those property definitions that are
Array or Array of property types) Lets you add a new array item.
- Delete
(Available only for those property definitions that are
Array or Array of property types) Lets you delete an array item. For array of
property types, you can select multiple array items to delete. For example in
the image above you can select both Door Handle Details (0) and Door Handle
Details (1) to delete at once.
- Move up
(Available only for those property definitions that are
Array or Array of property types) Lets you move the
value of an array item up by one
position.
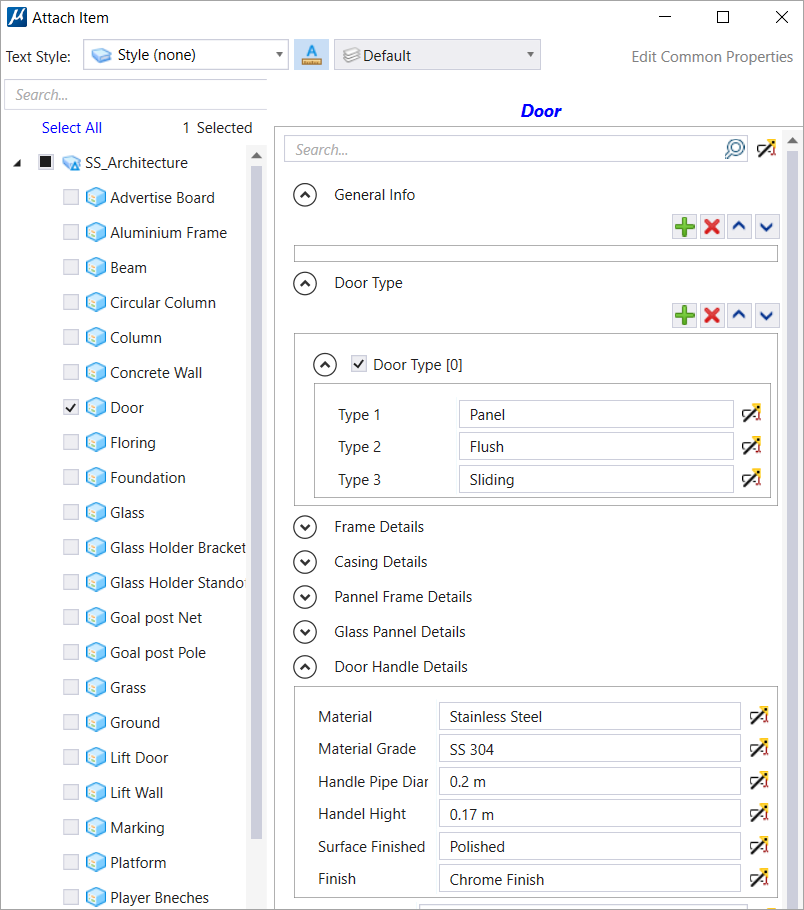
For example, in the above image if you select
Door Type [1], Panel and select this icon, the value Panel will move up to Door
Type [0]. For Door Handle Details (Array of property type), if you select Door
Handle Details (1) and select Move up, the values 6,3,1 will move up to Door
Handle Details (0).
- Move down
(Available only for those property definitions that are
Array or Array of property types) Lets you move the
value of an array item down by one
position.
For example, in the above image if you select
Door Type [1], Panel and select this icon, the value Panel will move down to
Door Type [2]. For Door Handle Details (Array of property type), if you select
Door Handle Details (0) and select Move down, the values 4,6,2 will move down
to Door Handle Details (1).
|
 Used to attach Item types
to an element.
You can place the item type properties as text in the design.
Used to attach Item types
to an element.
You can place the item type properties as text in the design.