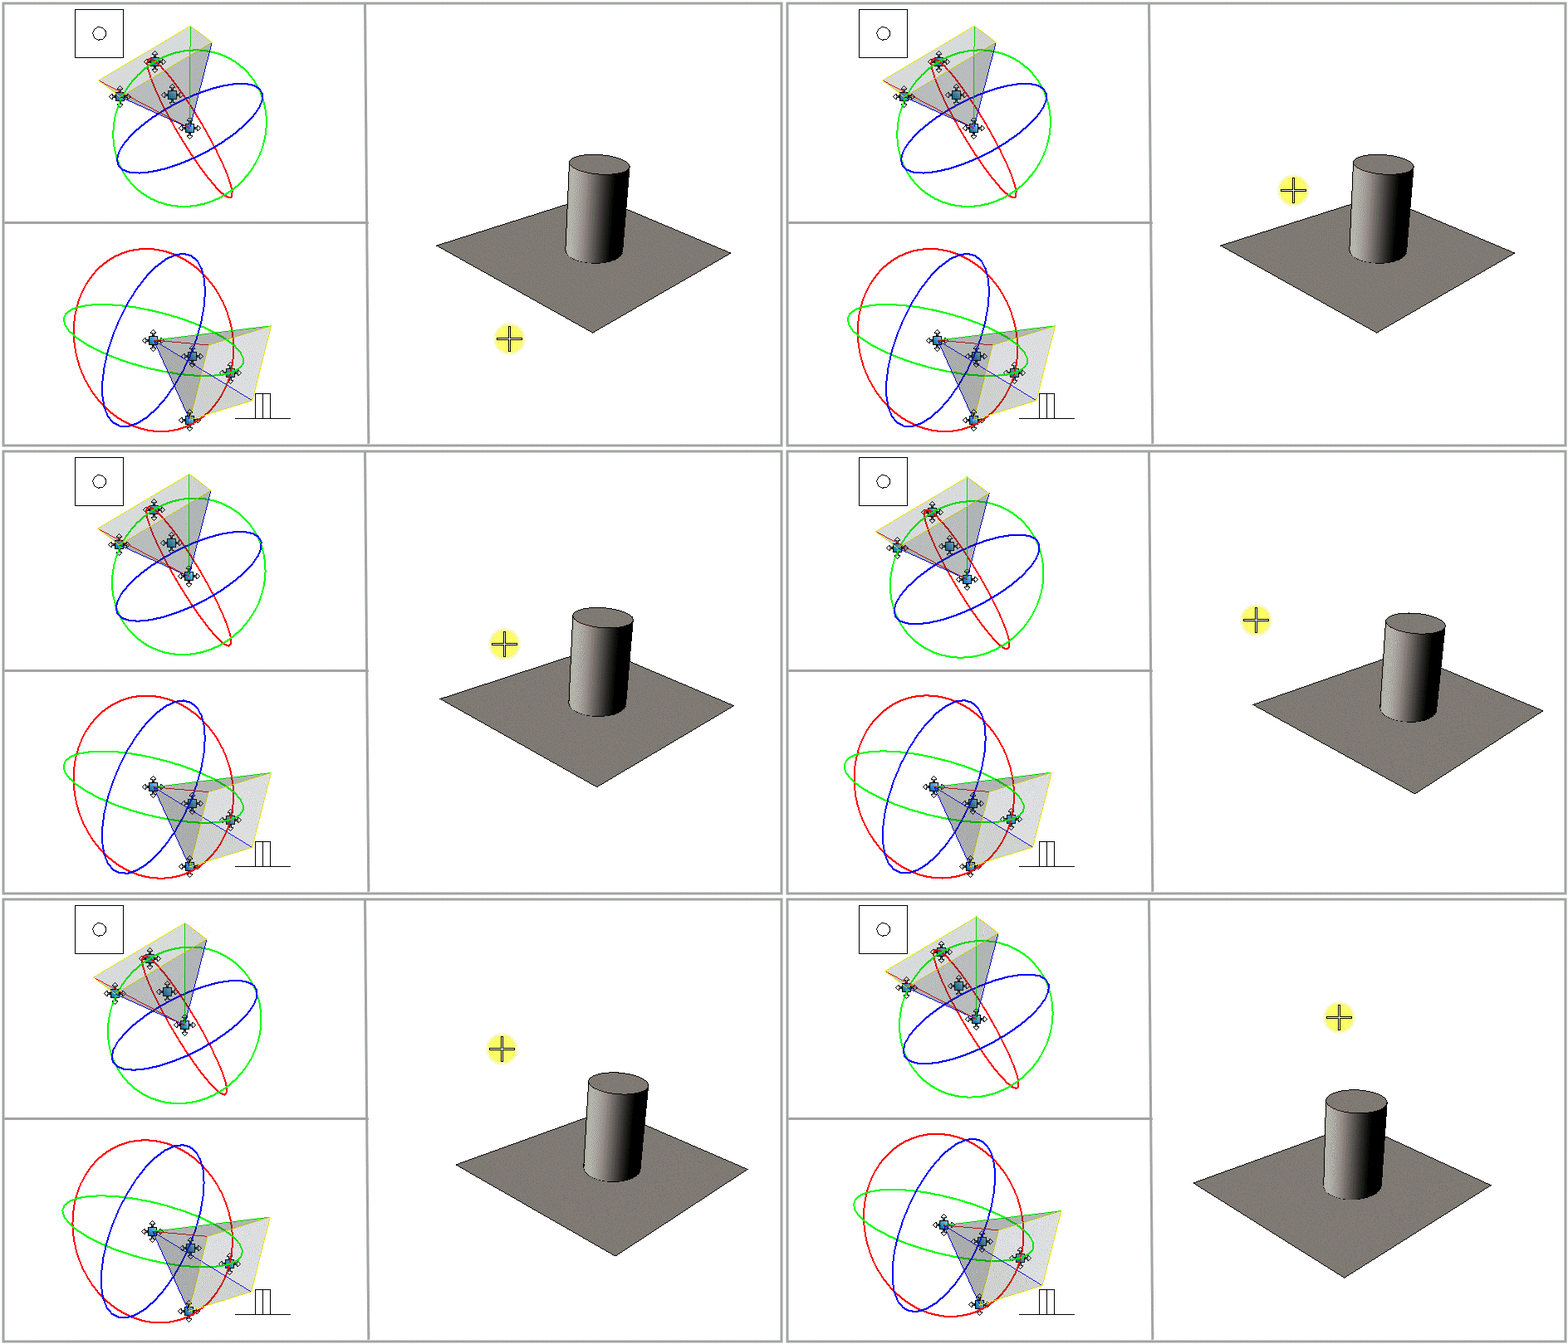
To Dolly/Elevate the Camera
- Select the Define Camera tool ( ).
-
In the tool settings window's icon bar, click the
Dolly/Elevate icon.

- Turn on Continuous View Updates and Display View Cone.
- With the pointer in the camera view, enter a data point.
-
Move the pointer up/down or left/right to move the camera
vertically or horizontally.
As the pointer moves, the camera view updates dynamically, as does the view cone in other open views.
-
Enter a data point to accept the new view orientation.

Moving the pointer horizontally or vertically, in the camera view (right), moves the view cone horizontally (Top View, top left) or vertically (Front View, bottom left) relative to the camera view.
Note: Moving the whole view cone in this manner keeps the camera and target points in the same positions relative to each other. It makes no difference, whether Eye or Target is set as the Reference Point.
