Adding Features to Solids
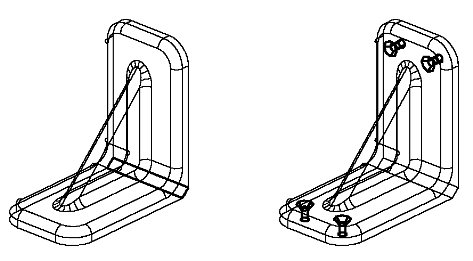
Using the tools in the Features toolbox, you can add the following features: blends, chamfers, holes, bosses, cuts, protrusions, swept cuts/protrusions, and ribs. As well, you can use the Thin Shell Feature tool to "hollow" out a solid. These tools let you start with simple solids and then finish them off with features. Take as an example the angle bracket shown in the following illustration.
This model is very simple to construct, from the basic extrusion of an L-shaped profile, using tools from the Features toolbox.

To the underlying solid, which is an extrusion, of an L-shaped profile, the Rib Feature tool is used to add the rib.

Left: The underlying solid — an extrusion of an L-shaped profile. | Right: After adding the Rib Feature.
The Blend Feature tool lets you add rounding to the corners and to the right angle bend. Then, a blend for the smaller radius rounding on the outer edge is added.

Left: Rounding is added to the corners and the right-angle bend. | Right: Rounding is added to the outer edge of the bracket.
Next, the chamfer and the countersunk holes are added using the Chamfer Feature and Hole Feature tools, respectively.
Left: The chamfer is added between the back faces of the bracket. | Right: The countersunk holes are constructed.
To complete the bracket, the Thin Shell Feature tool is used to "hollow out" the back of the bracket.
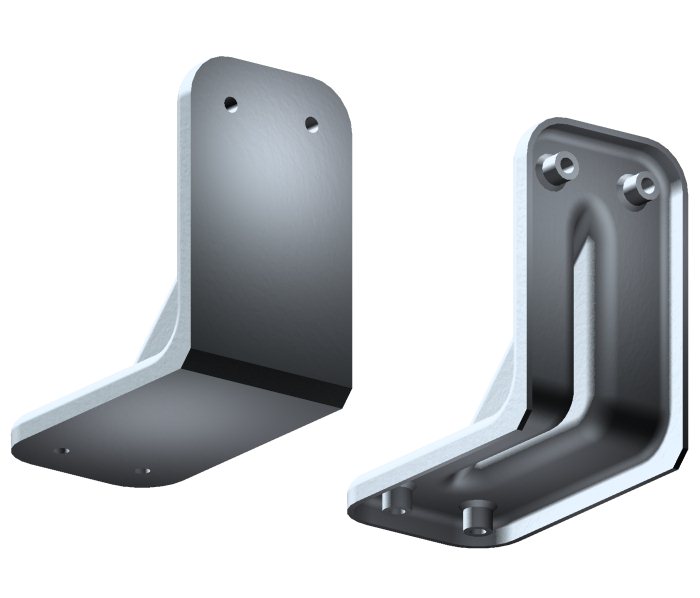
Rear view showing before (left) and after (right) using the Thin Shell Feature tool to hollow out the back of the bracket to complete the model.
For more information on using the tools for adding features to solids, see the Features toolbox.