Environment Manager Dialog, Main and Indirect Tabs
Contains controls to define the main layer or an indirect environment layer. The Indirect layer (for indirect lighting) is used to fine-tune an environment for visibility within a scene and provides a separate layer for indirect lighting calculation so you can make the indirect light as bright as you need without washing out the visible environment. To use the Indirect layer for indirect lighting, in the Environment Manager dialog, set the option located beside the Indirect option menu to Indirect.
The settings on the tabs vary depending on the environment type selected. Controls on the Indirect tab are a subset of the controls on the Main tab.
| Setting | Description |
|---|---|
| Intensity Slider | Luxology uses the environment as an indirect light source. The intensity slider controls how bright (how much light) is produced by the environment at render time. You can unlock the intensity slider and type Lux values. When the intensity slider is locked, it behaves strictly as a multiplier. |
| Lux | When the intensity slider is unlocked, allows you to type Lux value. When the intensity slider is locked, displays the current Lux value. |
| Environment Type | Select an environment type:
|
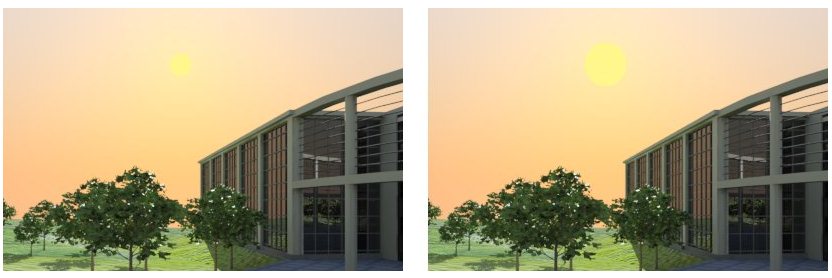
| Sun Size (Luxology Export only) | (Environment Type set to Sky only) Lets you specify a size for the solar disk between 0 and 10 (default 1). You can key in values or use the slide control. In scenes where you are using telephoto lens, and especially sunset or sunrise scenes, you may want to increase this to 4 or 5 for more dramatic effect. |
| File | (Environment Type set to Light Probe or Image only) Lets you select an image for the environment. |
| Rotation | (Environment Type set to Light Probe, Image, or Image Cube only) Lets you apply a rotation factor to the environment images. Rotation is about the vertical axis (the Z axis). |
| Gamma | (Environment Type set to Light Probe, Image, or Image Cube only) Sets the image display gamma value. The default value is 1.0. Increasing the Gamma value lightens the image, decreasing it darkens the image. |
| Auto Correct Gamma | (Environment Type set to Light Probe, Image, or Image Cube only) When on, gamma correction equal to 1% of the current light setting gamma is applied to the visible environment. For example, when the default gamma value is 1.7, the gamma correction is 1/1.7 or 0.59. |
| Projection | (Environment Type set to Image only) Option menu
lets you set the way that the image file is projected for the rendering.
|
| Horizon Offset | (Environment Type set to Image only) Lets you apply a Horizon Offset factor to the environment images. This option is not applicable when Projection is set to Front. It is useful for raising or lowering the environment’s horizon as seen by camera, reflections or refractions, depending on visibility options selected. |
| Graphically Adjust Environment Image Icon | (Environment Type set to Image only) Opens the Environment Manipulate tool, which is used to change the orientation of the backdrop to the model in a view. |
| Mirror | (Environment Type set to Image only) If on, each repetition of the environment map image is a mirror reflection of the adjacent map. |
| Antialiasing | (Environment Type set to Light Probe, Image, or Image Cube only) If on, turns on the Antialiasing function for the selected image layer to provide texture filtering and produce smoother rendered results. Antialiasing samples the image’s pixels in texture space (as opposed to screen or render space) and averages them based on strength. |
| Texture Filtering | (Environment Type set to Light Probe, Image, or Image Cube only) Texture filtering is controlled on a per environment basis. Texture filtering options are: |
| Front|Back|Left|Right|Top|Bottom | (Environment Type set to Image Cube only) Lets you select images for the six faces of the environment cube. |
| Clear All | (Environment Type set to Image Cube only) Clears image files from all faces of the environment cube. |
| Type | (Environment Type set to Gradient only) Lets you set
the type of gradient to be used for the environment.
|
| Zenith Color | (Environment Type set to Gradient only) Sets the color that is directly overhead and this ramps into the Sky color. Click the color swatch to open the color selector dialog. |
| Sky Color | (Environment Type set to Gradient; Type set to 4 Color) Sets the color that starts at the horizon and ramps upward. |
| Ground Color | (Environment Type set to Gradient; Type set to 4 Color) Sets the color for simulating the ground. |
| Nadir Color | (Environment Type set to Gradient only) Sets the color directly below the camera and ramps upwards into the Ground color, which terminates at the horizon when it meets the Sky color. |
| Exponent Settings | (Environment Type set to Gradient; Type set to 4 Color only) Lets you control the blending of the Zenith/Sky and Ground/Nadir colors. Higher values push the gradient transition closer to the horizon, while lower values spread the gradient further across the available spectrum. |