To Chamfer an Edge(s) of a Solid or a Projected Surface
-
Select the
Chamfer Edges tool (
).

- Select the Method.
-
As per the selected method, set
Length, Distance 1, Distance 2, Distance and
Angle by keying in the desired value or use
Variable link
 to set them from the
available variables in the
Variables dialog.
-
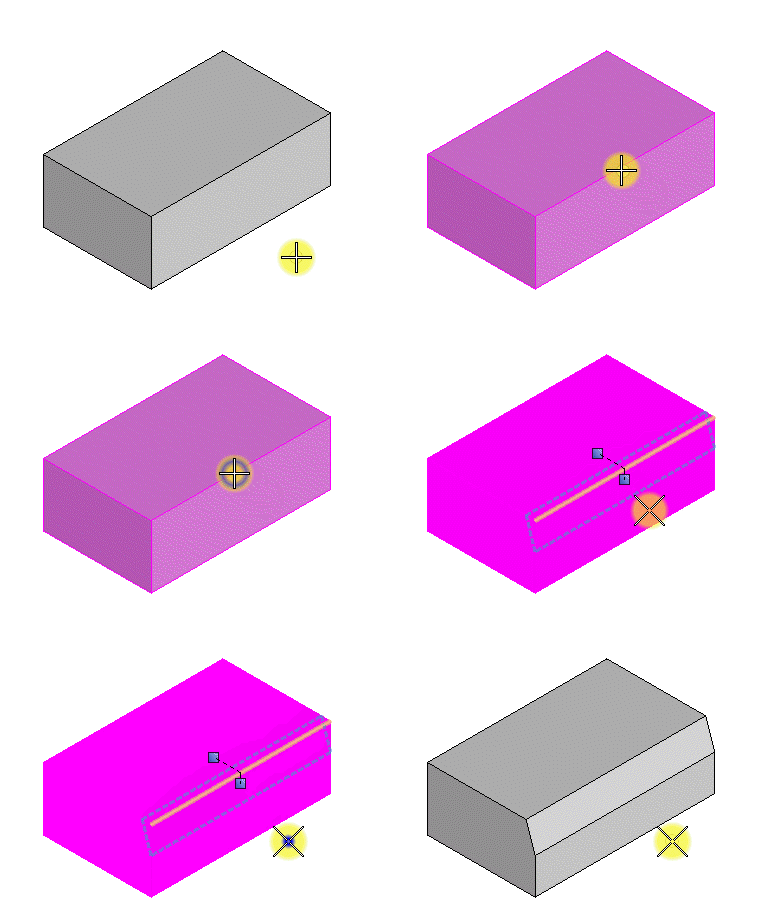
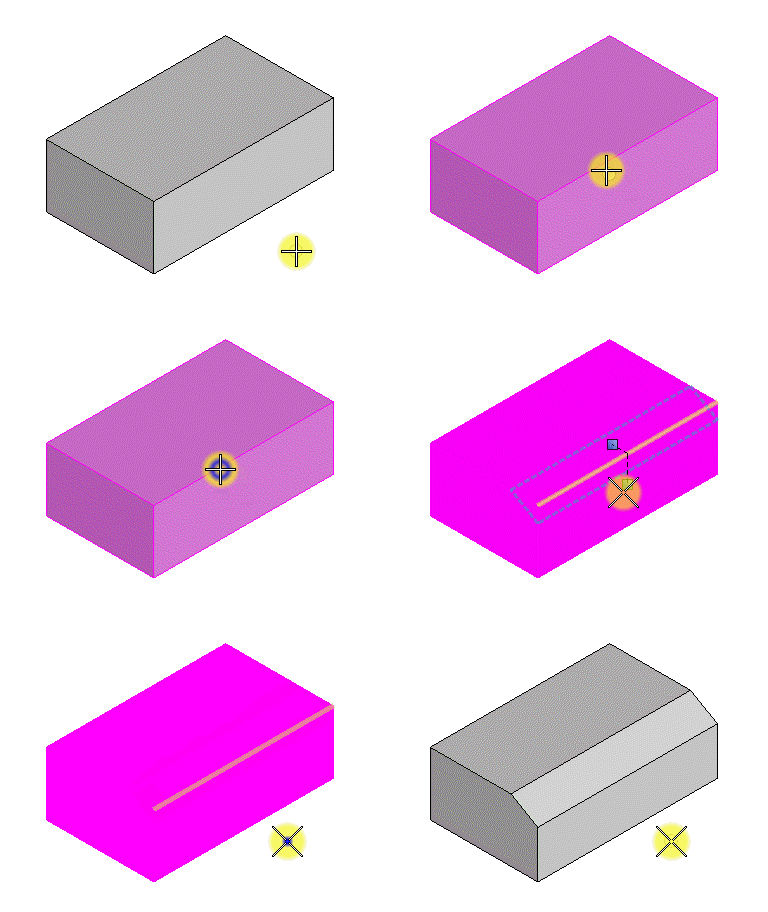
Select an edge to chamfer.
The solid highlights, with the selected edge highlighted.
- (Optional) Select additional edges by pressing <Ctrl> and, as you move the pointer over the solid or surface, the edge nearest the pointer highlights. While holding down <Ctrl>, enter a data point to select the additional edge. You can reset to deselect the last selected incorrect edge.
- Enter a data point to accept the chamfer.
- (Optional) In case of Distances method, to correct a wrongly created chamfer, undo the chamfer, then turn on Reverse Chamfer and recreate the chamfer.


