To Link a Database Row to a Graphic Element
-
In the
Visual SQL Query Builder dialog
, click Tables.
The Select Table dialog opens.
- Double-click the database table that contains the row to which you want to link.
- In the Select Table dialog, click Cancel to dismiss the dialog.
- Click the * button to select all columns.
-
Click Execute.
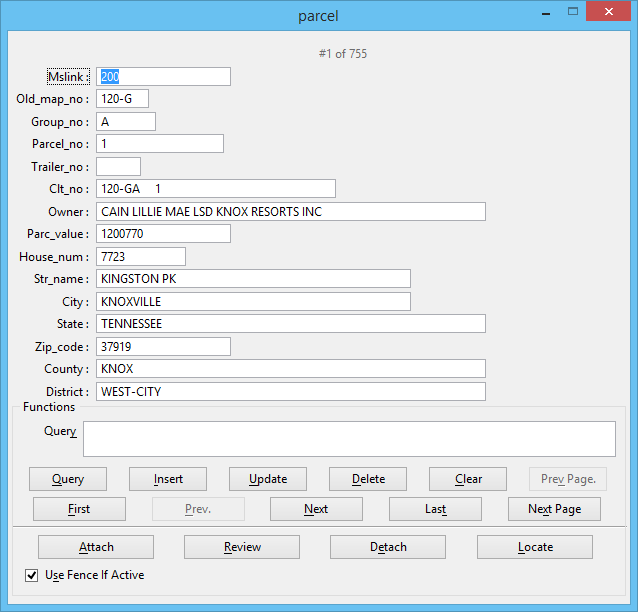
A form dialog opens. This dialog will have fields for each column in the selected table. The table name is in the dialog's title bar. The title bar identifies the selected table. Here is an example:
- Click Clear.
- In a field, key in a known value for one of the columns.
-
Click Query.
The fields populate with the remaining column values of the row that contains the value you keyed in.
- Click Attach.
- Identify the graphic element to link.
-
Accept.
The message "Linkage attached" is displayed in the status bar.