Enter Fence Points
Selecting the Enter fence points item from the Fence tab on the Print Styles dialog opens the Enter fence points dialog that allows you to specify the fence points that define the print area. The Enter fence points option always creates a single print definition.
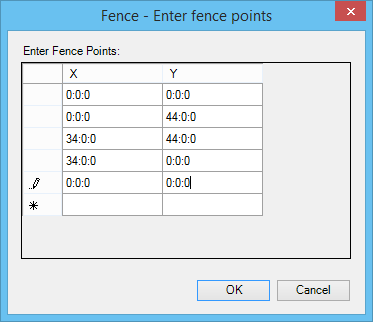
In the Enter Fence Points list box, type in the x-coordinate and press the tab key to move to the y-coordinate field. Continue this process until you have typed in a minimum of two fence points. For example, suppose you want to define the fence points (0,0) and (44, 34).
Type in the following: