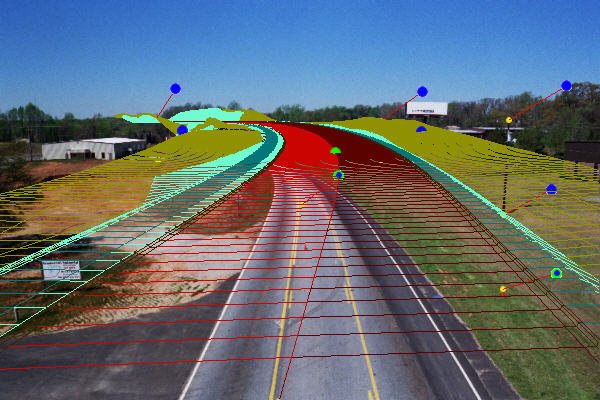
To Calibrate a View Camera Using an Existing Image
-
Select the Photomatch tool.
The Select Photomatch Image dialog opens if no raster image is visible in the view selected for photomatching.
- Select the view in which to calibrate the camera. The view's background is filled in with the photograph you selected and attached as a raster reference file.
- Snap to a monument point in the model.
- Accept the monument point.
-
Enter a data point at the image location that corresponds to the monument point.
A handle displays at this location to identify the image point.
-
Repeat steps 3 to 5 to enter additional pairs of points, at least until the Match button becomes active.
Specifying more pairs can improve the resulting calibration.
-
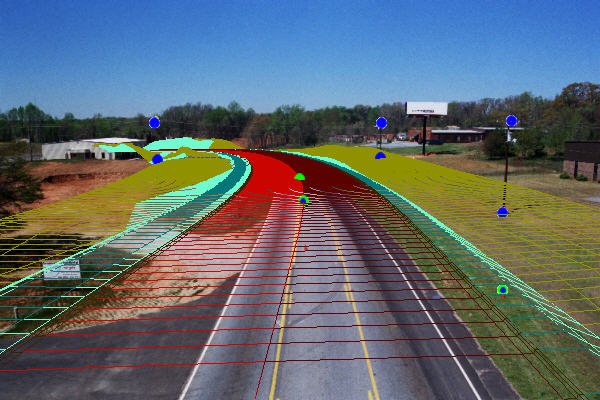
Click the Match button.
The view camera updates.
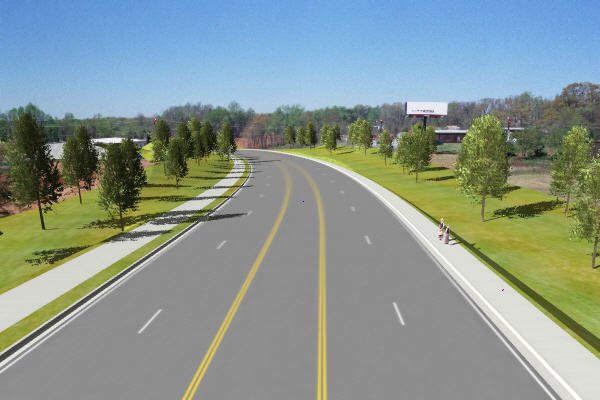
If the result is satisfactory, proceed with rendering or detailing the model. Otherwise, continue with step 8.
If, when you click the Match button, an error message displays, enter more pairs of points and/or use view controls to refine the alignment of the model with the image. Then click the Match button again.
- (Optional)
Do one of the following:
To refine the calibration by entering additional pairs of points, click the Add button.
or
Follow the procedure To refine the calibration by relocating previously specified image points.
or
To discard all pairs of points, click the Clear button and return to step 3.
To completely start over from the beginning, detach the raster reference file.