To Align the Faces of Two Elements Using the Face to Face Method
- Select the Align 3D tool ( ).
- Set Method to Face to Face.
-
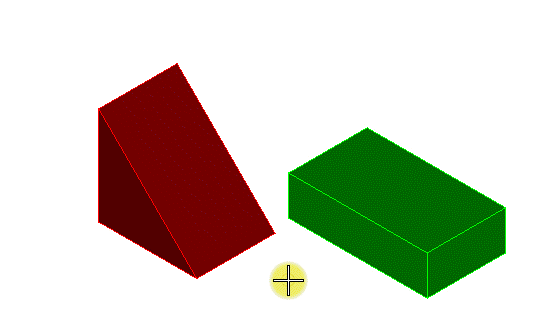
Select the element to move. This can be any single element, surface, solid, line string, or curve. It must be something that will have a planar face or can define a planar face, such as a line string with at least two segments.
The face of the element will be highlighted with a dashed yellow outline. The face of a solid or a surface can be selected and the arrow can be placed anywhere on the selected face. If a back face needs to be selected, press the Tentative button on a back edge or vertex and the adjacent face will be highlighted.
- Select the target element for the move location. This can be any single element, surface, solid, line string, or curve. It must be something that will have a planar face or can define a planar face, such as a line string with at least two segments.
-
Adjust the direction or location of the element as needed.
Note: The arrows on the element that is being moved can be adjusted by clicking on the blue arrow to change direction or by moving the ball portion of the arrow to a new location by dragging. The rotation can be changed by selecting the edit handle at the end of the red arrow. When this is selected an edit circle along the axis of the blue arrow will allow rotation. The arrows on both elements can be changed to the desired rotation of the element during the preview state. The blue arrow at the new location by default will line up with the blue arrow of the element to be moved. Changing the direction of this arrow does not change the location of anything and should not be changed from the default direction.
- Enter a data point to accept the new location or press Reset to reject the change.