To Place an Array of Named Boundaries Along a Path
-
In the Drawing workflow, on the View tab, in the Named Boundaries group, select Place Named Boundary.

-
In the Place Named Boundary tool settings window make the following settings:
-
Select From Drawing Boundary.
- From the Drawing Boundary drop-down list, select the drawing boundary.
- Enter name and optionally description for the named boundary.
- (Optional) From the Detail Scale drop-down list, set the scale at which the named boundary is to be placed.
-
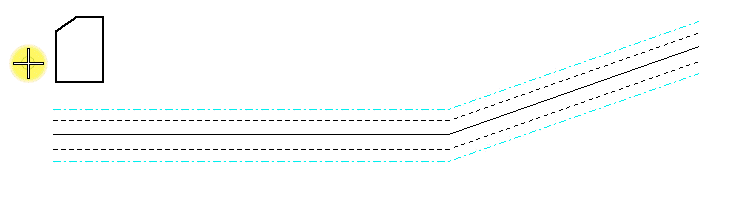
Select Place an array of named boundaries along a path.

- (Optional) From the Group drop-down list, select the group.
- (Optional) Enter the Overlap between the named boundaries.
-
Turn off Create Drawing check box.
Note: If the Create Drawing check box is turned on, the Create Drawing dialog opens for creating a saved view and automating dynamic views.
-
Select From Drawing Boundary.
- Select the start point on the element along which you want to place the named boundaries.
- Select the end point on the element along which you want to place the named boundaries.