To Create a Remapping CSV File
- From the File tab, select Save As.
- From the Select Format to Save option menu, select the file format type.
-
Click the Options button.
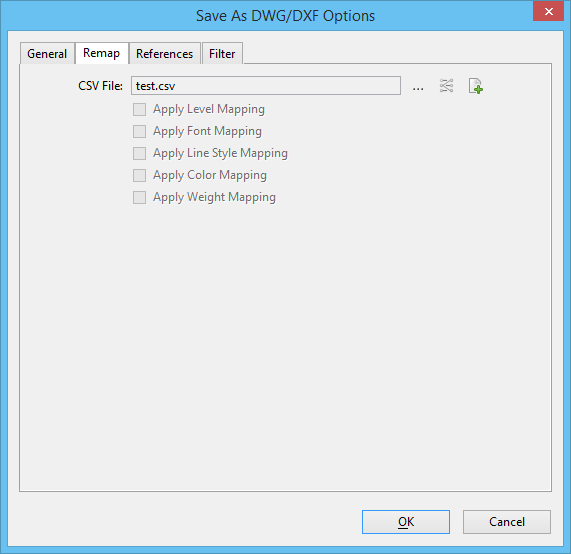
Depending on the file type that you chose, one of the following dialogs appears:
- In the Options dialog, select the Remap tab.
- Click the Create CSV remapping file icon. The Create Remapping CSV File dialog opens.
-
Enter the desired name of the file and click Save.
The remapping file opens as a Microsoft Excel spreadsheet. The spreadsheet contains a worksheet for each type of parameter that can be remapped: levels, colors, weights, line styles, fonts, and cell names. Each of these worksheets corresponds to a section in the CSV file. There is also an Instructions worksheet which contains the most current information on using the spreadsheet.
- Select the tab for the appropriate worksheet (for example, Colors).
- In the first column of the worksheet (for example, Color), enter the value to be remapped.
-
In the same row, enter the new value in the appropriate output column (for example, V7OutputColor).
Tip: The text box on each worksheet contains information about entering data. If you do not have Microsoft Excel, you can still create a remapping CSV file.
-
From the spreadsheet File menu, select Save, then select Exit.
The Options dialog appears.
- Turn on the sections in the CSV file to use. For example, to use the Colors remapping defined in the CSV file, turn on Apply Colors.
- To close the Save As Options dialog, click OK.
- To close the Save As dialog, click OK.