Preparing to Stencil Pavement Markings
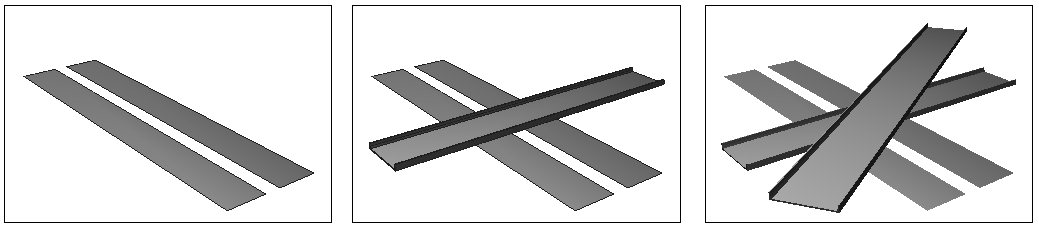
When stenciling pavement markings you need to first check if the project contains any road overpasses such as bridges and crossing exit/entrance lanes. You need to know the layers of overpasses if an overpass crosses another overpass in the project.
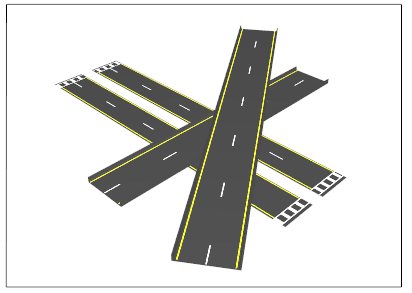
You can use the pavement markings plan from the project that contains the needed roadway stripes. If you are using the pavement marking plan, the lines representing the pavement markings may need to be broken up for the overpasses. This can be achieved by cutting the lines and assigning the portion that lands on the overpass to separate levels.
It is recommended to isolate the elements using the level display.
Note: If you have a main road with a few overpasses crossing the road, but not crossing each other, then you have to create a stencil once for the main roadway, and once for each of the crossing overpasses. If you have an overpass crossing another overpass, you will need to create an additional stencil.