Specifying filter settings
Objects that filter have a tabbed page on their Edit <object name> dialog called Entity Filters, where you can specify filtering settings.
The following procedure assumes that you have drawn and placed the object whose filter settings you want to specify. It deals with 'Standard' filter settings; 'Advanced' filter settings are covered in "Advanced Filtering" topic in LEGION Simulator help.
To specify filter settings:
-
Right-click on the object and select
Edit Properties.
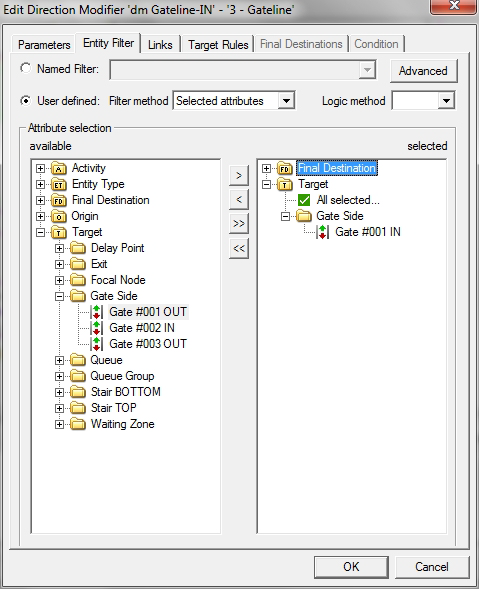
The Edit <object name> dialog is displayed (in this example, it is the Edit Direction Modifier dialog.)
- Click on the Entity Filter tab.
- If you have already created Named Filters, which you would like to use, select the 'Named Filter' option and choose a filter from the drop-down list. You can now click OK to finish and save your filter settings. If you do not have any Named Filters, either create them as described in Creating Named Filters , or continue from step 4.
- From the drop-down list labelled ‘Filtering Method’, select one of the three options:
- If you chose the third option above, select attributes from the five categories of ‘Activity’, ‘Entity Type’, ‘Final Destination’, ‘Origin’ and 'Target'.
- To do this, expand the tree of ‘available’ attributes as you need and move them into the ‘selected’ pane using the > and >> buttons (to remove selected attributes, use < and <<).
- From the drop-down list labelled ‘Logic method’, select one of the following:
-
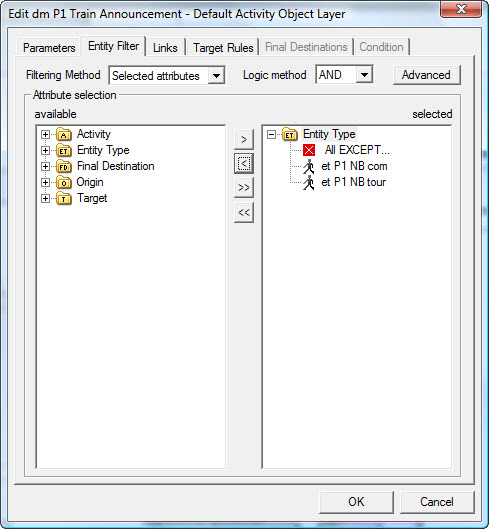
If you wish to exclude your selected attributes from the
filter, you can do so by clicking on the tick above your criteria labelled ‘All
selected’ to change it to ‘All EXCEPT’.
This enables you to specify which attributes are excluded from the filter, which can speed up your work if you have far more attributes to include than exclude. It also helps to keep information about the logic of the object brief and easy to understand. This illustrated example filters for all Entity Types except for the type named ‘Staff’.
- Click OK to save the filter settings.