Template Options for the Administrator
To Create Additional Template Document Classes
If you need more than the default template document class, you can create new classes for template documents. Complete this procedure before you run project setup. If you already ran project setup, follow the optional task below to create the templates manually for each new class.
- In eB Director, display the System Admin tab ().
- Click the Information Modeling icon.
- Expand Classes & Attributes, then click Documents > Publish Template Document. The Class form opens in the Content pane.
- In the Child Classes section, click New…
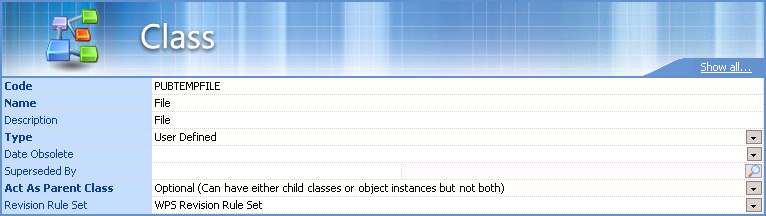
- Populate the Code, Name and Description fields and set the Revision Rule Set to WPS Revision Rule Set. When assigning a Code, it is best to append to the parent code, so you should begin your Code with PUBTEMP.
- Save the template.
To Create Additional Template Document Classes Manually


To Add Template Documents
- Open eB Director and select . The New from Template… dialog opens.
- From the Classes tab, navigate to Documents > Publish Template Document > File (or any other subclass that was added) > <template> and click Create.
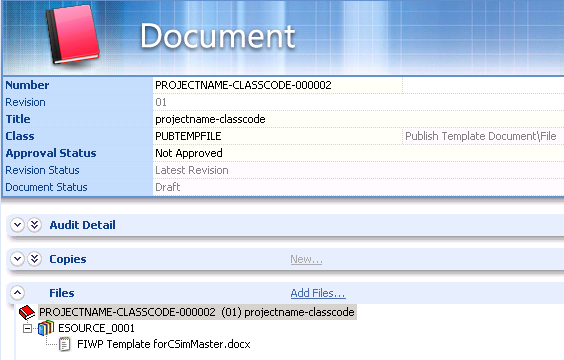
- In the Document pane that opens, expand the Files section and click Add Files…
- Navigate to the template file (for example, FIWP Template for CSimMaster.docx) and attach it.
- From the System Admin view, go to Information Modeling > Classes and Attributes > Documents> Work Package > Install Work Package > Pipe > Install > <template> and click the template name. The results display in the Documents section.
- In the Template pane Documents section, click Query Documents.
- Add the previously created documents using the "Work package has a deep copy file" relationship from the Classes tab in the "Choose Relationship Template or Class" dialog box. Choose the document to be the file and click OK.
- Click Save.

To Add a Default Order for Template Files
- Open eB Director and select .
- From the Classes tab, go to Documents > Published Work Package > <template> and click Create. The Template pane displays.
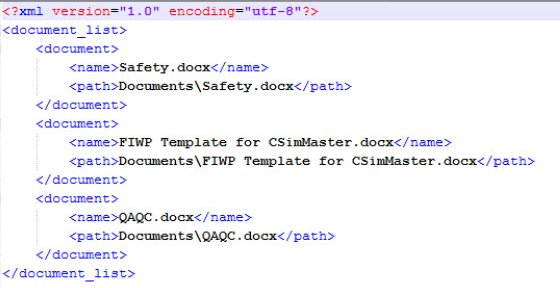
- Create an xml order file (as shown in the graphic below). Name should contain the document's name, and the path should be Documents\document name. The final PDF file will be ordered from top to bottom.
- In the Template pane header, fill in any information needed.
- In the Documents section, navigate to the desired work package template (for example, Work Package > Install Work Package > Pipe > Install > Template) and click the template name. The files display in the Documents section.
-
In the Template pane Documents section, click Query Documents.
Add the previously created XML file.
The Choose relationship Template or Class dialog opens.
- From the Classes tab, select Work Package has a Published Zip and choose the document to be the published Zip. Click OK.