Rendering shortest paths
To display the shortest path from a node to another in a Map:
- Right-click on Map Layers
- Click on the Shortest Path Layer that has been added
- Click on the Start Path
symbol
 in the GIS Editor toolbar
- Go to the Map and select the origin node for the path.
- Click on the symbol’s
drop-down and select End Path.
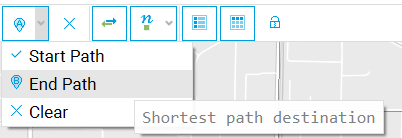
- Go to the Map and select the destination (End) node for the path.
- You can adjust the Start Path and End Path nodes by selecting either of them in the toolbar and clicking on the new node.
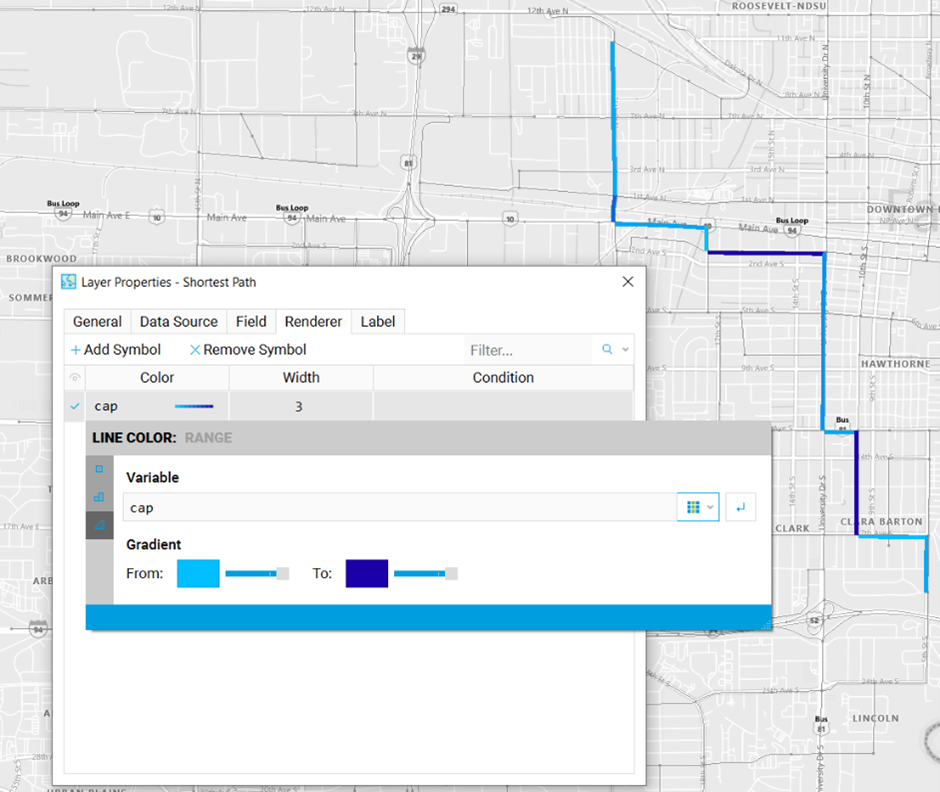
To customize the shortest path visualization:
- Go to the Shortest Path Layer Properties window
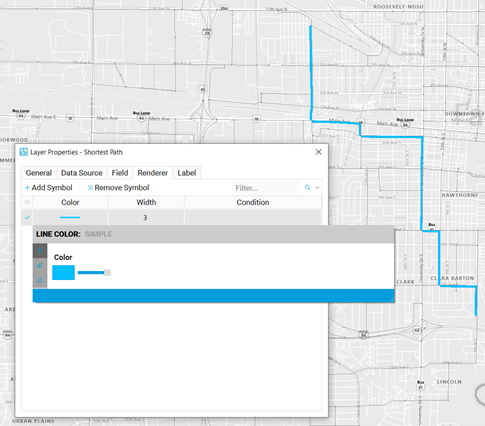
- Right-click under Color to adjust the path color or color setting:
-
Simple(default): will display one single color for
the entire path
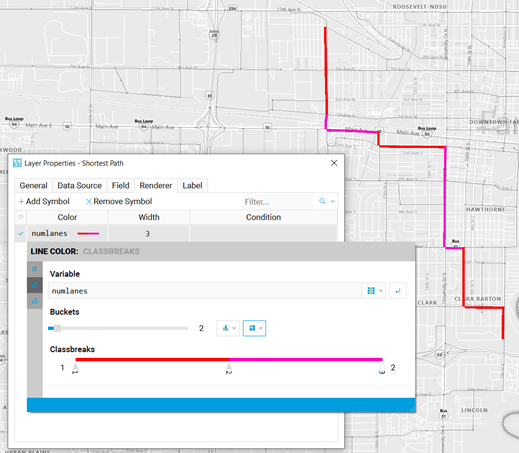
-
Classbreaks: depending on the variable selected it will show several
colors depending on the value distribution.
- Range:
depending on the variable selected it will show a color gradient between the
ones selected.
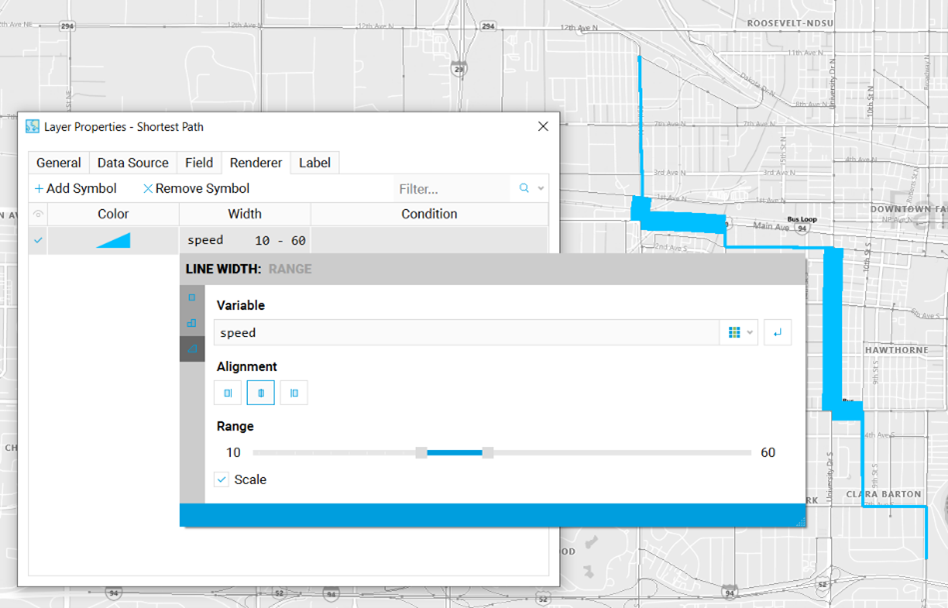
Similarly you can adjust the width and width options:
- Simple(default): will display a singular width for the entire path
-
Classbreaks: depending on the variable selected it will show
different widths depending on the value distribution of the variable.
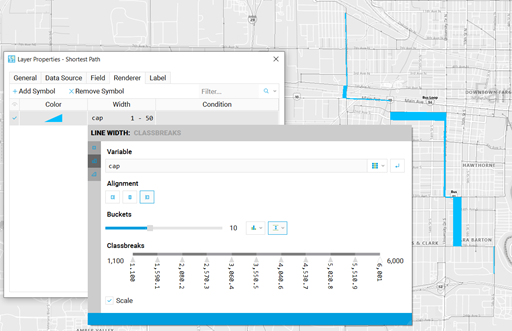
- Range:
depending on the variable selected it will show a change in width between the
ones selected in the range.