Scheduler Study
A Scheduler Study is the top-level grouping of the settings and input data related to the optimization to be performed. This includes picking a scenario to optimize, defining pump decision, constraints and objective elements.
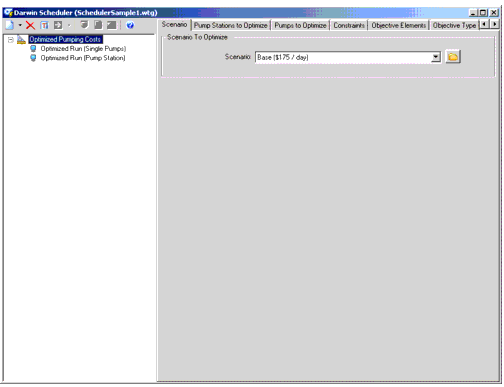
To start using Darwin Scheduler, you must create a Scheduler Study. All Darwin Scheduler data resides within the Scheduler Study.
A Scheduler Study includes the following:
It is apparent that one or more of these items will be different between different scheduler studies, hence the ability to create as many scheduler studies as you need.
You can create more than one scheduler study. Each design study can include one or more optimized runs.
Scenario Tab
The Scenario tab allows you to select the scenario to optimize.
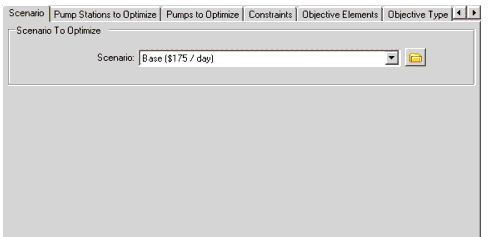
Select the scenario from the menu or click the Scenarios button  to open a dialog that displays the scenario hierarchy and allows you to select the desired scenario.
Pump Stations to Optimize Tab
The pump stations to optimize tab allows you to define which pump stations will be optimized by Scheduler.
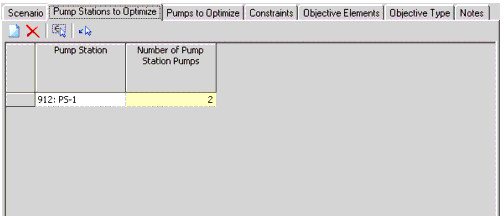
This tab consists of a table that lists the pump stations you have selected to optimize and a toolbar that consists of the following buttons:
 New: Adds a row to the table.
  Delete: Removes the currently highlighted row from the table.
  Initialize Table from Selection Set: Opens the Initialize Table from Selection Set dialog, which allows you to select a predefined selection set that will be used to automatically fill in the table.
  Select from Drawing: Allows you to select one or more elements from the drawing.
Pumps to Optimize Tab
The pumps to optimize tab allows you to define which pumps will be optimized by Scheduler.
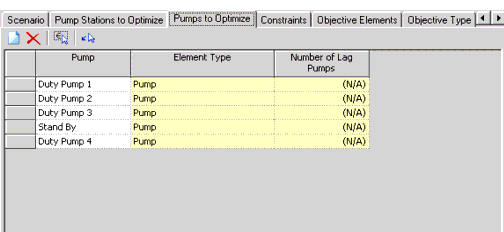
Pumps and pump batteries are allowable selections. For pump batteries Scheduler will also optimize the number of running lag pumps at each control time in addition to choosing the status of the main (or lead) pump.
This tab consists of a table that lists the pumps you have selected to optimize and a toolbar that consists of the following buttons:
- New: Adds a row to the table.
- Delete: Removes the currently highlighted row from the table.
- Initialize Table from Selection Set: Opens the Initialize Table from Selection Set dialog, which allows you to select a predefined selection set that will be used to automatically fill in the table.
- Select from Drawing: Allows you to select one or more elements from the drawing.
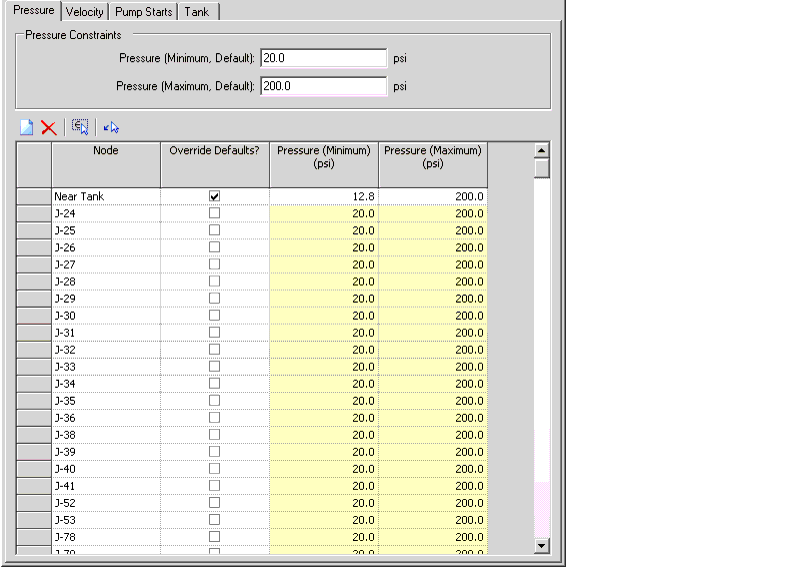
Constraints Tab
This tab allows you to specify global pressure constraints, and then to override them locally at specified nodes if desired.
First, populate the table using the following toolbar buttons:
- New: Adds a row to the table.
- Delete: Removes the currently highlighted row from the table.
- Initialize Table from Selection Set: Opens the Initialize Table from Selection Set dialog, which allows you to select a predefined selection set that will be used to automatically fill in the table.
- Select from Drawing: Allows you to select one or more elements from the drawing.
Then enter the Minimum and Maximum global constraints. To override the global constraint at a node, check the corresponding Override Defaults? box and enter the values for the new minimum and maximum pressure in the corresponding fields.
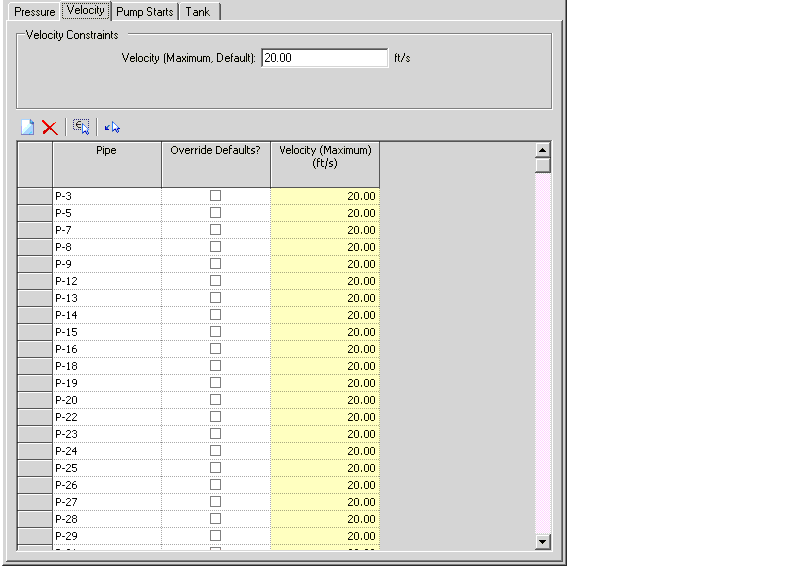
Velocity Tab
This tab allows you to specify a global maximum velocity constraint, and then to override it locally at specified nodes if desired.
First, populate the table using the following toolbar buttons:
- New: Adds a row to the table.
- Delete: Removes the currently highlighted row from the table.
- Initialize Table from Selection Set: Opens the Initialize Table from Selection Set dialog, which allows you to select a predefined selection set that will be used to automatically fill in the table.
- Select from Drawing: Allows you to select one or more elements from the drawing.
Then enter the Maximum global velocity constraint. To override the global constraint at a node, check the corresponding Override Defaults? box and enter the value for the new maximum velocity in the corresponding field.
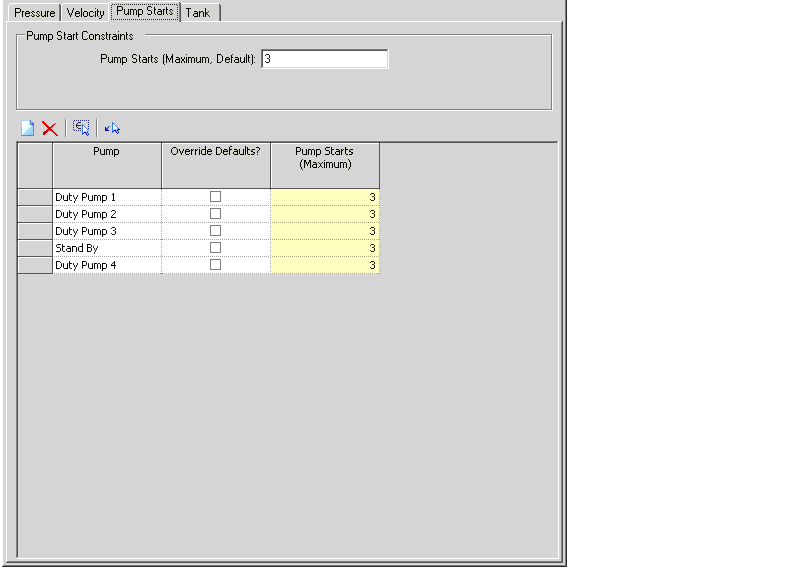
Pump Starts Tab
This tab allows you to specify the global maximum number of pump starts allowed, and then to override it locally at specified pumps if desired.
First, populate the table using the following toolbar buttons:
- New: Adds a row to the table.
- Delete: Removes the currently highlighted row from the table.
- Initialize Table from Selection Set: Opens the Initialize Table from Selection Set dialog, which allows you to select a predefined selection set that will be used to automatically fill in the table.
- Select from Drawing: Allows you to select one or more elements from the drawing.
Then enter the Maximum global pump starts constraint. The maximum pump starts constraint applies to the number of pump starts for the duration of the optimized schedule. To override the global constraint at a pump, check the corresponding Override Defaults? box and enter the number of maximum pump starts in the corresponding field.
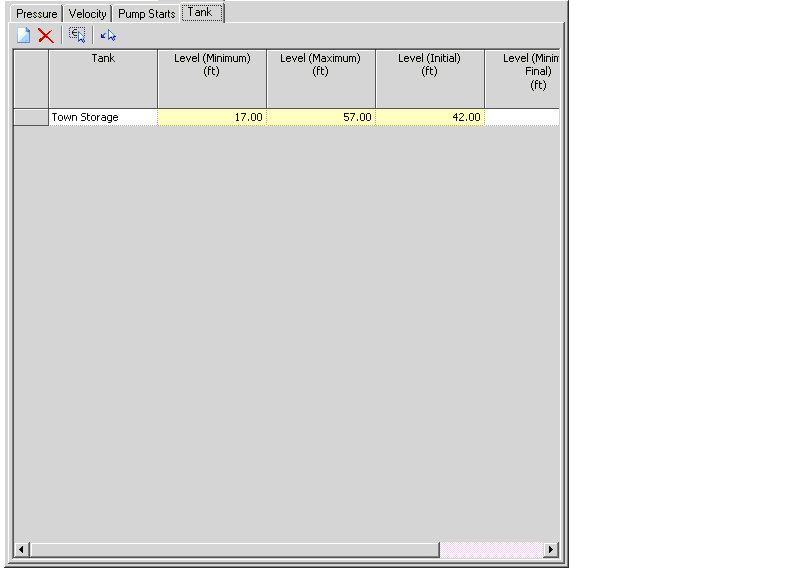
Tank Tab
This tab allows you to specify the minimum final tank levels.
First, populate the table using the following toolbar buttons:
- New: Adds a row to the table.
- Delete: Removes the currently highlighted row from the table.
- Initialize Table from Selection Set: Opens the Initialize Table from Selection Set dialog, which allows you to select a predefined selection set that will be used to automatically fill in the table.
- Select from Drawing: Allows you to select one or more elements from the drawing.
Then enter the minimum final level constraint. For each tank added to the list the current minimum, maximum and initial levels are shown to assist you in entering a correct minimum final level value.
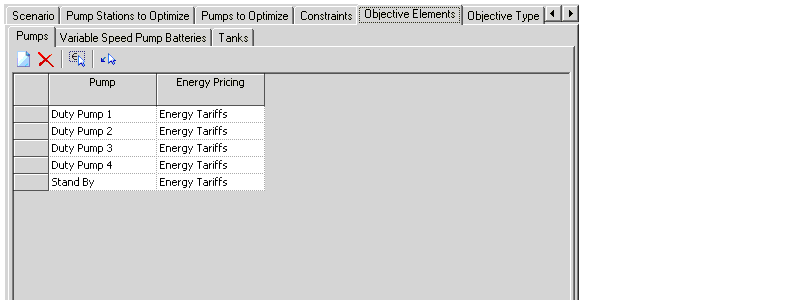
Objective Elements Tab
This tab is divided into sub-tabs that allow you to define the energy pricing for pumps and variable speed pump batteries, as well as select the tanks that will be included.
Pumps Tab
This tab allows you to associate the energy pricing pattern with the pumps you select.
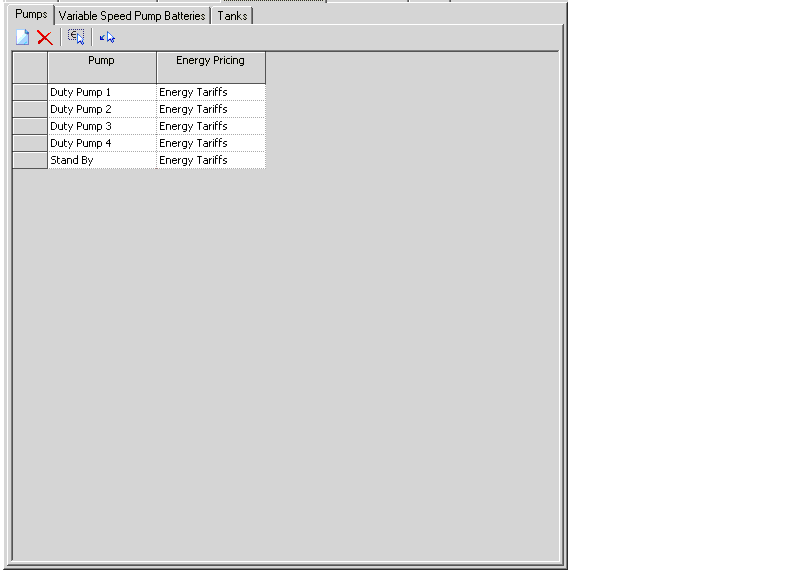
First, populate the table using the following toolbar buttons:
- New: Adds a row to the table.
- Delete: Removes the currently highlighted row from the table.
- Initialize Table from Selection Set: Opens the Initialize Table from Selection Set dialog, which allows you to select a predefined selection set that will be used to automatically fill in the table.
- Select from Drawing: Allows you to select one or more elements from the drawing.
Then select an energy pricing pattern from the menu for each pump in the table. To create a new energy pricing pattern, click the ellipsis button (...) to open the Energy Pricing manager (see Energy Pricing Manager for more information).
Variable Speed Pump Batteries Tab
This tab allows you to associate the energy pricing pattern with the variable speed pump batteries (VSPB'S) you select.
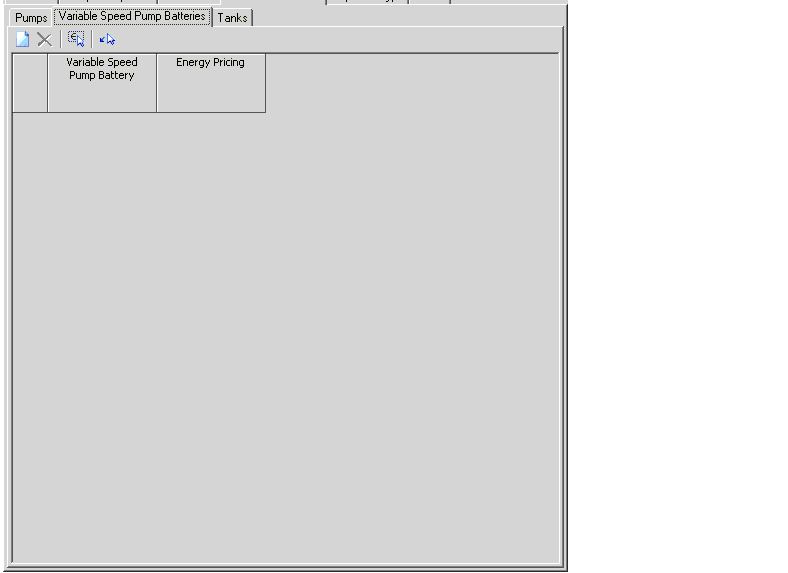
First, populate the table using the following toolbar buttons:
- New: Adds a row to the table.
- Delete: Removes the currently highlighted row from the table.
- Initialize Table from Selection Set: Opens the Initialize Table from Selection Set dialog, which allows you to select a predefined selection set that will be used to automatically fill in the table.
- Select from Drawing: Allows you to select one or more elements from the drawing.
Then select an energy pricing pattern from the menu for each VSPB in the table. To create a new energy pricing pattern, click the ellipsis button (...) to open the Energy Pricing Manager (see Energy Pricing Manager for more information).
Tanks Tab
This tab allows you to select the tanks that should be used during the optimization.
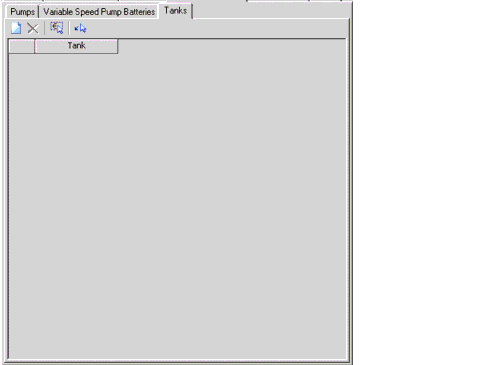
Populate the table using the following toolbar buttons:
- New: Adds a row to the table.
- Delete: Removes the currently highlighted row from the table.
- Initialize Table from Selection Set: Opens the Initialize Table from Selection Set dialog, which allows you to select a predefined selection set that will be used to automatically fill in the table.
- Select from Drawing: Allows you to select one or more elements from the drawing.
For each row, select a tank from the menu or click the ellipsis button (...) to select one or more thanks from the drawing.
Objective Type Tab
This tab allows you to select the type of objective to optimize.
The choices include:
Notes Tab
This tab allows you to enter descriptive notes that will be associated with the Scheduler Study.