Using Profiles
A profile is a graph that plots a particular attribute across a distance, such as ground elevation along a section of piping. As well as these side or sectional views of the ground elevation, profiles can be used to show other characteristics, such as hydraulic grade, pressure, and constituent concentration.
You define profiles by selecting a series of adjacent elements. To create or use a profile, you must first open the Profiles manager. The Profiles manager is a dockable window where you can add, delete, rename, edit, and view profiles.
The Profiles dialog box is where you can create, view, and edit profile views of elements in the network.
The dialog box contains a list pane that displays all of the profiles currently contained within the hydraulic model, along with a toolbar.
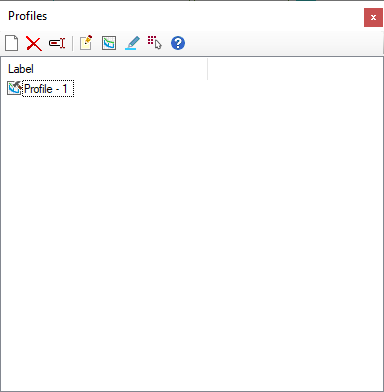


By default, all profiles are created as Transient Report
Paths. A Transient Report Path is denoted by a small hammer icon.
When a transient analysis is completed in HAMMER, profile results will only be stored for those elements along a previously defined Transient Report Path.
You can right-click a profile in the Profile Manager and uncheck the Transient Report Path toggle command in the context menu. When unchecked, transient analysis results will not be saved for that profile. Reducing the number of Transient Report Paths can reduce output file sizes and improve calculation times.
Transient Report Paths are not used directly in WaterGEMS/WaterCAD - in those products results from all profiles are always available. However the Transient Report Path toggle and hammer icon are included in WaterGEMS/WaterCAD so that hydraulic models created within any of the three programs will be compatible.