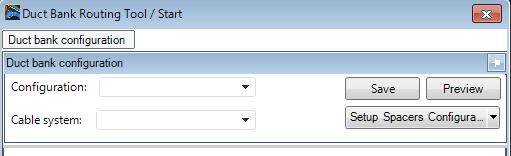
To Setup the Duct Bank Configuration
The Duct bank
configuration section of the Duct Bank Routing Tool allows you setup the duct
bank configuration including spacers and conduit.
- Open the Duct Bank Routing Tool.
- Click the Duct bank configuration button and click the Setup Spacers Configuration option.
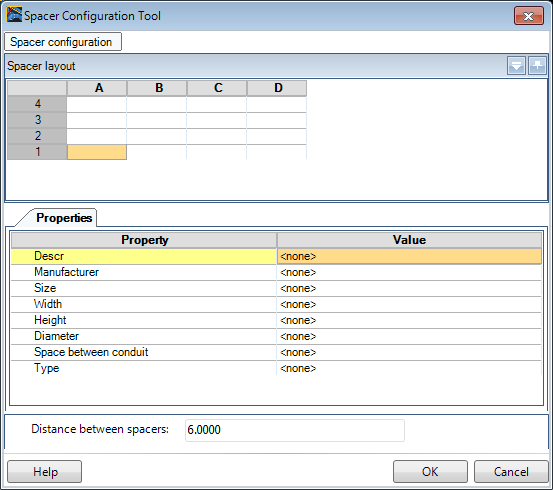
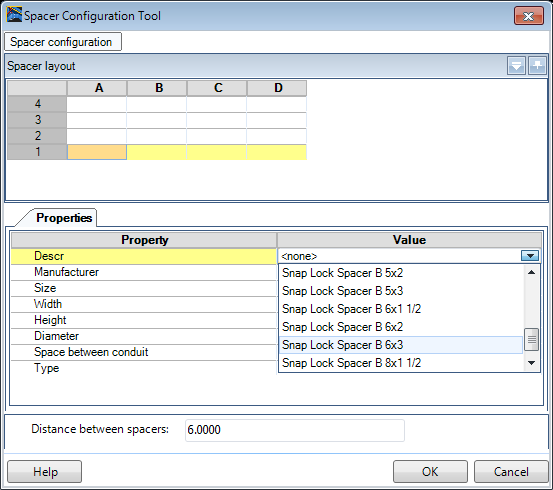
- In the Spacer Configuration tool there is a Spacer layout grid at the top of the dialog. This represents the current layout of the duct bank.
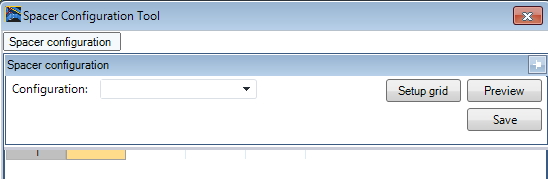
- Click the Spacer Configuration option and click Setup Grid from the drop down section.
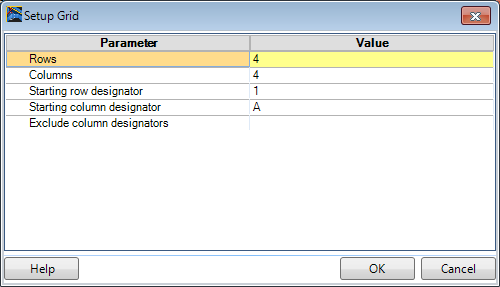
- In the Setup Grid dialog, set the number or Rows and Columns to 4.
- Click OK to return to the Spacer Configuration Tool.
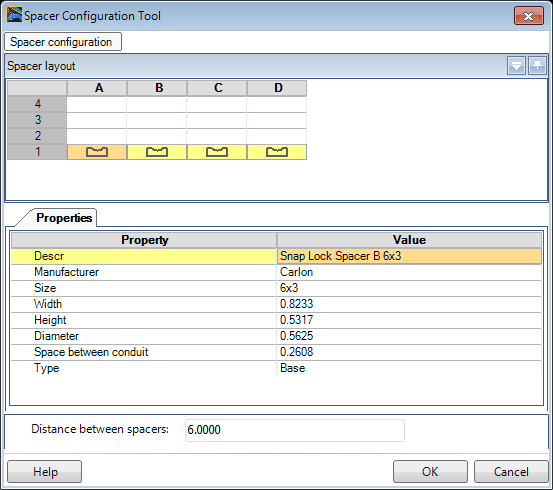
- Select the bottom row and select the Snap Lock Spacer B 6x3 from the drop down list.
- The spacer image is displayed in the cells selected and the spacer properties fields are filled in with the information of the selected spacer.
- Once the base spacers are defined, define the spacer type for the row above that one. You will notice the Spacer selection only contains spacers of the same size as the base and the size is prefaced with a I designating it as an intermediate spacer.
-
Optional: Additional Rows or Columns can be
added to the layout by right clicking in a Row/Column header and selecting
Add from the context menu.
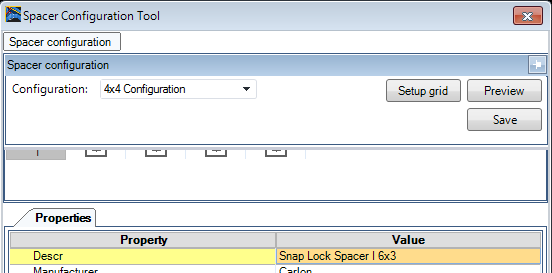
- To save the configuration, click the Spacer Configuration tab and enter a name into the Configuration field. Click Save.
- Click OK to return to the Duct Bank Router.