Create an Equipment Component and Save to Components Center
- Open the Equipment Manager and select the Create/Modify Equipment tab.
-
Select the
New > Cell Based
 option from the toolbar.
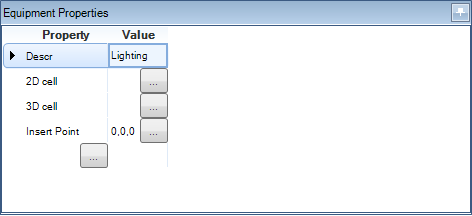
- In the Equipment Properties section enter a value in the Descr field.
- Click Browse button next to the 2D cell field to display the Cell Selection dialog.
- Click the Browse icon next to the Cell Library field and select the library where the equipment cell is located.
- Next select the equipment Cell from the drop down list and click OK to close the dialog.
- Repeat steps 4 thru 6 for the 3D cell field.
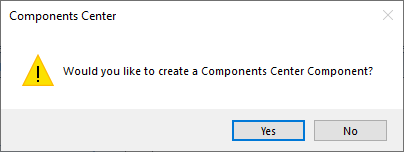
- Click Save to save the changes. You will be prompted to save the component to the Components Center:
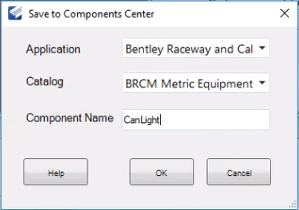
- Click Yes to display the following dialog:
- Enter the following information for the component:
-
Click
OK to complete the creation process.
When an equipment component is saved to the Components Center, the UDA values to the ComponentsCenterUDA.xml file located in the following location:
...\Configuration\Workspaces\%WorkSpace%\Standards\BRCM\std_dataset\equipment
Note: Your CONNECT Client login must have been granted the proper upload permissions to upload content before you can save a new component to the Components Center. The following Wiki page provides details on configuring roles and permissions for the Components Center. https://communities.bentley.com/communities/other_communities/sign-in_assistance_and_web_services/w/wiki/40222/configuring-roles-and-permissions