Sectioning
Creating sections.
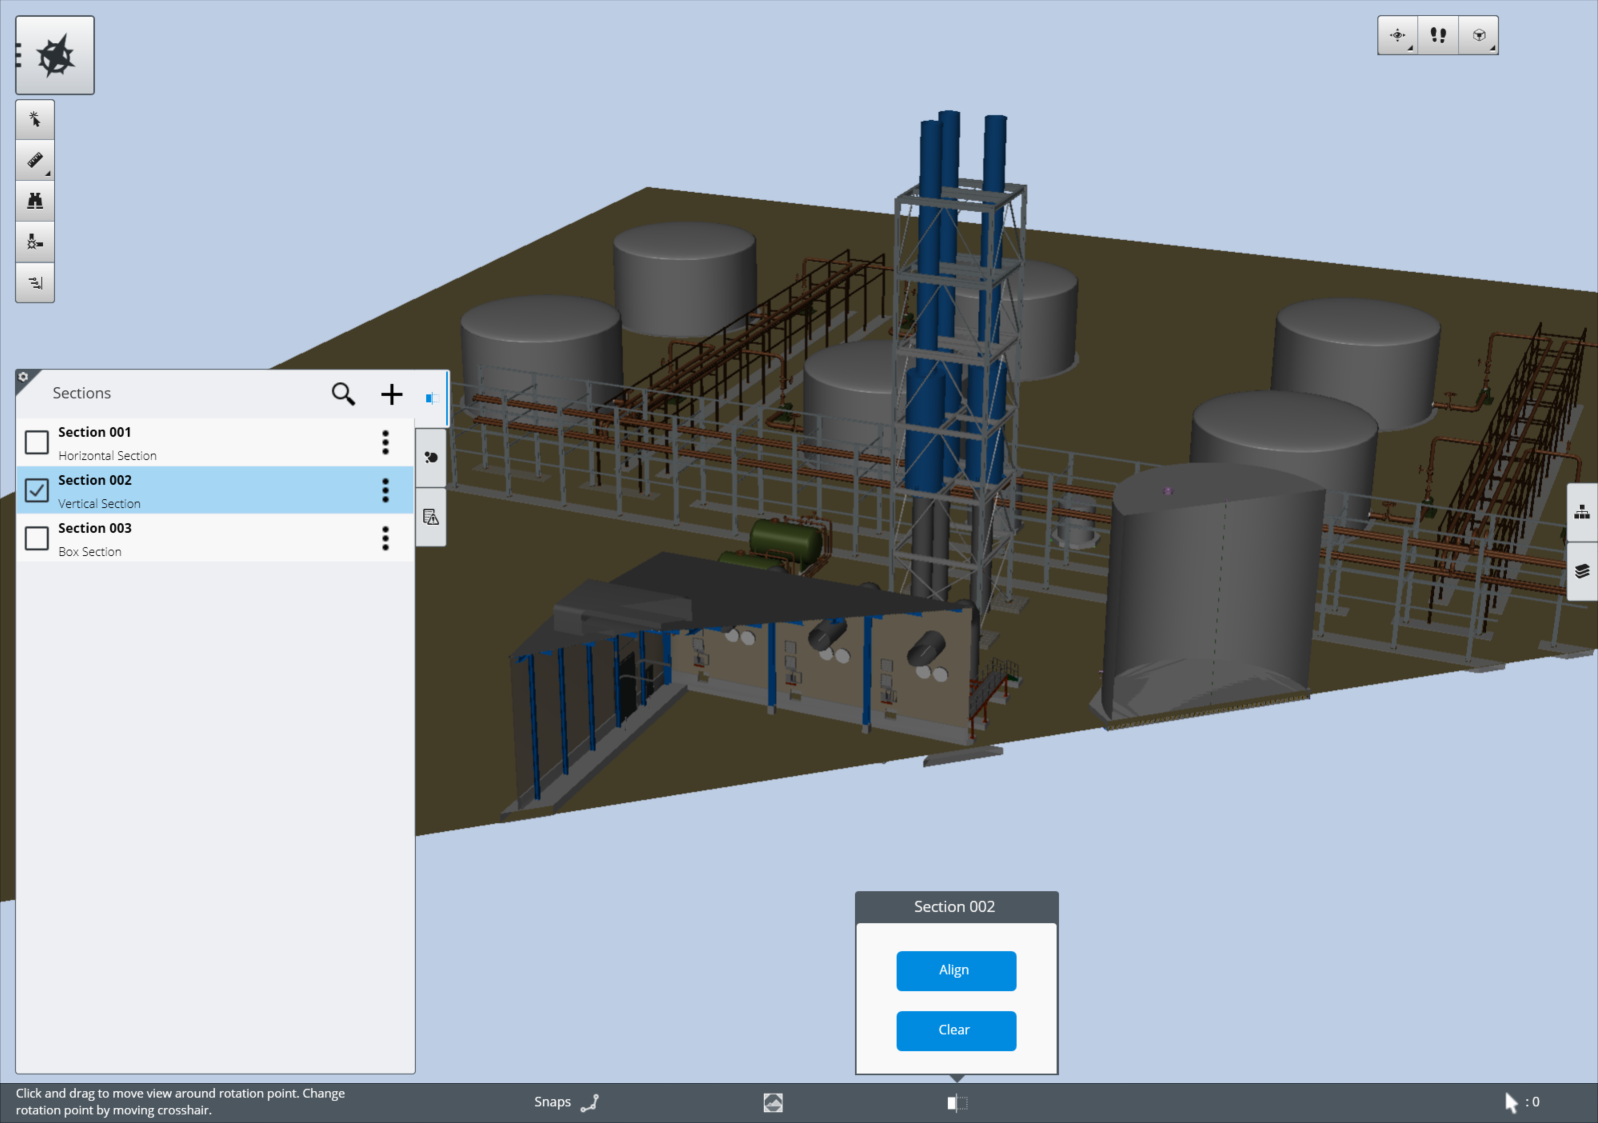
Sectioning lets you cull the model to focus on a certain spatial area. This is different than hiding an individual item in the view or turning off the display of a category because only part of the item displays if it falls on the cutting plane. This allows you to see inside of a building without having to manage large lists of hidden items. The creation and management of sections is found in the Sections tab of the Content Management zone on the middle left. You can navigate, turn off individual items or categories as well as turn on Data Visualizations while a section is enabled. Only one section can be enabled at any time.
Create a Section
From the Sections tab in the Content Management zone, select the Create Section "+" button from the tool bar. Three types of sections are available.
- Horizontal Plane cuts the view with a single plane on the models XY plane and is used to view a single floor of a building at a set elevation.
- Vertical Plane cuts the view with a single plane aligned on the Z axis of the model and is used to view cross sections of your model.
- Box creates a resizable cube that displays everything inside of the cube and is used to view a specific area like a room.
Once you select the type of section, you enter the Section Edit mode for defining the location of the section. Once the section is where you want it, click the Back button in the Task-based Tools Menu to exit the Section Edit mode. The section is enabled automatically and the section graphic disappears as this is only visible when in edit mode.
Using a Section
When you have created a section, the section name
displays in the list in the Sections tab in the Content Management Zone. To
enable a section, select the desired section. A checkmark displays next to the
section name when a section is enabled. The section stays enabled until you
manually turn off the section by selecting the section name again or close the
file. Only one section can be enabled at anytime. The More Options
 icon displays to the right of
each section name in the section list. When you select the More Options icon,
you can select Edit which takes you to the
Section Edit mode for the active section and allows you to
modify the section. You can also select Delete to delete the section, and you
can select Share to share sections between devices or with other users in your
CONNECT Project. When a section is shared, the Shared
icon displays to the right of
each section name in the section list. When you select the More Options icon,
you can select Edit which takes you to the
Section Edit mode for the active section and allows you to
modify the section. You can also select Delete to delete the section, and you
can select Share to share sections between devices or with other users in your
CONNECT Project. When a section is shared, the Shared
 icon displays to the left of the
section name. Shared sections can be synced with other members of your CONNECT
project by selecting the Sync button from the Backstage Panel.
icon displays to the left of the
section name. Shared sections can be synced with other members of your CONNECT
project by selecting the Sync button from the Backstage Panel.
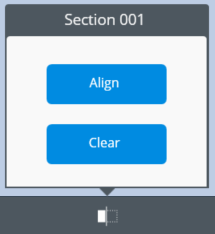
When a section is active, the Section icon appears in the Status Bar. When you select the Section icon, a tab displays where you can Align the view or Clear the view.