Sheath Info
The Sheath Info setup tool defines intelligent stamps that can be defined by the user to display pertinent information about fiber and copper sheaths in a network on the mapping level.
Open the Sheath Info Dialog Box
- From the Bentley Comms menu, select Fiber/Copper/ISP-Setup > OSP > Sheath Info.
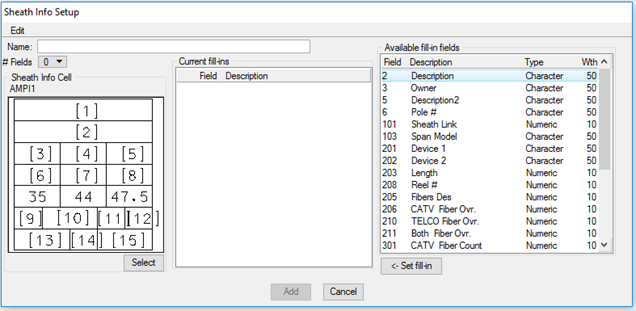
- The Sheath Info Setup dialog box opens.

Note: Bentley Fiber provides
a sheath information tool that can be utilized by the end user. Any data stored
to the sheath table or the custom attribute table associated with fiber or
copper sheaths can be accessed, loaded into a custom stamp, and posted to the
maps. Bentley Fiber also provides a tool to automatically update the
information if the sheath data ever changes in the network model.
Editing a Sheath Info Stamp Model
- From the Sheath Info Setup dialog box, select Edit and choose a sheath info from the pull-down menu. The selected sheath info loads the information into the dialog box.
- Edit the Sheath Info input fields.
- Click Update to save changes into the spec file.
Creating a Sheath Info Stamp Model
- Key in a Name.
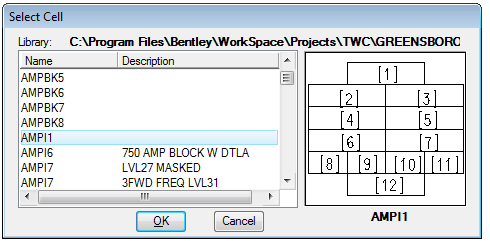
- Click Select to choose an appropriate cell.
- The Select Cell window opens.
- Scroll down the list, highlight a cell that has been defined with PBA (property based annotation) fields, and click OK. The cell loads into the Sheath Info window.
- Select the number of PBA locations to represent in the current sheath info stamp. Select the # Fields pull-down and highlight the number.
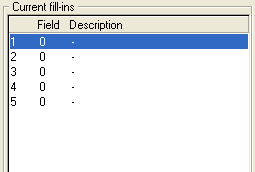
- After choosing a number of PBA locations, a list opens in the Current Fill-ins section of the Sheath Info Setup dialog box. The list displays the association between the Sheath Info cell number and the database field.
- Highlight one of the numbered PBA locations in the Current Fill-ins section.
- Referring to the new Sheath Info Cell, highlight an appropriate data field in the Available fill-in fields section.
- Click <- Set fill-in to create the association. The Current fill-ins list updates with the new information.
- Click Update to save changes into the spec file.
Deleting a Sheath Info Stamp Model