Configuring the Storage Service
Storage Service (an option on the AssetWise Server installer) is used to manage AssetWise storage devices and repositories.
- A device or storage device specifies the root folder on a file storage server under which one or more repositories reside. For example: C:\ebstorage
- A repository is the folder under a device where the files that get added to the AssetWise community are stored.
The computer where the physical repository resides does not require that you install any AssetWise software on it. Therefore you can set up a repository on the local AssetWise Server, on a remote Storage Service, or on a remote server with no AssetWise software installed at all.
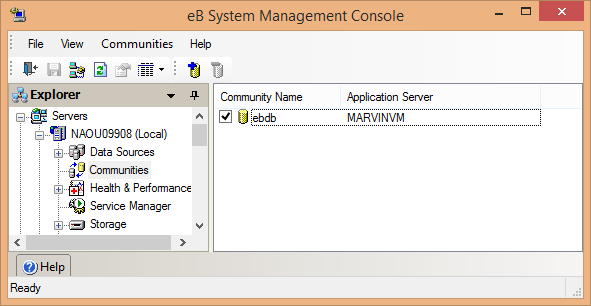
In AssetWise System Management Console, the Storage node is where you define and manage the storage devices and repositories of a particular AssetWise server. The Storage node is only present under a particular server node when the Storage Service is installed on that server computer. When you select the Storage node, the content pane is split into two sections:
- The upper section lists the storage devices managed by the Storage Service on this AssetWise server.
- The lower section lists the available communities of this AssetWise server, letting you select which communities you want this Storage Service to serve.
When creating a device that points to a local folder, you can specify either a logical path or a UNC path. When creating a device that points to a folder on a remote file storage server, you must use a UNC path. Examples:
C:\ebstorage (logical device)
\\servername\ebstorage (UNC device)
When creating a device using a logical path, you do not need to manually create the device folder. AssetWise will create it as needed (along with the repository folder) the next time a file is added to the community and placed into the device's repository. When creating a device using a UNC path, you must manually create the device folder, share it, and give access (Full Control) to the service identity used by the Storage Service, before it can be used. When using a UNC path, AssetWise will create the repository folder as needed.
AssetWise System Management Console provides two methods for creating storage devices and repositories. You can either use the Device Properties and Repository Properties dialogs to create a storage device and repository, or you can use the Storage Wizard to create both the storage device and the repository (and optionally the community) in one process. You can also use the Storage Wizard to move a repository another storage server, or to another location on the same storage server.
To Enable the Storage Service for Your Community
-
In the Explorer pane, expand .
- Select the Storage node.
-
In the Communities Served list, check the check box next to your community.
-
Log in to the community if prompted.
The Storage Service running on this computer is now configured to serve the selected community.
- If you want to use more than one Storage Service for a single community, repeat these steps for each installation of Storage Service so that all instances of Storage Service are enabled for your community.
To Create a Storage Device
This task requires that you have already created a community. See To Create a Community .
-
In the Explorer pane, expand .
-
Right-click the
Storage
node and select
Add Device.
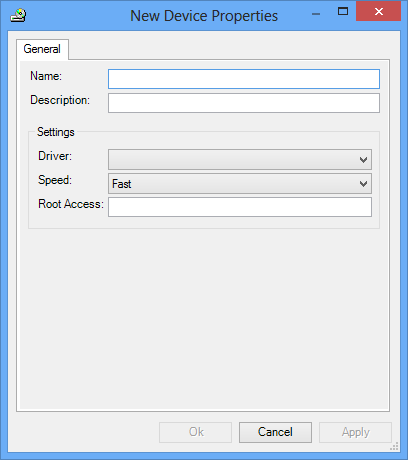
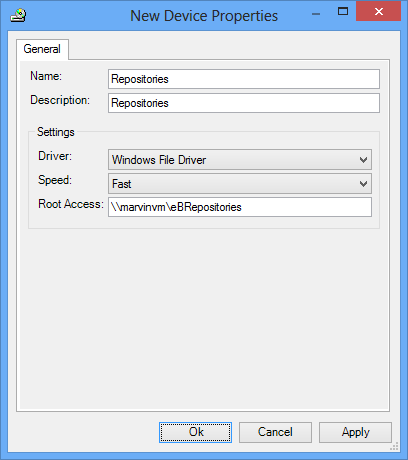
The New Device Properties dialog opens.
- In the Name field: Enter a name for the storage device.
- (Optional) In the Description field: Enter a description for the storage device.
- From the Driver list: Select which file driver this storage device will use.
-
Configure additional parameters
depending on the driver selected.
-
From the
Speed list: Select a response time for the
selected driver.
For example, optical is considered slow and local magnetic disks are considered fast.
-
In the
Root Access field:
Enter the path to
the root folder on the file storage server under which your repository will
reside.
The root folder can be a folder on the local computer or on a remote computer. If the folder is local, the format can be a logical path (for example, C:\awstorage) or a UNC path (for example, \\servername\awstorage). If the folder is on a remote computer, you must use a UNC path. When using a logical path, you do not need to manually create the device folder; AssetWise will create it (and the repository folder) as needed, the next time a file is added to the community and placed into the device's repository. When using a UNC path, you must manually create the device folder, share it, and give access (Full Control) to the service identity used by the Storage Service. In this case, AssetWise will create just the repository folder as needed.
-
Click
OK.
Multiple storage areas can be set up on the AssetWise Information Integrity Server, as the AssetWise Information Integrity Server has the ability to host more than one community. To apply the storage area to a specific community, it is necessary to check the check box next to the correct community.
There is a location on the AssetWise Installation Worksheet to store this information.
To Create a Repository
- In the Explorer pane, expand .
-
Right-click the storage device under which you want to create a
repository and select
Add Repository.
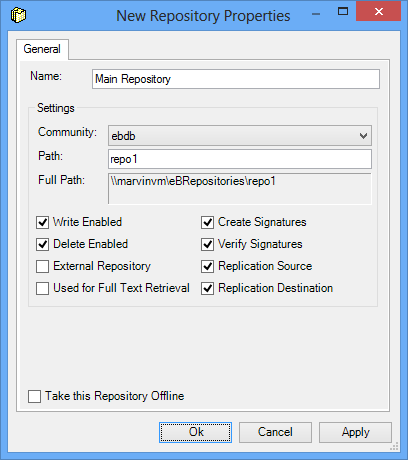
The New Repository Properties dialog opens.
- In the Name field: Enter a logical name for the repository.
- From the Community list: Select the community you want this repository to serve.
-
In the
Path field:
Enter the name for the
physical repository folder that will be created under the device.
The name you enter in the Path field is automatically appended to the Full Path field, which includes the device and displays the full path to the physical repository folder. For example:
C:\awstorage\repository
or
\\servername\awstorage\repository
There is no need to manually create the physical repository folder. AssetWise will create it as needed, the next time a file is added to the community and placed into this repository.
-
Assuming this
is a normal
AssetWise repository, leave the default options as
they are.
See Repository Options for descriptions.
-
Click
OK.
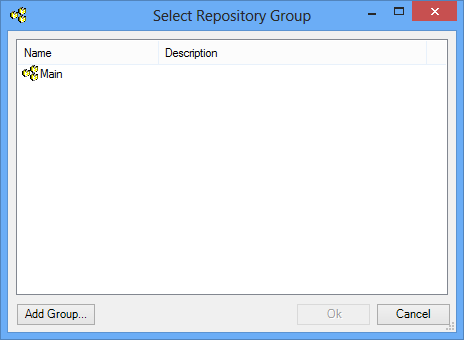
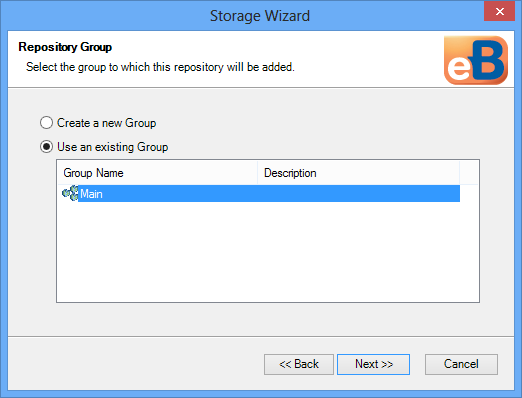
-
Select which repository group in
the selected community you want this new repository to belong to and click
OK.
The repository is added under the selected storage device under the Storage node.
To Create a Community, Storage Device, and Repository Using the Storage Wizard
This task requires that you have already created a datasource (see To Create a Datasource ).
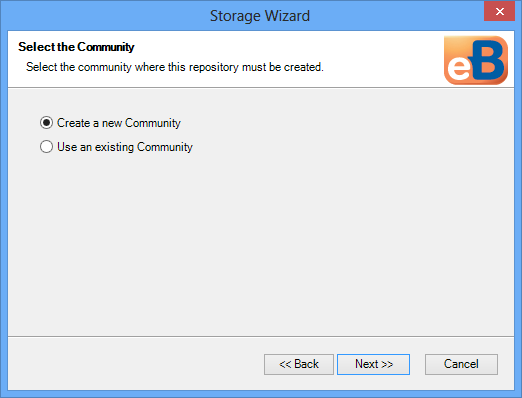
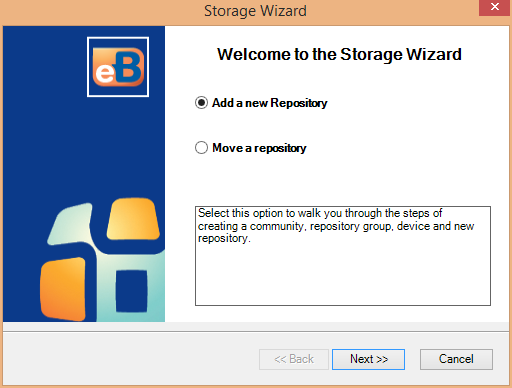
The Storage Wizard lets you create a community, a storage device, and a repository all in one process. For each item, the wizard will prompt you to either create a new one or select an existing one. For the sake of simplicity this procedure assumes that you are creating new items.
-
Open
AssetWise System Management Console
().
-
In the Explorer pane, expand .
-
Right-click the Storage node and select Storage Wizard.
-
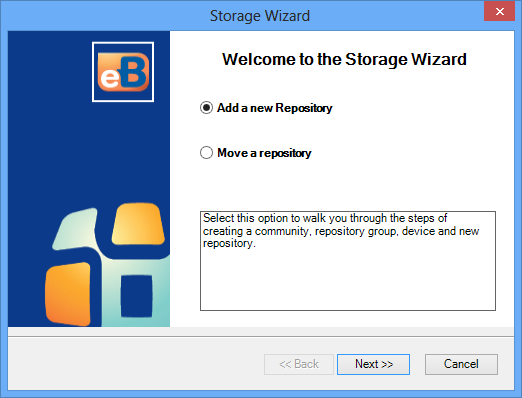
On the
Welcome page:
-
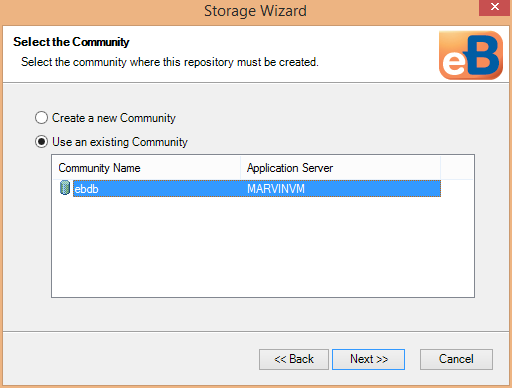
On the
Select the Community page:
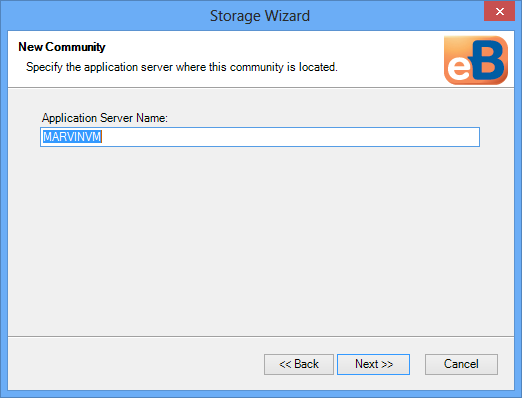
- On the New Community page:
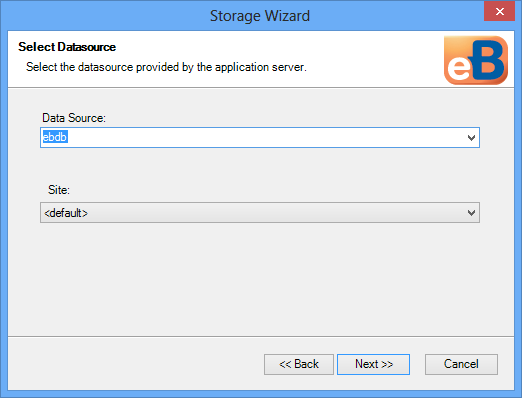
- On the Select Datasource page:
-
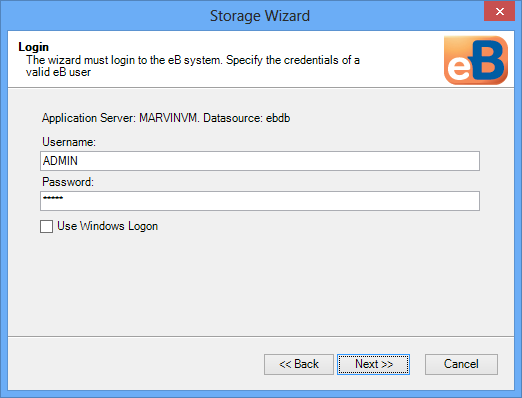
On the
Login page:
-
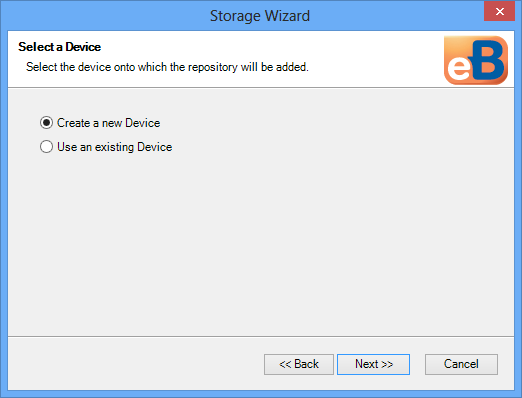
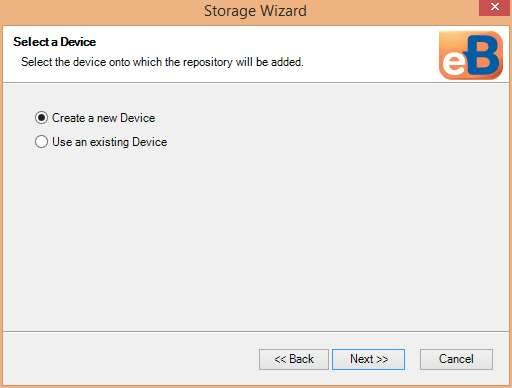
On the
Select a Device page:
-
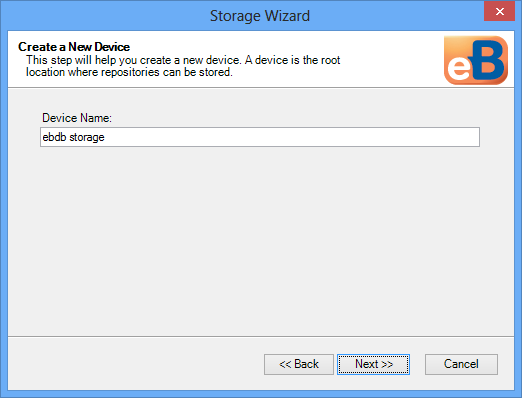
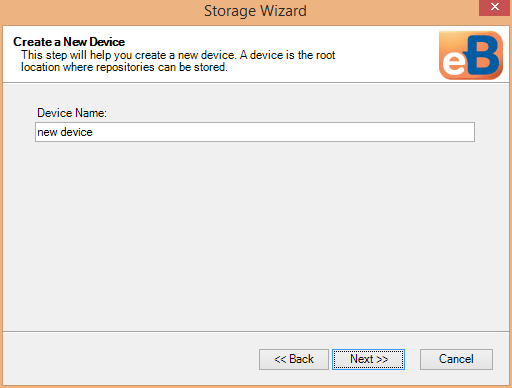
On the
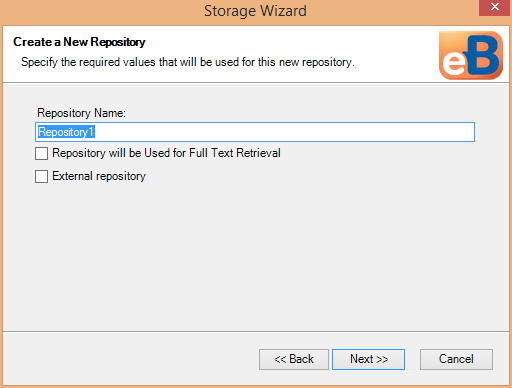
Create a New Device page:
-
On the
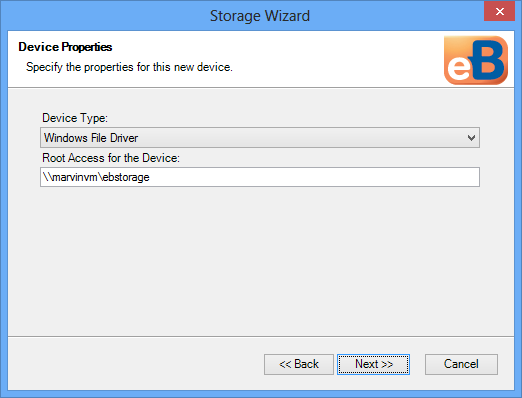
Device Properties page:
-
From the
Device Type list:
Select which file driver
this storage device will use.
-
Configure additional parameters
depending on the driver selected.
-
In the
Root Access for the Device field:
Enter the path to
the root folder on the file storage server under which your repository will
reside.
The root folder can be a folder on the local computer or on a remote computer. If the folder is local, the format can be a logical path (for example, C:\awstorage) or a UNC path (for example, \\servername\awstorage). If the folder is on a remote computer, you must use a UNC path. When using a logical path, you do not need to manually create the device folder; AssetWise will create it (and the repository folder) as needed, the next time a file is added to the community and placed into the device's repository. When using a UNC path, you must manually create the device folder, share it, and give access (Full Control) to the service identity used by the Storage Service. In this case, AssetWise will create just the repository folder as needed.
-
Click
Next.
-
From the
Device Type list:
Select which file driver
this storage device will use.
-
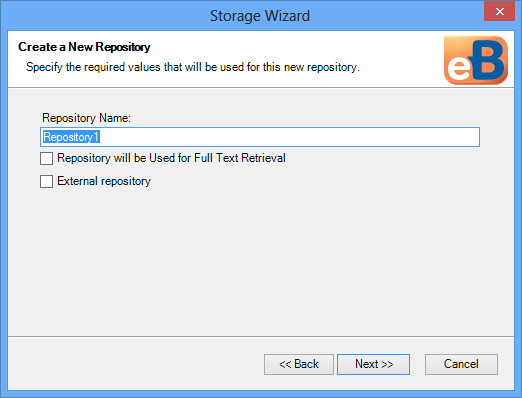
On the
Create a New Repository page:
-
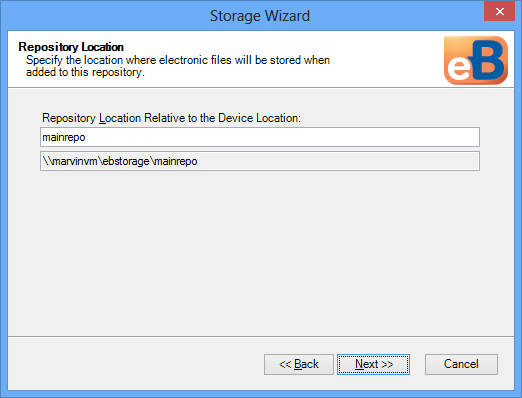
On the
Repository Location page:
-
In the
Repository Location Relative to Device Location
field:
Enter the name for the
physical repository folder that will be created under the device.
The folder name you enter is automatically appended to the read-only field below it, which includes the device and displays the full path to the physical repository folder. For example:
C:\awstorage\repository
or
\\servername\awstorage\repository
There is no need to manually create the physical repository folder. AssetWise will create it as needed, the next time a file is added to the community and placed into this repository.
-
Assuming this
is a normal
AssetWise repository, leave the default options as
they are.
See Repository Options for descriptions.
-
Click
Next.
-
In the
Repository Location Relative to Device Location
field:
Enter the name for the
physical repository folder that will be created under the device.
-
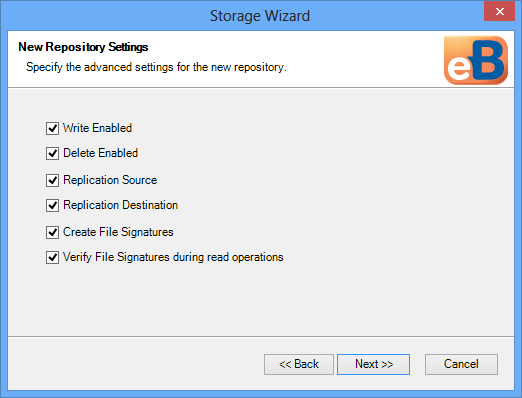
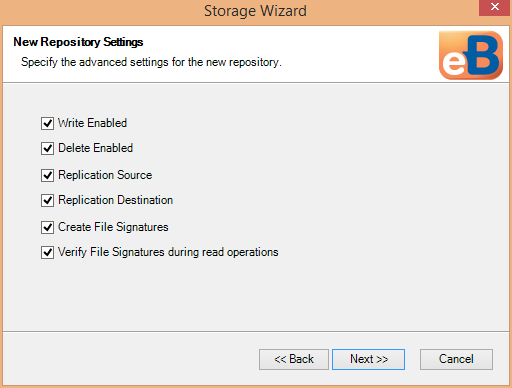
On the
New Repository Settings page:
-
Assuming this
is a normal
AssetWise repository, leave the default options as
they are.
See Repository Options for descriptions.
-
Click
Next.
-
Assuming this
is a normal
AssetWise repository, leave the default options as
they are.
- On the Repository Group page:
-
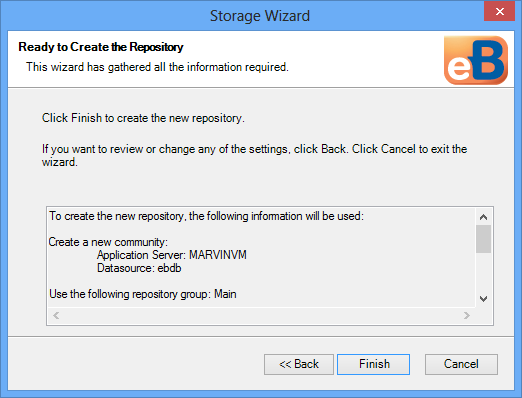
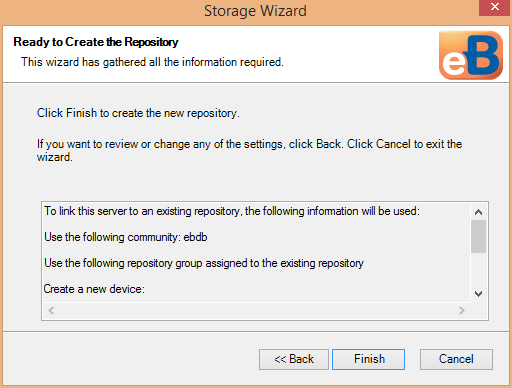
On the
Ready to Create the Repository page, review your
settings and click
Finish.
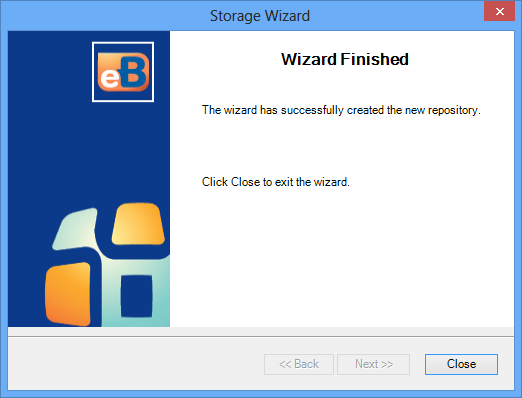
-
On the
Finished page, click
Close.
Storage Device File Drivers
AssetWise delivers the following file drivers to choose from when creating a storage device.
Repository Options
These options are available when you view the properties of an existing repository.
Default options are selected when you create the repository, whether using the New Repository Properties dialog or the Storage Wizard.
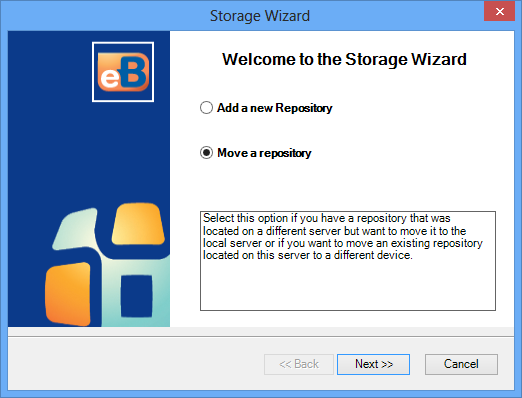
To Move a Repository Using the Storage Wizard
You can use the Storage Wizard to help you move a repository from one storage server to another, or to another device on the same storage server. First you copy or move the physical repository folder to its new location, then you use the Storage Wizard to reconnect the community to the repository in its new location.
-
Copy or move the physical repository folder from the old device
folder to the new device folder.
For example, from C:\olddevice\mainrepo to D:\newdevice\mainrepo.
The new device folder can be on the same computer as the old device folder, or on another computer.
-
Open
AssetWise System Management Console
().
-
In the Explorer pane, expand .
-
Right-click the Storage node and select Storage Wizard.
-
On the
Welcome page:
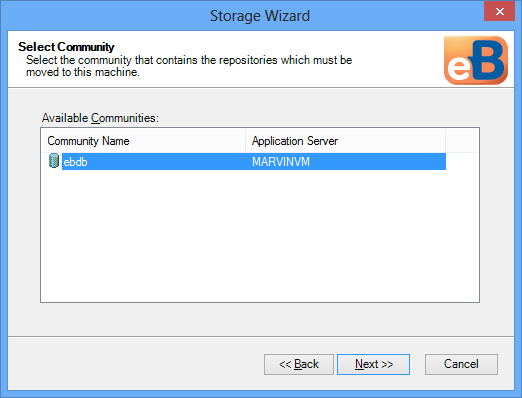
- On the Select Community page:
-
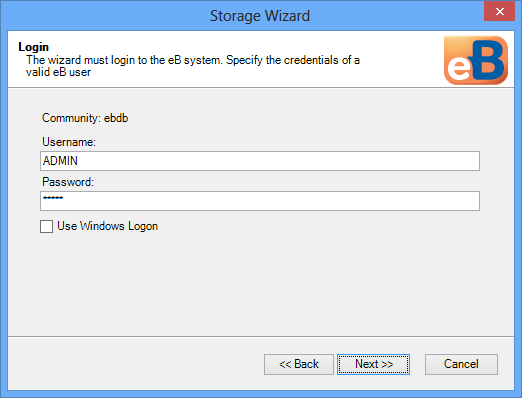
On the
Login page:
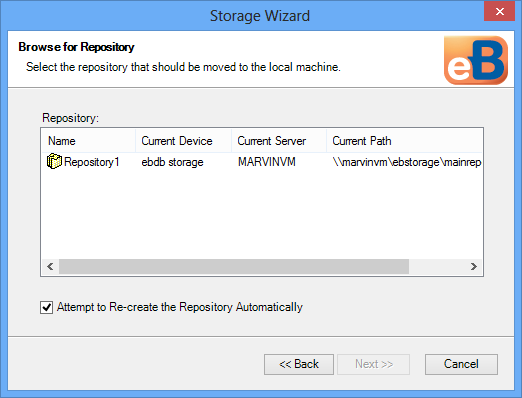
- On the Browse for Repository page:
-
On the
Select a Device page:
-
On the
Create a New Device page:
-
On the
Device Properties page:
-
From the
Device Type list:
Select which file driver
this storage device will use.
-
Configure additional parameters
depending on the driver selected.
-
In the
Root Access for the Device field:
Enter the path to the new device folder you created in step 1.
If the new device folder is a local folder, the format can be a logical path (C:\newdevice) or a UNC path (\\servername\newdevice). If the new device folder is on a remote computer, you must use a UNC path.
-
Click
Next.
-
From the
Device Type list:
Select which file driver
this storage device will use.
-
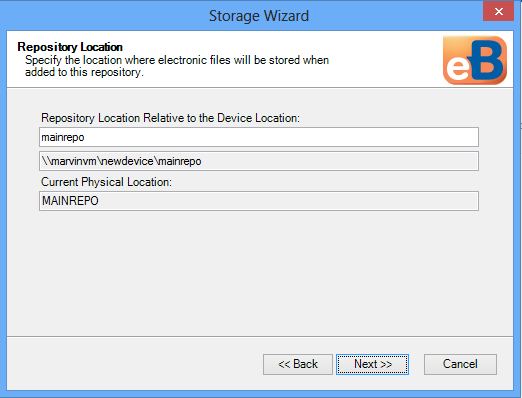
On the
Repository Location page:
-
In the
Repository Location Relative to Device Location
field:
This field is already populated with the name of the repository folder that you
copied or moved in step 1. Leave it as is.
The read-only path field below it includes the new device and displays the full path to the physical repository folder. For example:
C:\newdevice\mainrepo
or
\\servername\newdevice\mainrepo
-
Click
Next.
-
In the
Repository Location Relative to Device Location
field:
This field is already populated with the name of the repository folder that you
copied or moved in step 1. Leave it as is.
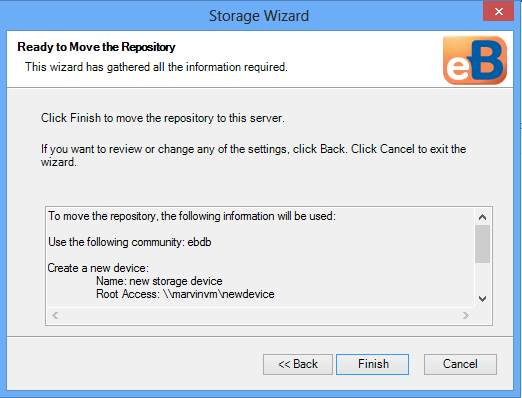
- On the Ready to Move the Repository page, review your settings and click Finish.
-
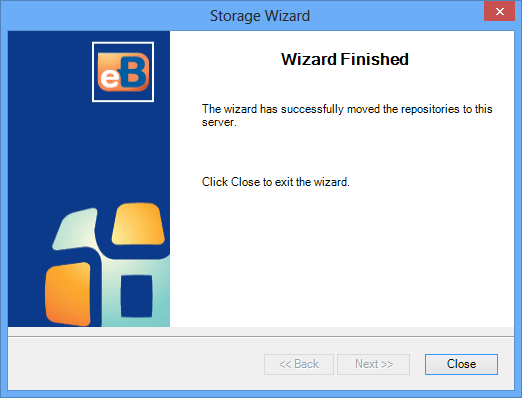
On the
Finished page, click
Close.
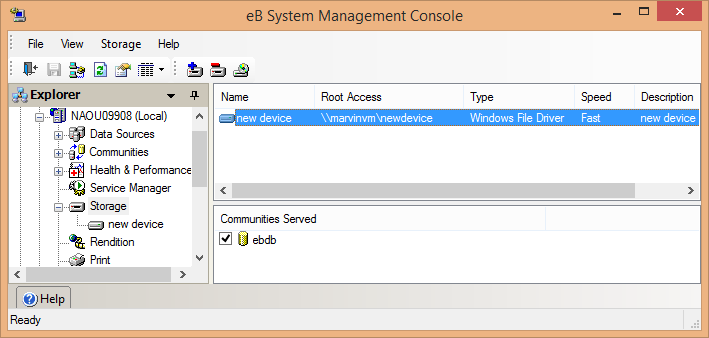
Under the Storage node, you can click the old and new devices, and see that the repository has been moved from the old device to the new device.
You may need to refresh or possibly restart the Storage Service to see the change.
Old device, existing repository is no longer there:
New device, existing repository is now here:


To Set Up Multiple Storage Services to Serve the Same Repository
You can configure your system to have multiple storage services installed on multiple computers, all serving the same physical repository.
This is useful both for performance and for redundancy in case of failover. For example, you may find that a single storage server does not have enough processing power to handle all your storage work. Setting up additional storage servers spreads the work load between multiple servers for the same repository. Also, having multiple storage servers allows for redundancy in the event that one of the storage servers becomes unavailable.
The basic workflow is to create a storage device and repository for your community on one storage server as usual, then later you can set up additional storage servers and create a repository on each server that is linked to the original repository.
- It is assumed that you have already created a storage device and repository for your community.
- If it is not already shared, share the physical device folder and repository folder, and give access (Modify permission) to the service identity used by the Storage Service that you will install in the next step.
-
Use the
AssetWise Information Integrity Server
installer to install the
Storage Service on another server.
Typically you can just install the full AssetWise Information Integrity Server (by default all options are on) and then disable the individual services you are not using in AssetWise System Management Console (under the Service Manager node). Another option is to install just the Application Server and Storage Service options in the AssetWise Information Integrity Server installer.
- On the computer where you just installed the additional Storage Service, open AssetWise System Management Console ()
-
Create a community that points to an existing datasource on the
main
AssetWise Server computer.
-
In the Explorer pane, expand .
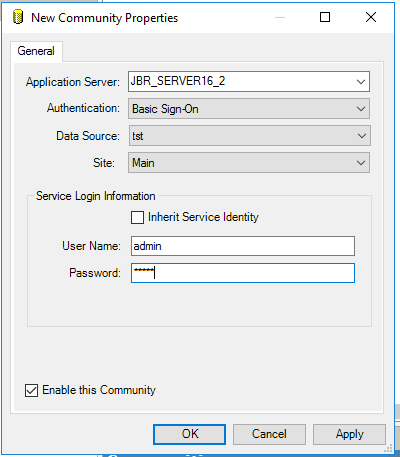
- Right-click the Communities node and select Add Community.
- In the Application Server field: Specify the name of the AssetWise Server computer that hosts the datasource.
- From the Datasource list: Select your datasource.
-
Click
OK.
- Log in to the community when prompted using your default AssetWise admin account.
The community is created and added to the list of communities.
-
In the Explorer pane, expand .
- Enable the Storage Service for this new community.
-
Create a storage device and repository on this computer that is
linked to the original storage device and repository using the
Storage Wizard.
-
Right-click the Storage node and select Storage Wizard.
-
On the
Welcome page:
-
On the
Select the Community page:
-
On the
Select a Device page:
-
On the
Create a New Device page:
-
On the
Device Properties page:
- From the Device Type list: Select the same driver used by the original storage device.
- In the
Root Access for the Device field:
Enter the path to the original storage device folder.
The path you enter in the Root Access field here must match the path entered in the same field on the original storage device. The path is case sensitive, so if you do not enter it exactly the same, you will not be able to link the two repositories further down in this procedure.
- Click Next.
-
On the
Create a New Repository page:
-
On the
Repository Location page:
-
On the
New Repository Settings page, ignore these
settings and click
Next.
This linked repository will automatically inherit the settings of the original repository.
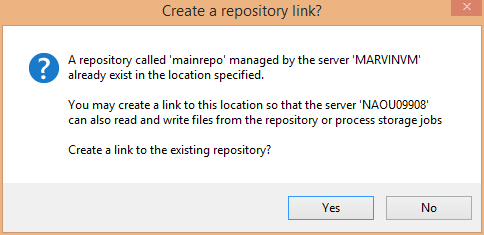
- When prompted, click Yes to link this new repository to the original repository.
-
On the
Ready to Create the Repository page, review your
settings and click
Finish.
-
On the
Finished page, click
Close.
The new device and repository are created on this server and are linked to the original device and repository on the original storage server.
-
Right-click the Storage node and select Storage Wizard.


The linked repository inherits the settings of the original repository. You can change the settings for the repository as usual, for example it can be taken offline, the Write Enabled setting be changed, the repository name may be changed, and so on. Because they are linked, you can change repository settings from the original repository or from the linked repository. Once the changes are made on one server, the other server will detect the change and automatically synchronize their local settings.
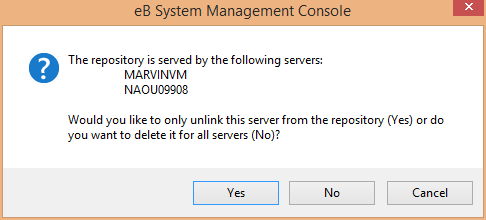
If you need to delete a linked repository, right-click the linked repository and select Delete Repository. When prompted, click Yes to confirm that you want to delete this repository. A second dialog opens, asking whether you want to delete the just linked repository, or if you want to delete the original repository as well. Click Yes to delete just the linked repository, click No to delete the original repository as well as all the linked repositories.