Edit multiple space properties
- Create a selection set of spaces.
-
Select
 (Modify).
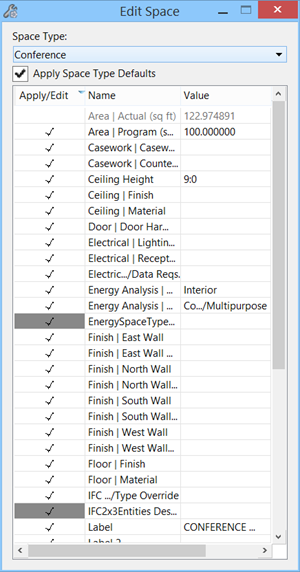
The Edit Space dialog opens.
-
Use the
Space Type option menu to change the Space
Type.
The Space Type menu is populated by the DataGroup System space catalog.
The Residential space type is used in this example.
Tip: Upon changing a space type, check marks appear in the Apply/Edit column automatically for all the space properties that can be edited. Properties such as Perimeter and Actual Area cannot be modified with this tool and are disabled. These types of properties are linked to the Space geometry and must be edited with the Modify Element tool. -
Turn on the
Apply Space Type Defaults setting.
When this setting is on, the property panel displays all the default settings for the Residential space type.
All the spaces in the selection set are edited to incorporate this value.These values are defined in the DataGroup System catalog definition for spaces.
-
In the
Edit Space dialog, select the properties
that you want to modify. Select the
Apply/Edit field next to the property to
enter a check mark. This enables the property for editing.
Every property that is enabled (with a check mark) is modified when multiple spaces are edited.
Note: Spaces that must maintain unique property values should not be included in a selection set when editing multiple spaces. Property values such as space name and space number are good examples of this. In the image below, the space Number field is disabled (no check mark). If this property was enabled, all the spaces in the selection set would be given the same number. - Issue a data point in any view to apply the changes. In the image below, notice that the space names and program areas are changed.